Drawing a dog paw print can be a fun and creative activity. Whether you want to create a piece of art or simply appreciate these adorable prints, learning how to draw a dog paw print can be a rewarding experience. In this step-by-step guide, we will go through the process of drawing a dog paw print, providing clear and concise instructions along the way. So grab your paper and pencil, and let’s get started!
Materials Required
To get started on your dog paw print drawing, you will need the following materials:
- Paper: Choose a smooth-surfaced paper suitable for drawing. A blank sheet of printer paper or a sketchpad will work just fine.
- Pencil: Opt for a medium-soft graphite pencil that allows you to make both light and dark strokes. You can also use a mechanical pencil or a set of drawing pencils with varying lead hardness.
- Eraser: Make sure you have a good quality eraser handy. A kneaded eraser or a vinyl eraser will work well for cleaning up any mistakes.
- Ruler: A straightedge ruler will be useful for drawing straight lines and ensuring accuracy in your paw print.
Now that you have gathered all the necessary materials, let’s dive into the step-by-step process of drawing a dog paw print.
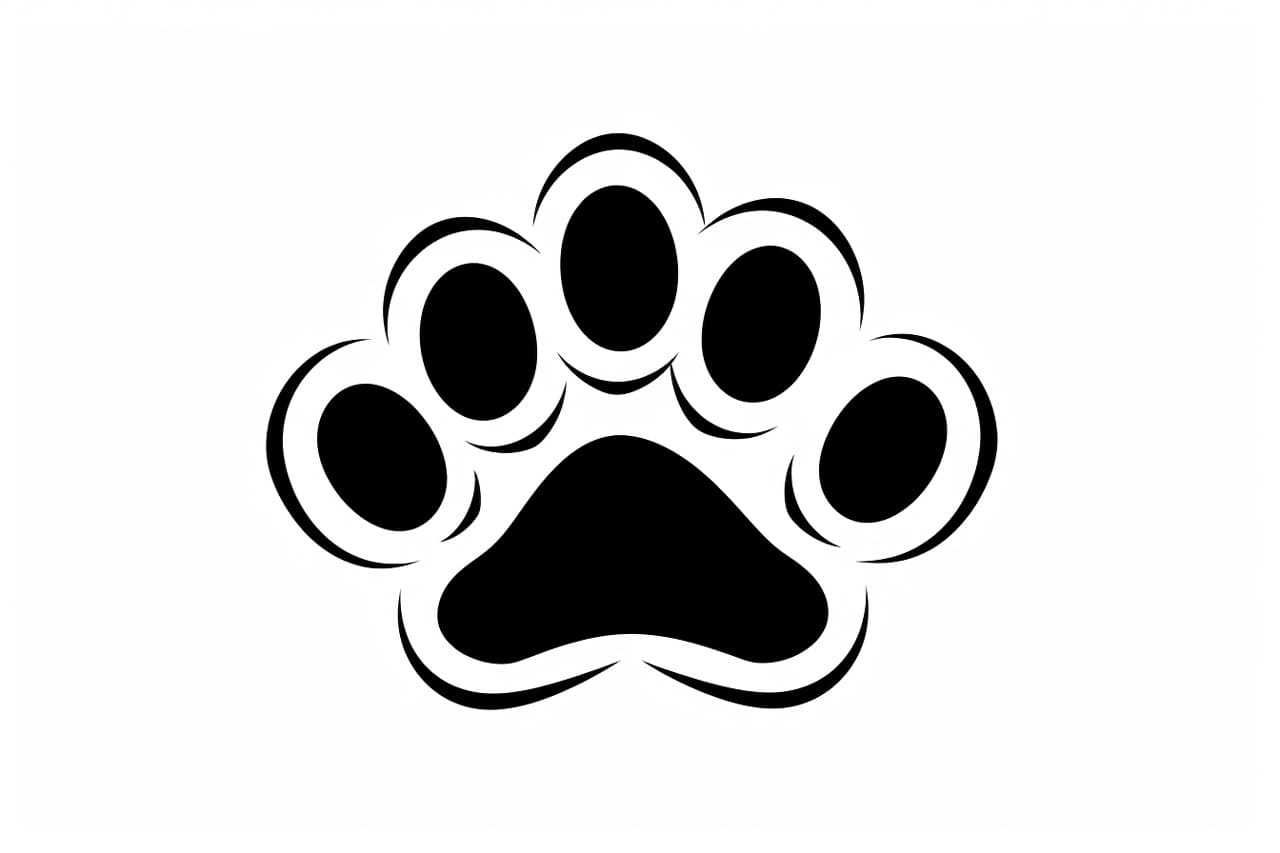
Step 1: Draw the Main Paw Shape
Start by drawing a slightly rounded, oval-shaped outline. This will serve as the base for the entire paw print. Don’t worry too much about the shape being perfect at this stage. The goal is to create a rough outline that you can refine later on.
Step 2: Add the Toes
Inside the oval shape, draw four small, circular shapes. These will represent the individual toes of the dog paw print. Try to space them evenly along the bottom curve of the oval. Ensure that the toes are slightly curved to give a more natural look.
Step 3: Define the Paw Pads
Within each circular toe shape, draw a smaller oval to represent the paw pad. The size of the paw pads can vary depending on the dog breed and the individual dog. Take your time to make each paw pad proportionate and symmetrical.
Step 4: Outline the Toes
Using a slightly darker pencil or by applying more pressure, outline the edges of each toe shape. This will give them more definition and make them stand out. Keep the lines smooth and flowing, following the curves of the toes.
Step 5: Refine the Paw Shape
Now that you have the outline of the toes and paw pads, it’s time to refine the main paw shape. Use your pencil to go over the initial oval outline, making it more distinct. Pay attention to the curves and proportions, adjusting them as needed.
Step 6: Add Texture
To give your dog paw print drawing a more realistic look, add some texture to the paw pads. Draw short, curved lines within each paw pad, imitating the texture of the skin. This will make the paw print appear more three-dimensional.
Step 7: Erase Unnecessary Lines
Carefully erase any unnecessary guidelines or overlapping lines that you no longer need. Take your time and be gentle while erasing, ensuring you don’t damage the main outlines and details of your dog paw print.
Step 8: Darken and Define
Now that you have the basic outline and details, use a darker pencil or apply more pressure to darken the necessary lines. This will make your dog paw print drawing more prominent and visually appealing. Pay attention to the edges, curves, and shadows within the paw print.
Conclusion
Drawing a dog paw print is a delightful and straightforward process that allows you to showcase your artistic skills. By following these step-by-step instructions, you can create a paw print that looks realistic and captivating. Remember to be patient and take your time throughout the drawing process. With practice, you will be able to draw dog paw prints effortlessly.
So go ahead, grab your pencil and paper, and start drawing adorable dog paw prints today!