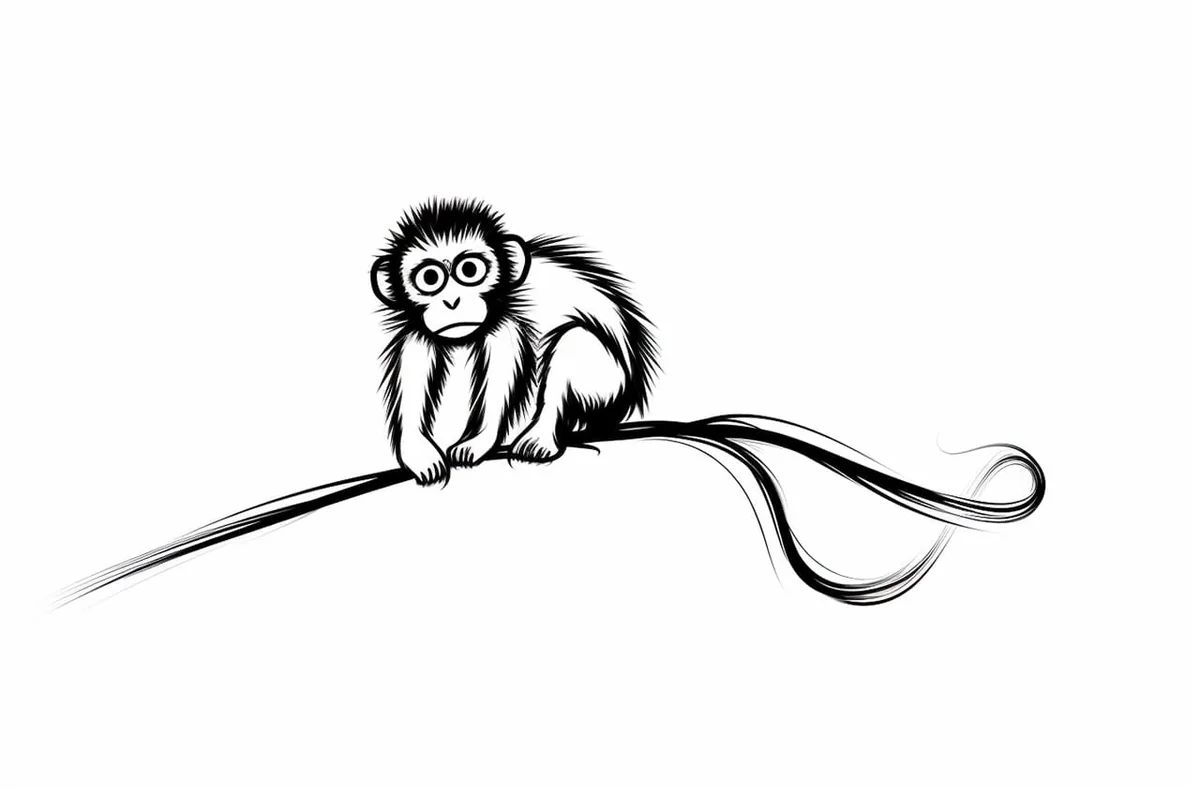
How to Draw a Monkey in 7 Simple Steps
Learn how to draw with this step-by-step tutorial.
Materials You'll Need
- Drawing paper
- Pencil (HB or 2B)
- Eraser
- Colored pencils
- Markers
- Blending stump
Welcome to this engaging step-by-step guide on how to draw a monkey! Drawing can be a delightful way to unleash your creativity, and what better subject than the playful and expressive monkey? Whether you're just starting your artistic journey or you have some experience under your belt, this tutorial is designed to lead you through the process with clarity and ease.
In this guide, we'll use simple techniques to help you create a realistic and detailed portrayal of a monkey. With each step, you'll build upon the previous one, gradually bringing your drawing to life. By the end, you'll have a charming monkey that you can proudly showcase, and you might even discover new techniques along the way.
So, gather your drawing materials, find a comfortable workspace, and let's dive into the fun world of monkey artistry! With a little focus and a splash of imagination, you'll be amazed at what you can create. Let's get started on this creative adventure!


Materials Required:
-
Eraser
-
Drawing paper
-
Colored pencils or markers (optional)
Now that we have our materials ready, let's begin the drawing process.
Step 1: Start with Basic Shapes
To begin, we'll start by drawing the basic shapes that make up the monkey's body. Start with a large oval shape for the head, followed by a smaller oval shape for the body. Then, draw a smaller circle for the monkey's face and two ovals for the ears. Finally, add two curved lines for the monkey's arms.
Step 2: Refine the Face and Add Features
Next, let's focus on the monkey's face. Using the circle as a guide, draw two almond-shaped eyes, leaving some space in between them for the nose. Add a small curved line for the nose and a slightly curved line below it for the mouth. Then, draw two small circles on the face for the monkey's ears and add some fur details around them.
Step 3: Draw the Monkey's Body
Now let's move on to the monkey's body. Using the outline we created earlier, start adding details to the body. Draw curved lines to define the shape of the body and add a curved line for the tail. Then, add details to the arms by drawing the fingers using small curved lines.
Step 4: Refine the Monkey's Face and Features
In this step, we'll focus on adding more details to the monkey's face. Start by refining the shape of the eyes, making them more expressive. Add small pupils to the eyes to give them life. Then, add eyebrows above the eyes and some fur details around the face to add texture. Finally, draw a curved line for the monkey's mouth to create a friendly smile.
Step 5: Add Fur Textures and Details
To make our monkey drawing more realistic, let's add some fur textures and details. Use short, curved lines to create the fur texture on the monkey's body. Pay attention to the direction of the lines, following the natural flow of the fur. Add more definition to the ears by adding some fur details as well. Take your time with this step, as it will give your drawing a more realistic and finished look.
Step 6: Shade and Add Depth
To add depth and dimension to our monkey drawing, we'll use shading techniques. Start by shading the areas where the shadows would naturally fall, such as under the monkey's face, body, and arms. Use your pencil to create smooth and even shades, gradually building up the darkness. Take your time with this step and remember to blend the shading for a more realistic effect.
Step 7: Final Touches and Details
Now that the main drawing is complete, let's add some final touches and details. Add some highlights to the monkey's eyes to make them shine. You can use an eraser to carefully remove some graphite or create highlights using white colored pencils or markers. Add some more fur details and textures if needed, especially in areas that seem too flat. Take a step back and assess your drawing, making any necessary adjustments.
Wrapping Up on How to Draw a Monkey
Congratulations! You have successfully completed a step-by-step guide on how to draw a monkey. By following these instructions and taking your time with each step, you have created a detailed and realistic monkey drawing. Remember, practice makes perfect, so don't be afraid to experiment and try different techniques. Now that you have mastered the art of drawing a monkey, you can apply these skills to draw various other animals as well. Enjoy your newfound drawing skills!
Anatomy Breakdown: Monkey Proportions
Head & Facial Features
-
Skull shape: Monkeys have a more rounded cranium with a slight muzzle. Start with a circle for the cranium and a smaller oval projecting forward for the snout.
-
Eyes: Place them about halfway down the cranium-circle, spaced one eye-width apart.
-
Ears: Sit high, just above the horizontal eye-line, and stick out slightly; draw them as small rounded ovals with an inner curve.
Torso & Limbs
-
Body shape: Think of the torso as a pear or egg shape tilted forward—wider at the shoulders, tapering at the hips.
-
Arms vs. Legs: Monkey arms are noticeably longer than their legs. Sketch upper arms as elongated cylinders, forearms just slightly shorter. Legs are shorter, with the thigh and calf nearly equal in length.
-
Hands & Feet: Both are grasping—draw fingers and toes as tapered cylinders with slight knuckles; thumbs (and big toes) should oppose the other digits.
Tail & Tail-Balance
-
Placement: Extends from just below the spine's midpoint—start with a gentle "S" curve.
-
Length: Often as long as—or longer than—the torso. Use a tapering cylinder that's thicker at the base.
Fun Facts About Monkeys
-
Monkeys are primates, just like humans, and they're known for their intelligence, social behavior, and hilarious antics.
-
****There are over 260 species of monkeys, which fall into two groups: Old World monkeys (from Africa and Asia) and New World monkeys (from the Americas).
-
New World monkeys often have prehensile tails—like an extra hand!—that help them swing, balance, and grab things in the treetops.
-
Some monkeys, like capuchins and macaques, are incredibly clever tool-users, using sticks, rocks, and even leaves to solve problems or get food.
-
Monkeys are highly social animals, living in groups called troops. They groom each other, play, argue, and even make up afterward!
-
A monkey's face is extremely expressive—they can show happiness, surprise, curiosity, and even mischief with just a glance.
-
Some monkeys, like the howler monkey, are super loud—you can hear their calls echoing through rainforests from miles away.
-
Monkeys have opposable thumbs, and many species can grip objects with their feet too—making them excellent climbers and troublemakers.
-
Baby monkeys cling to their mothers for warmth and security, often riding on their backs or bellies in adorable fashion.
-
Monkeys are often featured in myths, cartoons, and folklore around the world—symbolizing mischief, cleverness, and freedom.
Tip: To capture the whimsical nature of a monkey, focus on the facial features and expressions during your drawing process. Begin by sketching the basic shapes lightly with a pencil—an oval for the head and circles for the eyes—to create a foundation. Pay special attention to the placement of the eyes and the curve of the mouth, as these elements will significantly influence the character and emotion of your monkey.
Once you're satisfied with your outlines, use a finer pencil or pen to add details like the fur texture and facial expressions. Remember to keep your strokes loose and playful, reflecting the lively spirit of your subject!
Suggested Scenes and Settings for Monkey Drawings
-
Jungle Playground: Draw a lively troop of monkeys swinging from vines, climbing trees, and tossing bananas in a lush tropical setting.
-
Tree Branch Nap: Illustrate a monkey dozing on a thick branch, tail curled around the tree, with sleepy eyes and a peaceful smile.
-
Monkey Mischief: Show a cheeky monkey stealing a fruit basket, wearing a sneaky grin as it dashes off through the canopy.
-
Baby on Board: Draw a mother monkey with her baby clinging to her fur as they swing through the treetops or forage together.
-
Rainforest Hide-and-Seek: Picture monkeys peeking from behind leaves and branches, blending into a dense green jungle background.
-
Monkey Village Market: Imagine a scene with monkeys running a tiny fruit stand, wearing little hats, bartering bananas, and causing chaos.
-
Mountain Monkeys in the Snow: For a twist, draw Japanese macaques lounging in a steamy hot spring surrounded by snow.
-
Circus Performer: Create a stylized monkey in a circus outfit balancing on a ball, holding a tiny umbrella or cymbals.
-
Treasure Island Monkey: Show a monkey perched on a pirate's shoulder or guarding a treasure chest, dressed in a mini pirate outfit.
-
Space Monkey Adventure: For a whimsical scene, design a monkey in a space suit floating in zero gravity, bananas orbiting around!