As an expert artist and drawing instructor, I will guide you through the process of drawing jeans in a clear, clean, and concise style. Drawing jeans can seem challenging, but with the right techniques and a step-by-step approach, you can create realistic and stylish jeans in your artwork.
Materials Required:
Before we begin, make sure you have the following materials available:
- Pencil: Preferably an HB or 2B pencil for sketching and shading.
- Paper: Choose a medium-weight drawing paper or sketchbook.
- Eraser: A kneaded eraser is recommended for easily lifting graphite.
- Fine-tipped pen or marker: Optional for outlining and adding details.
- Colored pencils or markers: Optional for adding color to your jeans.
Now that you have all your materials ready, let’s get started on drawing jeans!
Step 1: Sketch the Basic Shape
Start by lightly sketching the basic shape of the jeans. Begin with a rectangular shape to outline the legs, and then add curves for the waist and hips. Remember that jeans have a slight looseness around the legs, so avoid making them too tight.
Step 2: Add the Details
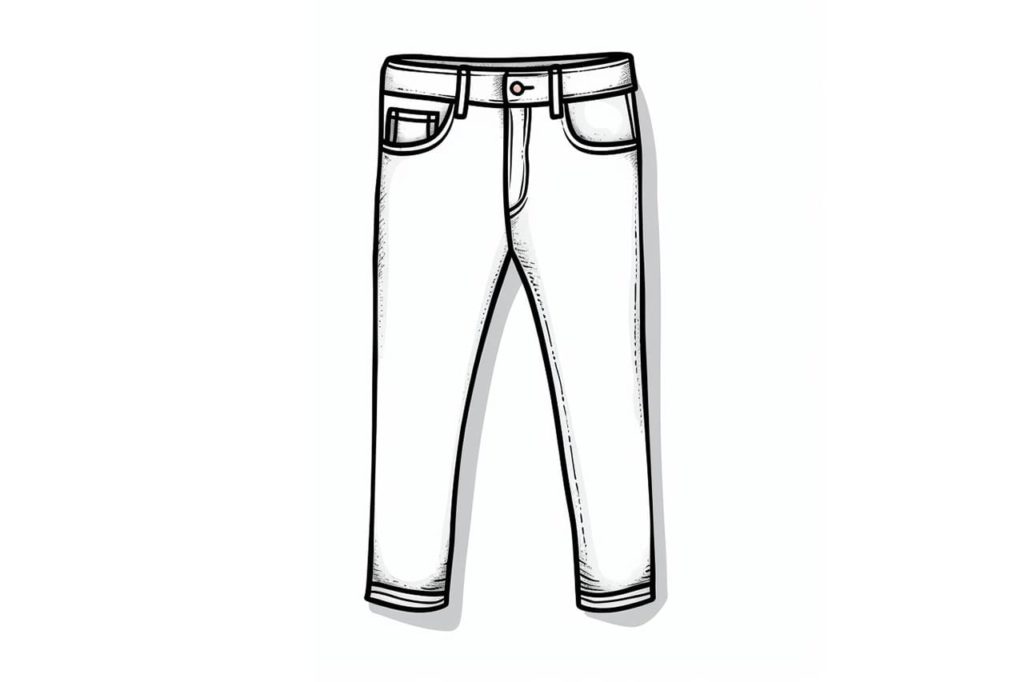
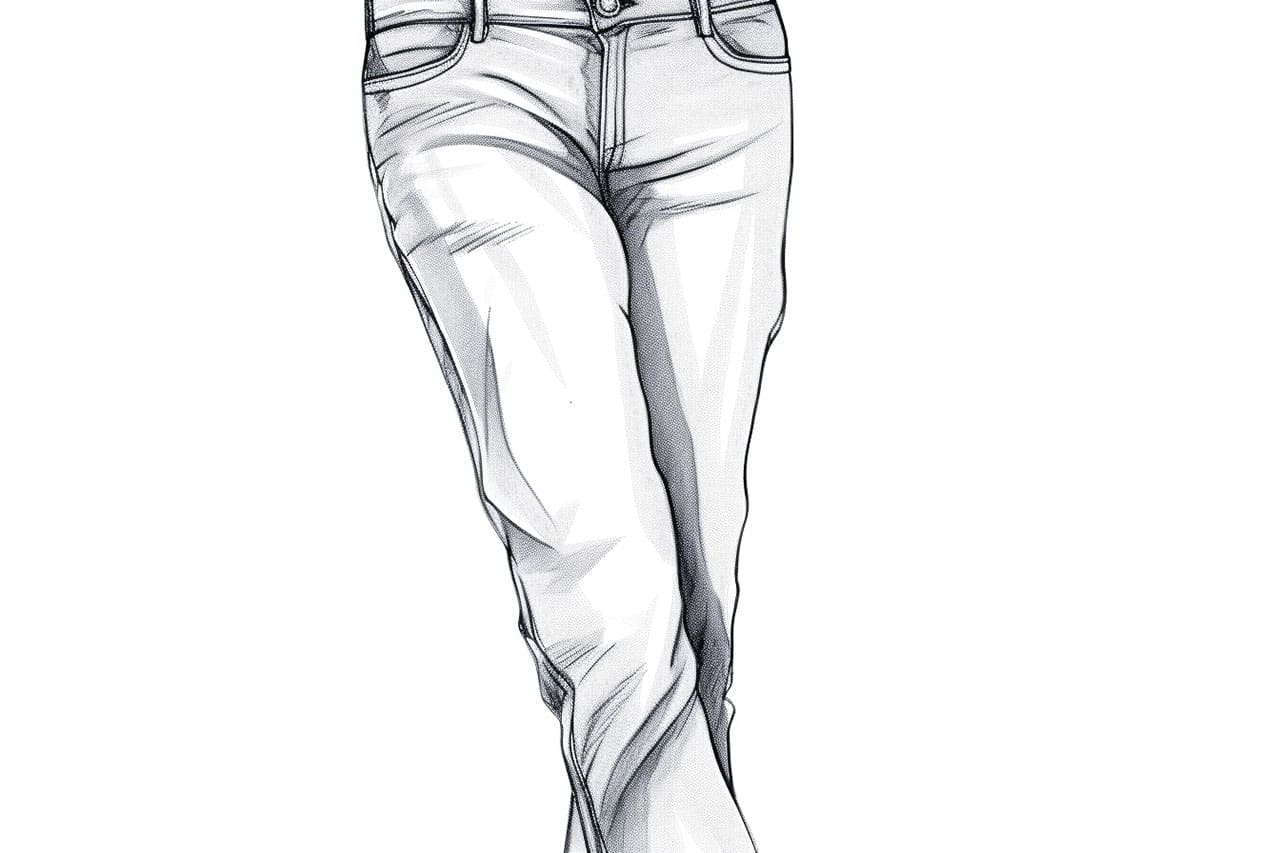
Next, it’s time to add the details that give jeans their unique look. Start by drawing the seams along the outer legs. Jeans typically have a seam running from the waist down to the hem on each leg. Add stitching lines to indicate the pockets, and draw a small curve at the top for the waistband.
Step 3: Draw the Pockets
Jeans usually have front and back pockets. To draw the front pockets, add curved lines near the seams on the front of the jeans. For the back pockets, draw two rectangles or curved shapes near the center back seam. You can also add detailing such as small stitching lines or decorative designs on the pockets.
Step 4: Define the Wrinkles and Folds
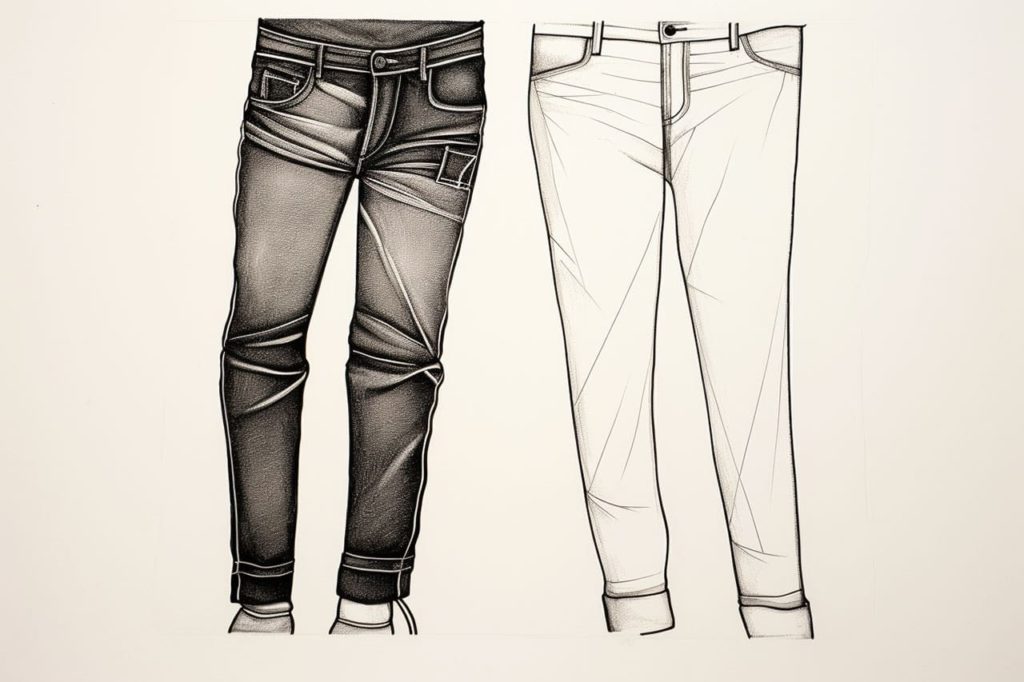
To make the jeans look realistic, it’s important to add wrinkles and folds. Start by lightly sketching the creases around the knees and thighs. Jeans tend to wrinkle in various ways depending on how they are worn, so observe reference images or try on a pair of jeans to understand the folds better. Use curved lines and light shading to give depth and dimension to the wrinkles.
Step 5: Shade the Jeans
Now it’s time to add shading to your jeans to add volume and texture. Start by identifying the areas that would be in shadow, such as the inside of the thighs and the areas around the pockets. Use your pencil to add light and gentle shading, building up the dark areas gradually. Blend the shading with a blending stump or a cotton swab for a smooth and realistic look.
Step 6: Add Detailing
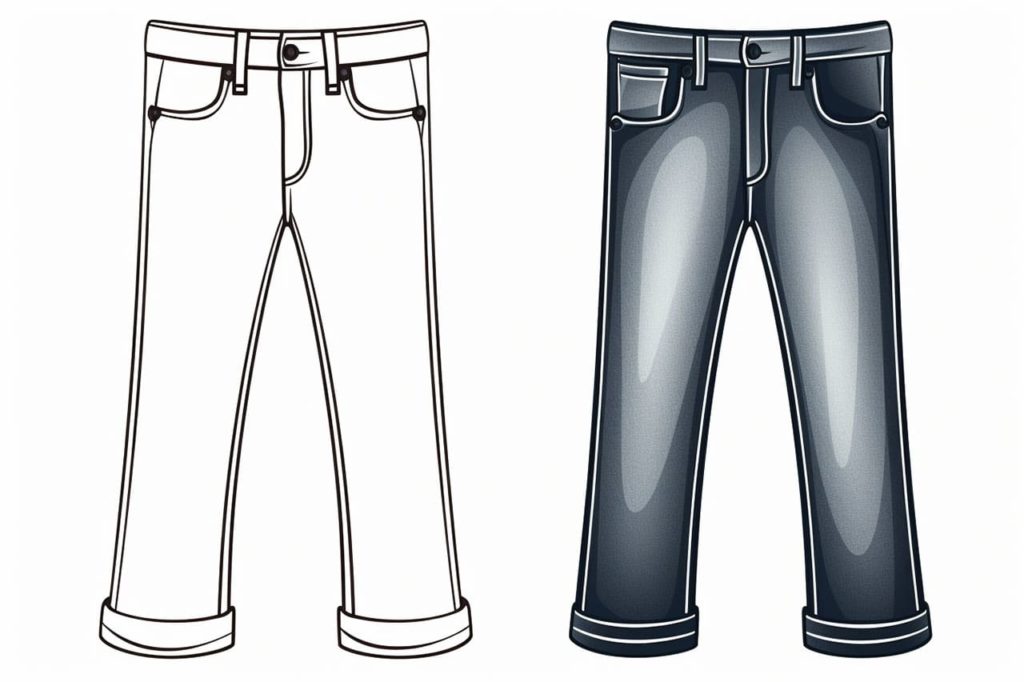
To enhance the realism of your jeans, add small details such as belt loops, buttons, and rivets. You can also use a fine-tipped pen or marker to outline the edges of the jeans and define the stitching lines. Be careful not to make the lines too dark or overpowering, as they should blend with the shading and not stand out too much.
Step 7: Optional: Add Color
If you want to add color to your jeans, you can use colored pencils or markers. Choose shades of blue or black for the denim and add subtle variations in color to create a worn or faded effect. Use light strokes or a light touch to layer the colors, allowing the texture of the paper to show through for a more realistic look.
Conclusion
Drawing jeans may seem daunting, but with practice and the right techniques, you can create realistic and stylish jeans in your artwork. Remember to start with a basic shape, add details such as pockets and seams, define the wrinkles and folds, shade the jeans to add depth, and add small details for a finished look. Whether you’re drawing jeans on a person or incorporating them into a fashion illustration, mastering this skill will enhance your artistic abilities.
So grab your pencils, paper, and eraser and get ready to draw some amazing jeans!
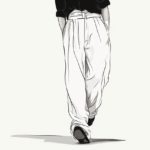
Gallery of Jeans Drawings