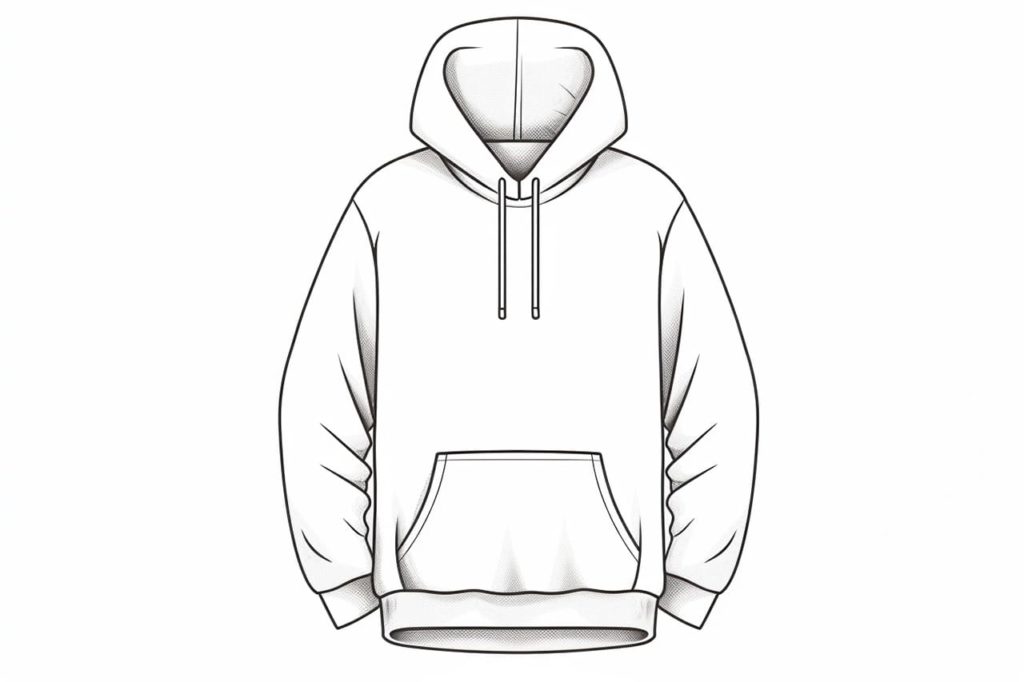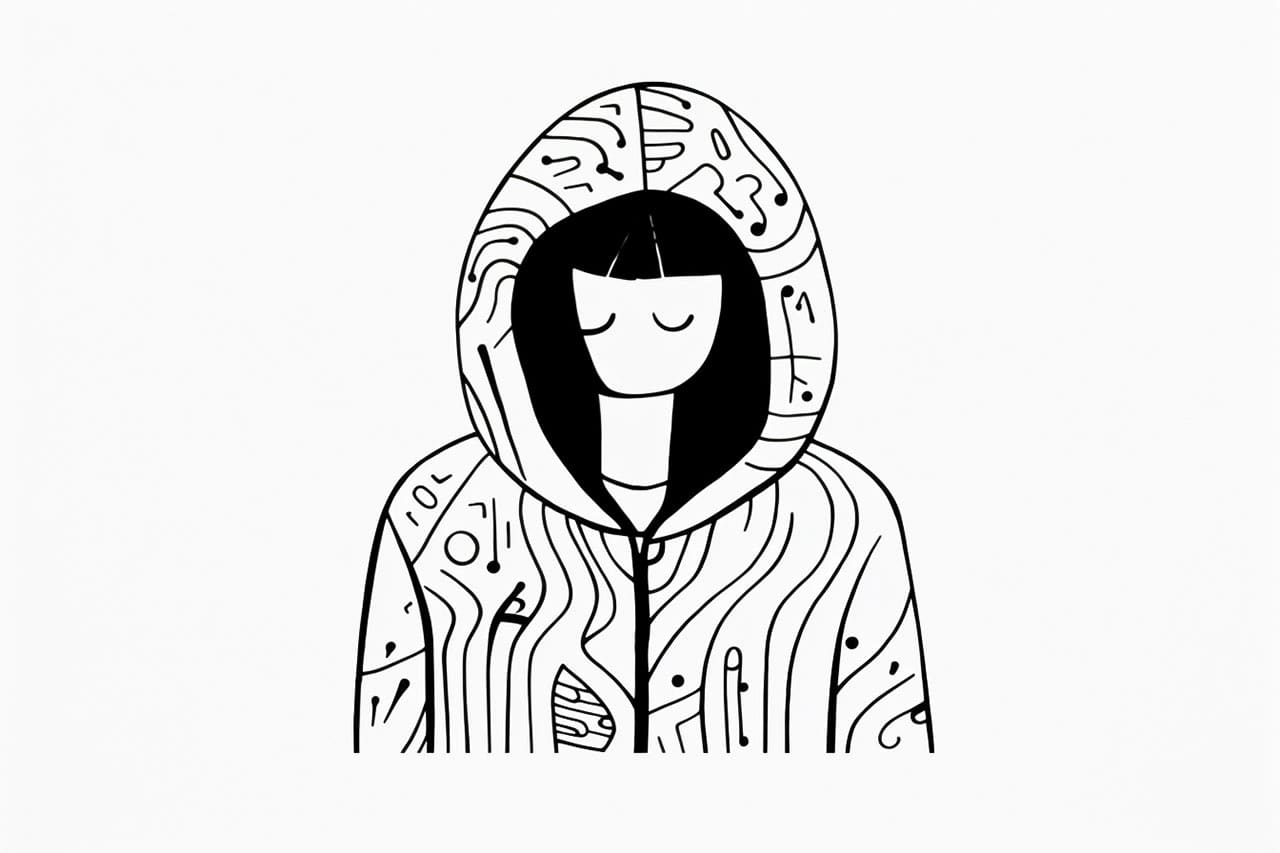
Welcome to this step-by-step tutorial on how to draw a hoodie. Drawing a hoodie can be a fun and stylish experience. Whether you want to sketch a hoodie for a fashion illustration or add it to your character drawings, this tutorial will guide you through the process. You can create a realistic and fashionable hoodie drawing with attention to detail and some basic techniques. Let’s get started!
Materials Required
- Pencil
- Eraser
- Drawing paper
- Picture reference of a hoodie
Step 1: Draw the Basic Outline
To begin creating your hoodie drawing, let’s establish the basic outline. Start by sketching a simple oval shape to represent the head of the person wearing the hoodie. This oval serves as a foundational guide for the placement of the hoodie. Next, extend two lines downwards from the oval to craft the person’s body. These lines help define the overall posture and shape of the figure.
Remember, at this stage, you’re focusing on the general proportions and positioning of the hoodie, so don’t worry about details just yet. Take your time to get the overall outline right.
Step 2: Add the Hood
Now, let’s bring the hoodie to life by adding the hood itself. Draw a curved line on top of the head oval to create the shape of the hood. Ensure that the hood is sufficiently large to cover the head and a portion of the face. This step defines the characteristic appearance of a hoodie, so pay attention to the curvature and size to achieve the desired look.
Step 3: Draw the Sleeves
Moving on, let’s fashion the sleeves of the hoodie. Extend two lines outward from the sides of the body, heading downwards to form the sleeves. Hoodies are usually known for their loose-fitting and comfortable design, so please make sure the sleeves are sufficiently long and relaxed in appearance. These sleeves contribute to the overall casual and cozy feel of the garment.
Step 4: Add the Pockets
To enhance the realism of your hoodie, it’s time to incorporate the pockets. Draw two rectangular shapes—one on each side of the body—to create the pockets. Ensure that these pockets are evenly placed and adequately sized to accommodate the hands comfortably. Pockets are not only practical but also contribute to the authentic hoodie appearance.
Step 5: Detail the Hoodie
Let’s add some finer details to make your hoodie drawing stand out. Depict the drawstrings on the hood by including two small lines on each side. These drawstrings are a distinctive feature of hoodies and can be used to adjust the hood’s fit. Add some ribbing or texture to the cuffs and the bottom edge of the hoodie. This ribbing adds a polished finish and mimics the typical hoodie cuffs and hems design.
Step 6: Add Shading and Texture
To elevate your hoodie drawing further, introduce shading and texture. Shade in the areas where shadows would naturally occur, such as beneath the hood and within the pockets. This shading creates depth and dimension, making the hoodie appear three-dimensional and more realistic. Additionally, to capture the fabric’s texture, use short, curved lines to illustrate the folds and wrinkles naturally occurring in clothing. These details contribute to the lifelike quality of your hoodie drawing.
Step 7: Final Touches
With the main elements in place, it’s time for the final touches. Step back and assess your drawing as a whole. Make any necessary adjustments and additions to refine your hoodie’s appearance and make it look stylish and trendy. Pay attention to the overall proportions, the positioning of the details, and the shading to achieve the desired effect.
Conclusion
Congratulations! You have successfully drawn a stylish hoodie. With practice and creativity, you can draw a variety of hoodies with different designs and details. So, grab your pencil and let your fashion imagination run wild as you create your own unique hoodie drawings with this “How to Draw a Hoodie” tutorial.
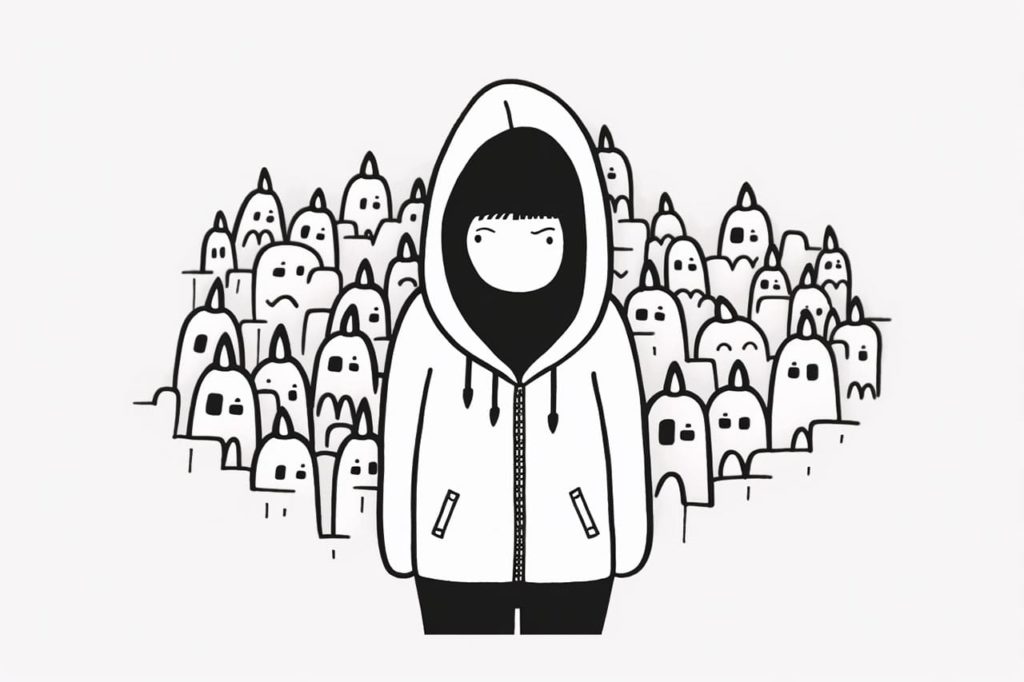
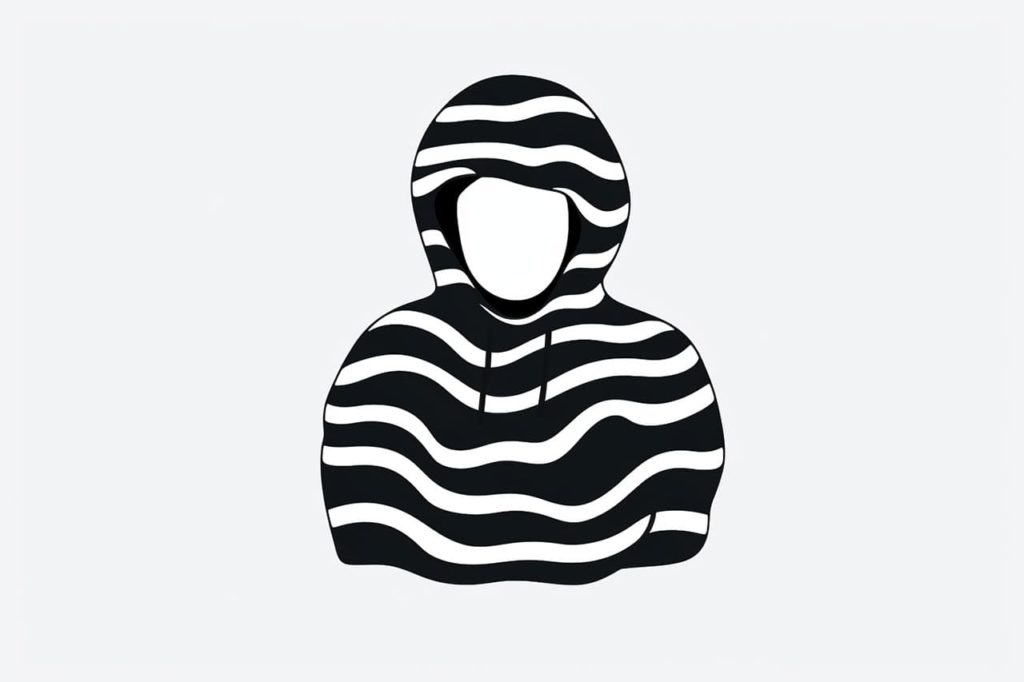
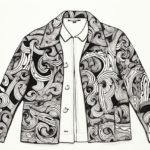
Gallery of Hoodie Drawings