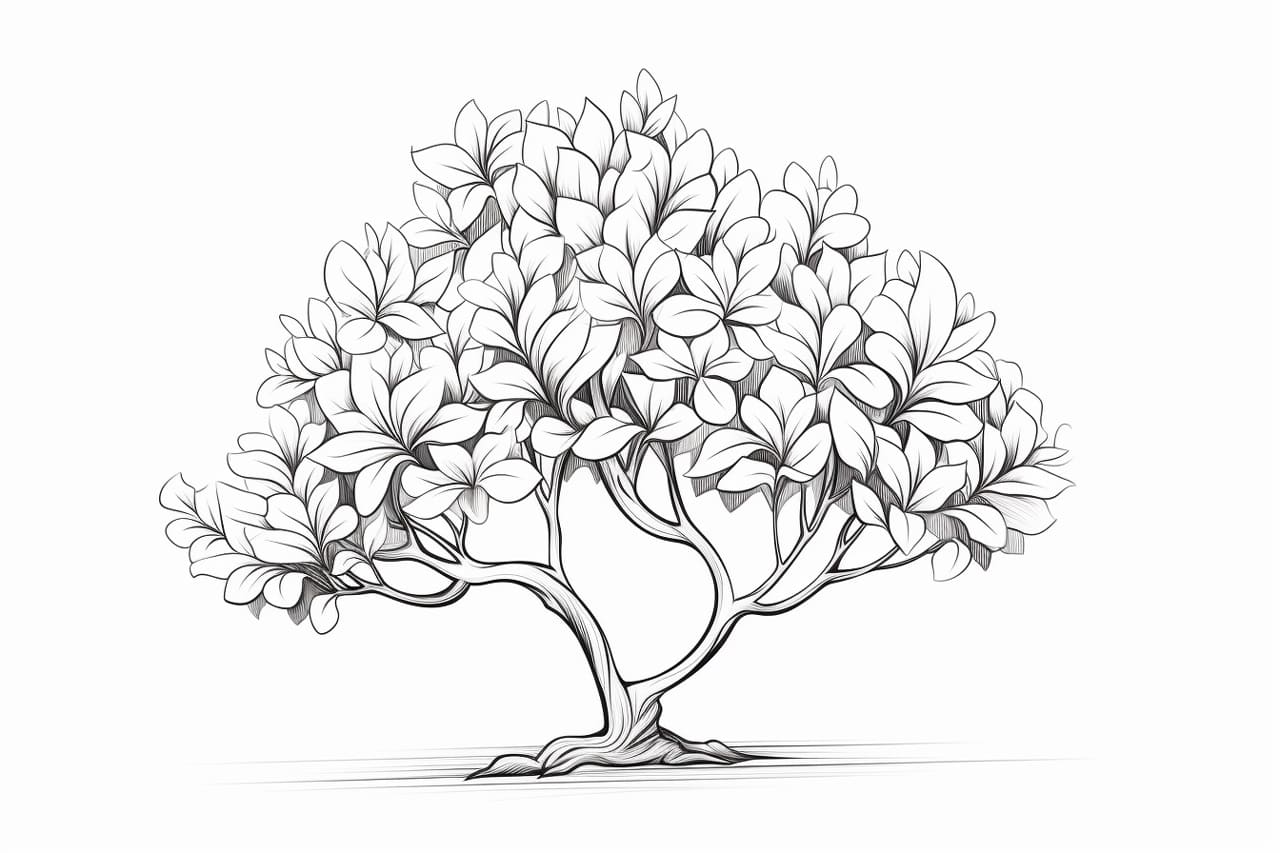
Welcome to this step-by-step guide on drawing a shrub. Whether you’re a beginner or an experienced artist, learning to draw different elements of nature can enhance your skills and bring your artwork to life. In this article, we will walk you through the process of drawing a shrub in a clear, concise, and easy-to-follow manner. So grab your drawing materials and let’s get started!
Materials Required
Before we dive into the steps, make sure you have the following materials:
- Paper: Choose a smooth, medium-weight paper that is suitable for drawing. A sketchbook or drawing pad will work well.
- Pencil: Use a graphite pencil with a medium hardness (HB or 2B) for sketching and outlining.
- Eraser: Have a good quality eraser handy for removing any unwanted lines.
- Drawing Pen: A fine-tip drawing pen or a fine-point felt-tip pen can be used for adding details later on.
- Colored Pencils or Markers (optional): If you wish to add color to your drawing, have a set of colored pencils or markers ready.
Now that you have all the necessary materials, let’s move on to the step-by-step instructions for drawing a shrub.
Step 1: Sketch the Basic Shape
Start by lightly sketching the basic shape of the shrub using your pencil. Shrubbery can come in various forms, so choose the shape you want to draw. It could be round, oval, or irregular. Consider the general size and proportions as well. Keep your lines light and loose at this stage, as they will be refined later on.
Step 2: Add Branches and Twigs
Next, add branches and twigs to the basic shape of the shrub. Start from the main trunk or stem and extend branches outward in various directions. Keep in mind that shrubs often have multiple layers of branches, so add them as per your desired shape and density. Use light, curvy lines to give a natural look to the branches.
Step 3: Define the Form
Now, it’s time to define the form of the shrub by adding volume and depth. Use your pencil to create a darker outline around the outer edges of the shrub, emphasizing its shape. Add shading to the areas where the branches overlap, creating the illusion of depth. Pay attention to the direction of light and shade to make the drawing more realistic.
Step 4: Create Texture
To give your shrub drawing a realistic appearance, it’s important to create texture. Start by adding small, squiggly lines along the branches to represent the bark. Vary the length and direction of these lines to add interest and depth. Additionally, you can add some small leaves or foliage patches to the shrub using short, overlapping lines.
Step 5: Refine and Detail
Take a step back and evaluate your drawing so far. Use your eraser to remove any unnecessary guidelines or mistakes. Refine the overall shape of the shrub if needed, making sure it looks balanced and visually appealing. Now, pick up your drawing pen or a fine-tip pen and add finer details such as small branches, leaf veins, or any other intricate patterns you want to include.
Step 6: Color (optional)
If you want to add color to your shrub drawing, now is the time! Use colored pencils or markers to bring your shrub to life. Observe the colors of real shrubs or refer to reference images for inspiration. Layer different shades and tones to create depth and realism. Alternatively, you can leave your drawing in black and white for a classic and minimalist look.
Conclusion
Drawing a shrub can be a rewarding experience and an excellent way to improve your artistic skills. By following these step-by-step instructions, you can create a realistic and beautiful depiction of a shrub. Remember to enjoy the process and take your time to refine each step. With practice, you’ll be able to capture the beauty of nature in your artwork. Happy drawing!


