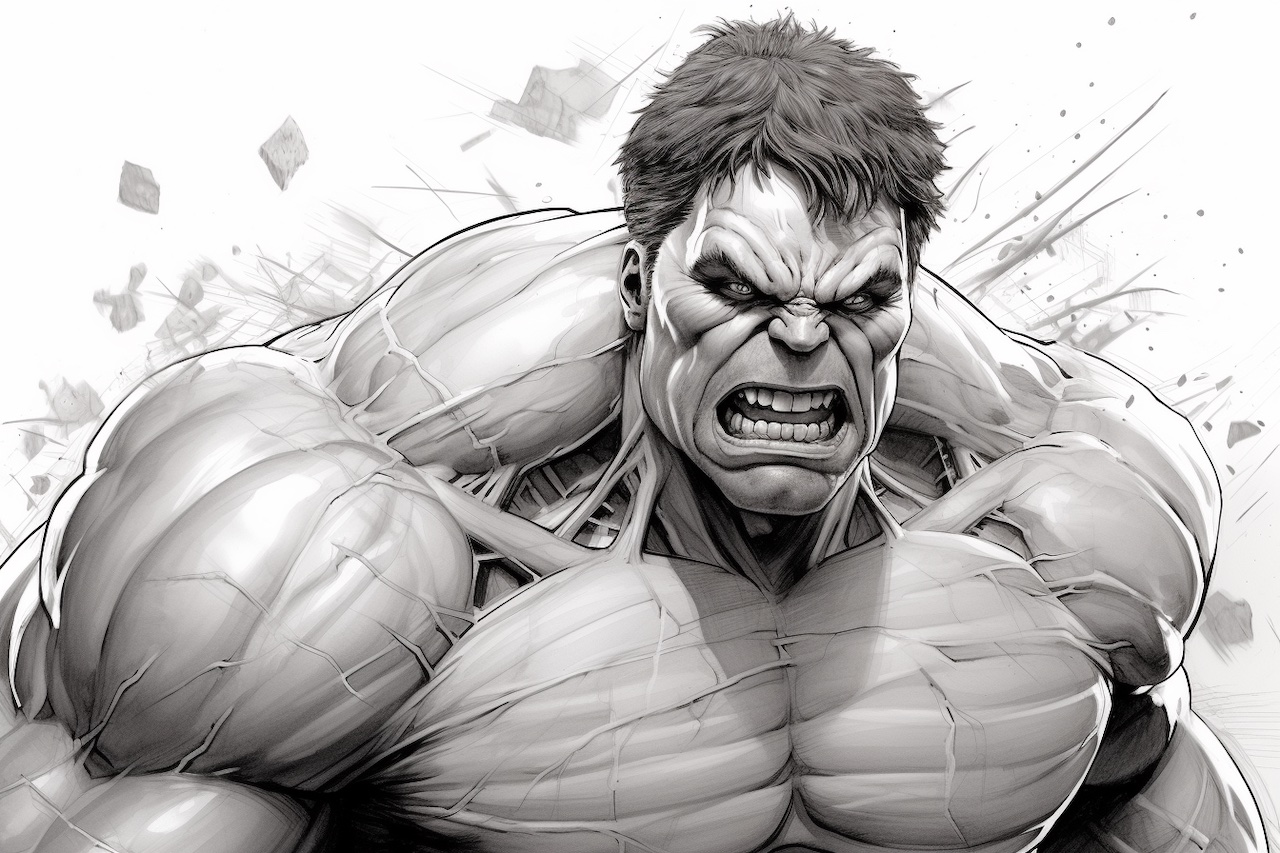
Would you like to learn how to draw a powerful and iconic superhero? In this step-by-step tutorial, we will guide you through the process of how to draw a Hulk. Grab your sketchbook and pencils, and let’s get started!
Materials Required:
- Sketchbook or drawing paper
- Pencils or graphite sticks (2H, HB, 2B, 4B)
- Eraser
- Sharpener
- Ruler (optional)
Now that we have our materials ready, let’s begin the exciting journey of drawing the Hulk!
Step 1: Outline the Basic Shapes
To start, lightly sketch the basic shapes that will serve as the foundation for the Hulk’s body. Begin with a large oval shape for the head, a rectangular shape for the body, and simple lines for the limbs. Don’t worry about perfection at this stage; these lines will serve as guidelines for the later steps.
Step 2: Add Muscle Structure
The Hulk is known for his incredible strength and muscular physique. Use curved lines to define the muscles on his body. Pay attention to the proportions and reference images if needed. Add details to his face, including his distinct eyebrows, wide nose, and intense expression. Remember to keep the lines light, as you will refine them later.
Step 3: Refine the Outline
Now, it’s time to refine the outline of the Hulk’s body. Use darker and more defined lines to trace over the basic shapes and muscle structure. Pay close attention to the curves and angles to capture the Hulk’s powerful stance.
Step 4: Start Shading
Shading adds depth and dimension to your drawing, making it more realistic. Begin by shading the darkest areas such as the shadows under the chin, around the eyes, and between the muscles. Use a pencil with soft lead, like a 4B, for this step. Gradually build up the shading, making it darker as you move towards the darkest areas.
Step 5: Add Light and Highlights
To create a more three-dimensional effect, add highlights to the Hulk’s muscles and face. Imagine a light source and identify the areas that would catch the light. Use an eraser to gently lift off some of the graphite, creating highlights. This will make your drawing appear more realistic and dynamic.
Step 6: Refine the Details
Now it’s time to refine the details of the Hulk’s face and body. Pay close attention to the small features such as the wrinkles, veins, and texture of his skin. Use a range of pencils, from a soft 2B for darker areas to a harder 2H for lighter ones. Keep adding layers of shading and texture until you are satisfied with the result.
Step 7: Background and Additional Details
To complete your drawing, consider adding a background that complements the Hulk’s character. It could be a cityscape, a destroyed environment, or a simple gradient to create a sense of depth. Additionally, you can add some extra details like torn clothing or rubble to enhance the overall composition.
Conclusion
Congratulations! You have successfully learned how to draw the Hulk, one of the most iconic superheroes in the Marvel universe. Remember, practice makes perfect, so keep exploring and honing your drawing skills. With dedication and patience, you’ll be able to create amazing artworks. Happy drawing!