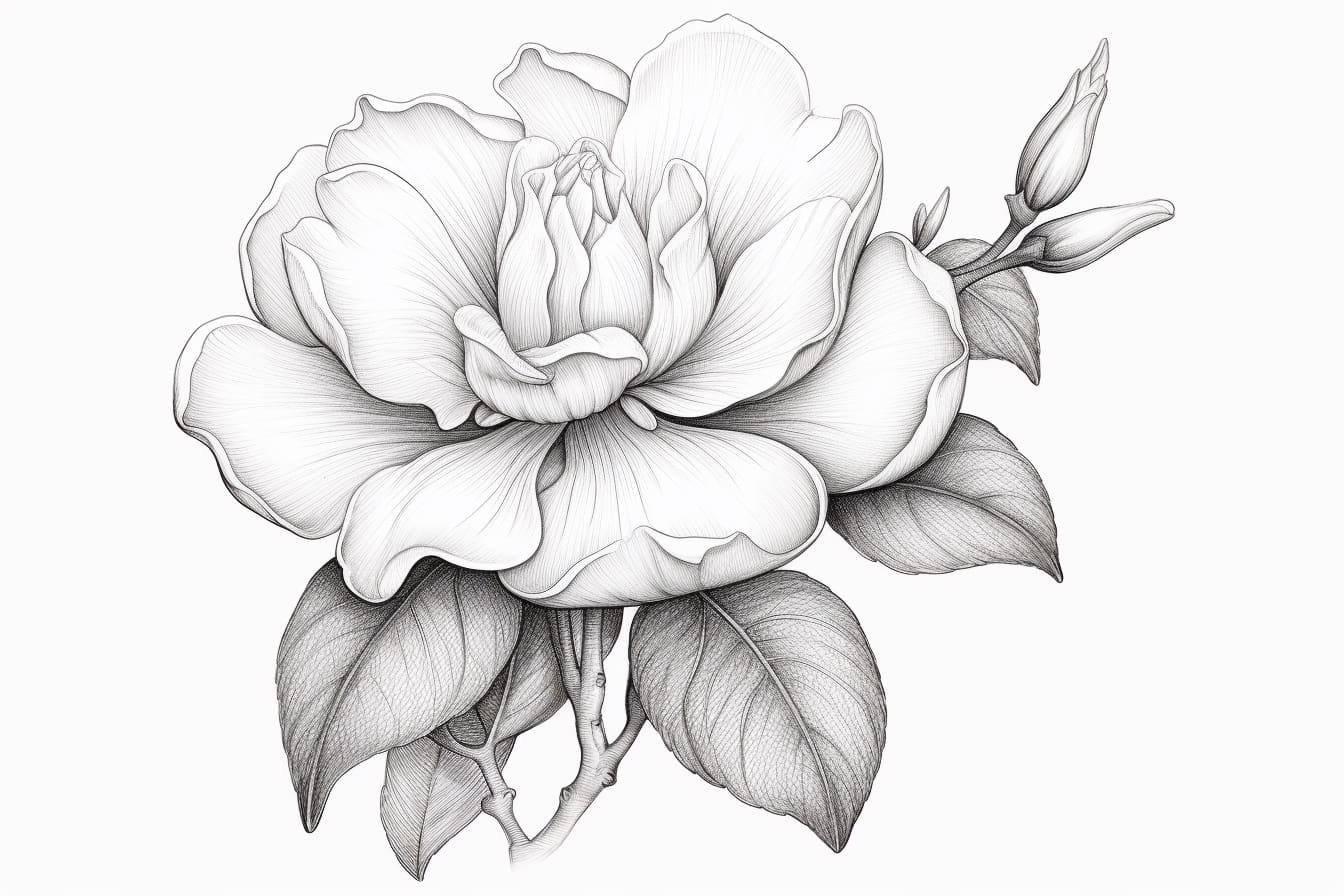
Whether you are an experienced artist or just starting out, learning how to draw a gardenia can be a rewarding and enjoyable experience. Gardenias are known for their beautiful and fragrant flowers, making them a popular choice for artists. In this step-by-step guide, we will walk you through the process of drawing a gardenia, from the initial sketch to the final details. So grab your drawing materials and let’s get started!
Materials Required
Before we begin, make sure you have the following materials:
- Drawing paper
- Pencil (preferably an HB or 2B)
- Eraser
- Fine-tipped black pen or marker
- Colored pencils or markers (optional)
Step 1: Start with a Basic Sketch
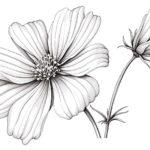
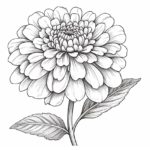
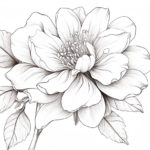
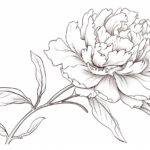
Begin by lightly sketching the basic shape of the gardenia. Start with an oval shape for the center of the flower, and then add smaller ovals around it to form the petals. Don’t worry about getting the shapes perfect at this stage, as we will be adding more details later on.
Step 2: Outline the Petals
Using your pencil, go over the outline of the petals, making them more defined. Gardenia petals are usually smooth and symmetrical, so try to capture that in your drawing. It’s okay if they are not all exactly the same size or shape – this will add a more natural and organic look to your finished drawing.
Step 3: Add the Details
Now it’s time to add some details to our gardenia drawing. Start by sketching the veins on each petal, using light and feathery strokes. Gardenia petals often have a few prominent veins running from the base to the tip, so pay attention to that as you add the details.
Step 4: Define the Center
Next, focus on the center of the flower. Gardenias have a distinctive center with a cluster of long, slender stamens surrounded by a ring of petals. Use your pencil to lightly sketch these details, making sure to capture the overall shape and structure.
Step 5: Refine the Sketch
At this stage, take a step back and evaluate your sketch. Make any necessary adjustments to the shape and proportions of the flower. Pay attention to the overall balance and composition of your drawing.
Step 6: Outline with Pen or Marker
Once you are satisfied with your pencil sketch, it’s time to go over the lines with a pen or marker. This will create a bold and defined outline for your gardenia drawing. Use a fine-tipped pen or marker for this step to ensure clean and precise lines.
Step 7: Erase the Pencil Guidelines
After outlining the drawing, let the ink dry completely. Then, gently erase any remaining pencil lines. Be careful not to smudge the ink as you erase.
Step 8: Add Shading (optional)
To add depth and dimension to your gardenia drawing, you can choose to add shading. Use your pencil or colored pencils to lightly shade the petals, focusing on areas where shadows would naturally fall. Blend the shading with a blending stump or your finger for a smooth and realistic effect.
Step 9: Final Touches
Take a step back and evaluate your drawing. Add any final details or adjustments as needed. This is the time to refine and perfect your drawing before considering it complete.
Conclusion
Congratulations! You have successfully learned how to draw a gardenia. By following these step-by-step instructions, you were able to create a beautiful and realistic representation of this lovely flower. Remember, practice makes perfect, so don’t be discouraged if your first attempt is not exactly how you envisioned it. With time and practice, your drawing skills will continue to improve. Keep experimenting with different techniques and styles to make your gardenia drawings truly unique. Happy drawing!