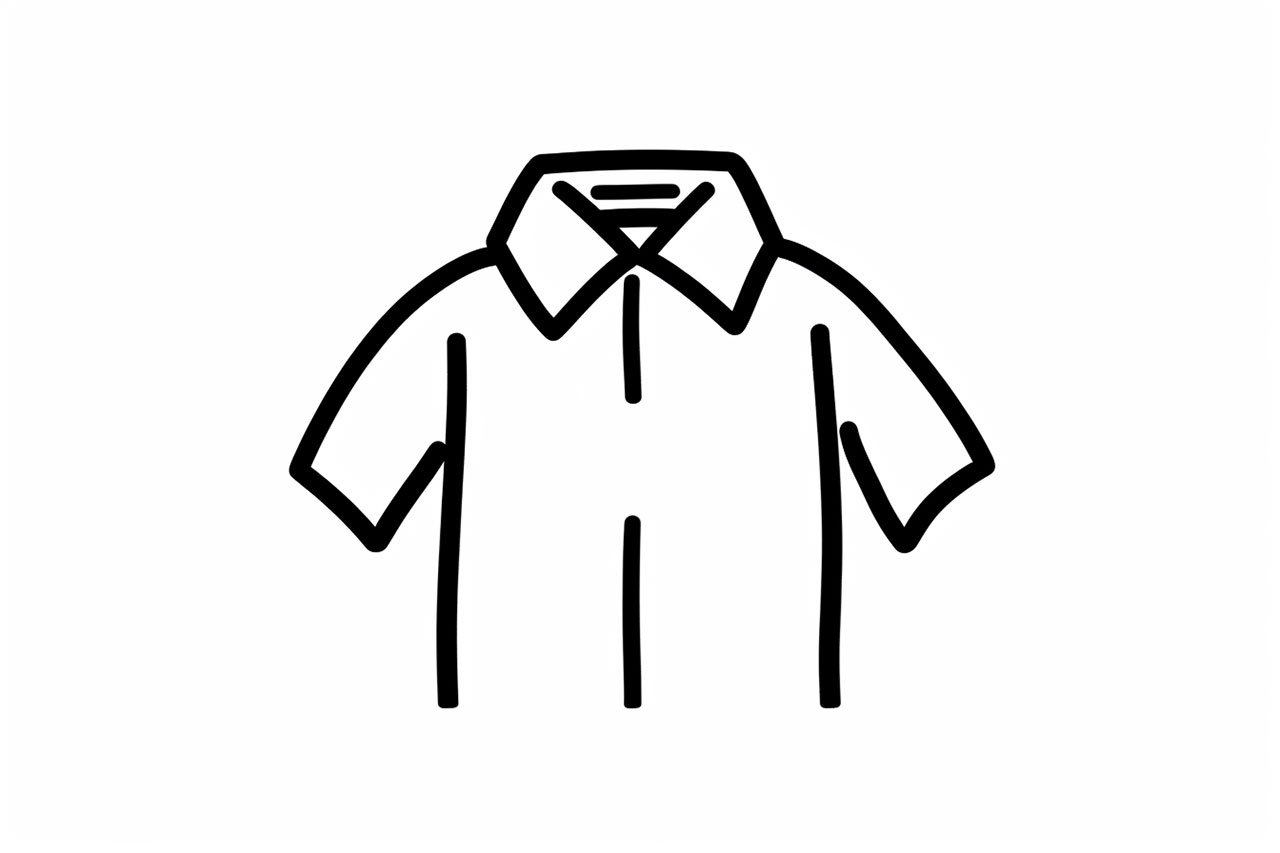
Drawing clothing can add depth and realism to your artwork. In this tutorial, we will guide you through the process of how to draw a shirt. Whether you’re a beginner or an experienced artist, these step-by-step instructions will help you create a realistic and stylish shirt design. So grab your pencils, paper, and let’s get started!
Materials Required
- Drawing paper
- Pencils (HB, 2B, 4B)
- Eraser
- Ruler
- Colored pencils or markers (optional)
Step 1: Sketch the Outline
Start by lightly sketching the basic shape of the shirt. Use a light pencil, like an HB, to ensure that the lines are easily erasable. Begin with a horizontal line for the shoulders and a vertical line for the center of the body. Then, add two curved lines on either side to create the shape of the shirt. Remember to leave space for the sleeves!
Step 2: Define the Neckline
Using your ruler, draw a curved line across the top of the shoulder line to create the neckline. The shape and depth of the neckline will depend on the style of the shirt you want to draw. Experiment with different curves and angles until you achieve the desired look.
Step 3: Add Sleeves
Draw two diagonal lines extending from the shoulder line towards the sides of the shirt to create the sleeves. The length and width of the sleeves can vary depending on the style you prefer. You can make them short, long, puffed, or tapered. Feel free to get creative!
Step 4: Detail the Collar
To add a collar to your shirt, draw two curved lines connecting the neckline to the outer edges of the shoulder line. The collar can be narrow or wide depending on your design choices. Take your time to ensure that the collar is symmetrical and suits the overall look of the shirt.
Step 5: Define the Body
Now it’s time to add details to the body of the shirt. Use curved lines to outline the torso and waistline. Remember, clothing has folds and creases, so add subtle lines to indicate where the fabric would gather or wrinkle. This will bring realism to your drawing and make the shirt look more believable.
Step 6: Add Buttons and Pockets
If you want to include buttons or pockets on your shirt, now is the time to do so. Draw small circles for buttons along the center line of the shirt. If you want to add pockets, sketch rectangular shapes on the chest area. Make sure to position them symmetrically for a balanced look.
Step 7: Refine and Erase
Take a step back and evaluate your drawing so far. If any lines are too dark or uneven, use your eraser to lightly correct them. Pay attention to the proportions and overall balance of the shirt. Adjust any areas that seem out of place or disproportionate to the rest of the design.
Step 8: Add Texture and Shading
To make your shirt drawing more realistic, apply shading and texture. Identify the areas where shadows would naturally fall, such as under the collar or around the folds of the fabric. Use a softer pencil, like a 4B, to create darker shades. Gradually build up the shading until you achieve the desired effect.
Step 9: Enhance with Color (Optional)
If you want to add color to your drawing, use colored pencils or markers to bring your shirt design to life. Consider the material and pattern of the shirt when choosing your colors. Experiment with different hues and shading techniques to create depth and dimension in your artwork.
Conclusion
Drawing a shirt is a great way to practice your skills as an artist and add a touch of fashion to your artwork. By following these step-by-step instructions, you can create a realistic and stylish shirt design. Remember to take your time, pay attention to details, and enjoy the process of bringing your imagination to life on paper. So grab your pencils and let your creativity soar!