Are you ready to learn how to draw a campfire? Whether you’re an aspiring artist or just looking for a fun activity to do with friends and family, drawing a campfire can be a great way to express your creativity and create a warm and inviting scene. In this step-by-step guide, I will show you how to draw a realistic campfire using simple shapes and shading techniques. So gather your art supplies and let’s get started!
Materials Required
Before we dive into the drawing process, let’s make sure you have all the necessary materials. Here’s what you’ll need:
- Drawing paper
- Pencil
- Eraser
- Charcoal or shading pencil (optional)
- Colored pencils or markers (optional)
Now that you have everything you need, let’s begin!
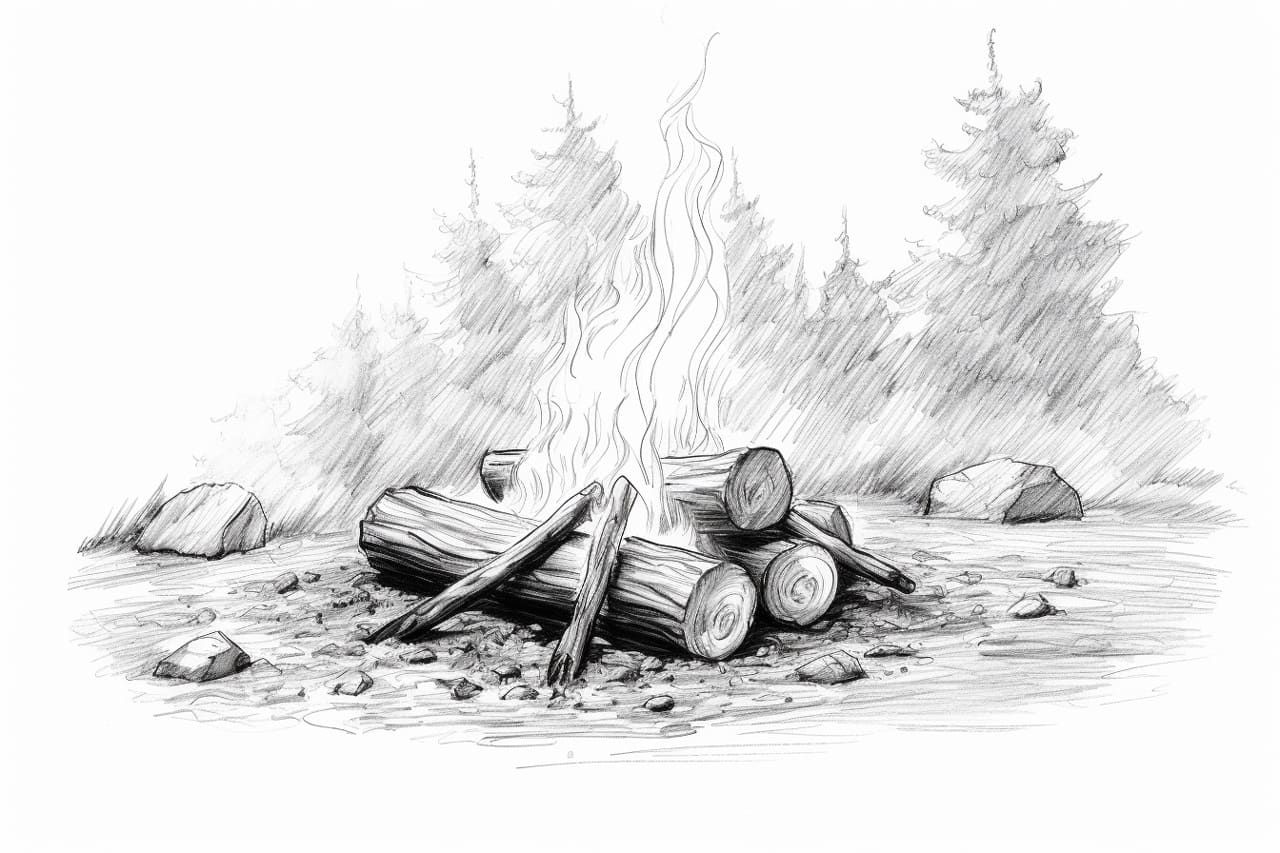
Step 1: Draw the Basic Outline
Start by drawing a horizontal line near the bottom of your paper. This will serve as the ground or surface on which your campfire will sit. Next, draw a large circle just above the line to represent the base of the fire.
Step 2: Add the Flames
Now it’s time to add the flames to your campfire. Start by drawing a series of wavy lines above the circle. These lines should curve outward and upward to give the flames a flickering and dynamic look. Make sure to leave some space between the flames to give them a natural and realistic appearance.
Step 3: Define the Flames
To make the flames look more realistic, we need to define their shape and add some detail. Start by extending the wavy lines you drew in the previous step to create the shape of the flames. Add smaller curved lines extending from the sides of the flames to represent the flickering and dancing movement of the fire. Don’t worry about making the flames look perfect – irregular shapes and lines will actually make them look more natural.
Step 4: Draw the Logs
Now let’s add the logs that make up the base of the campfire. Draw two long and slightly curved lines on each side of the circle, extending downwards to represent the logs. To give the logs a more textured and realistic look, add some curved lines and irregular shapes along their length to represent the bark.
Step 5: Add Shading and Texture
To give your campfire a sense of depth and realism, it’s important to add shading and texture. You can use a shading pencil or charcoal to add shadows and darker tones to the flames and logs. Start by adding shading to the bottom and inner parts of the flames to give them a sense of depth. Then, darken the logs by adding shading along the sides and under the logs to create the effect of light and shadows.
Step 6: Optional – Add Color
If you want to add some color to your campfire drawing, now is the time to do it. Use colored pencils or markers to add vibrant hues to the flames and logs. You can choose realistic colors like orange, red, and yellow for the flames, and brown or gray for the logs. Don’t be afraid to experiment with different colors and shading techniques to make your campfire truly unique and eye-catching.
Step 7: Final Touches
To complete your campfire drawing, take a step back and assess your work. Are there any areas that need further shading or detail? Take your pencil or eraser and make any necessary adjustments. Pay attention to the overall composition and balance of your drawing, ensuring that the flames, logs, and ground are harmoniously placed within the scene.
Congratulations! You have successfully drawn a campfire. Take a moment to admire your work and enjoy the cozy and inviting atmosphere you’ve created on paper.
Conclusion
Drawing a campfire can be a fun and rewarding activity that allows you to tap into your artistic side. By following these step-by-step instructions, you can create a realistic and captivating campfire drawing. Remember to take your time, practice, and experiment with different techniques to develop your own unique style. So grab your art supplies and let your imagination run wild as you bring the warmth and beauty of a campfire to life on paper!