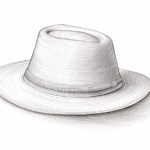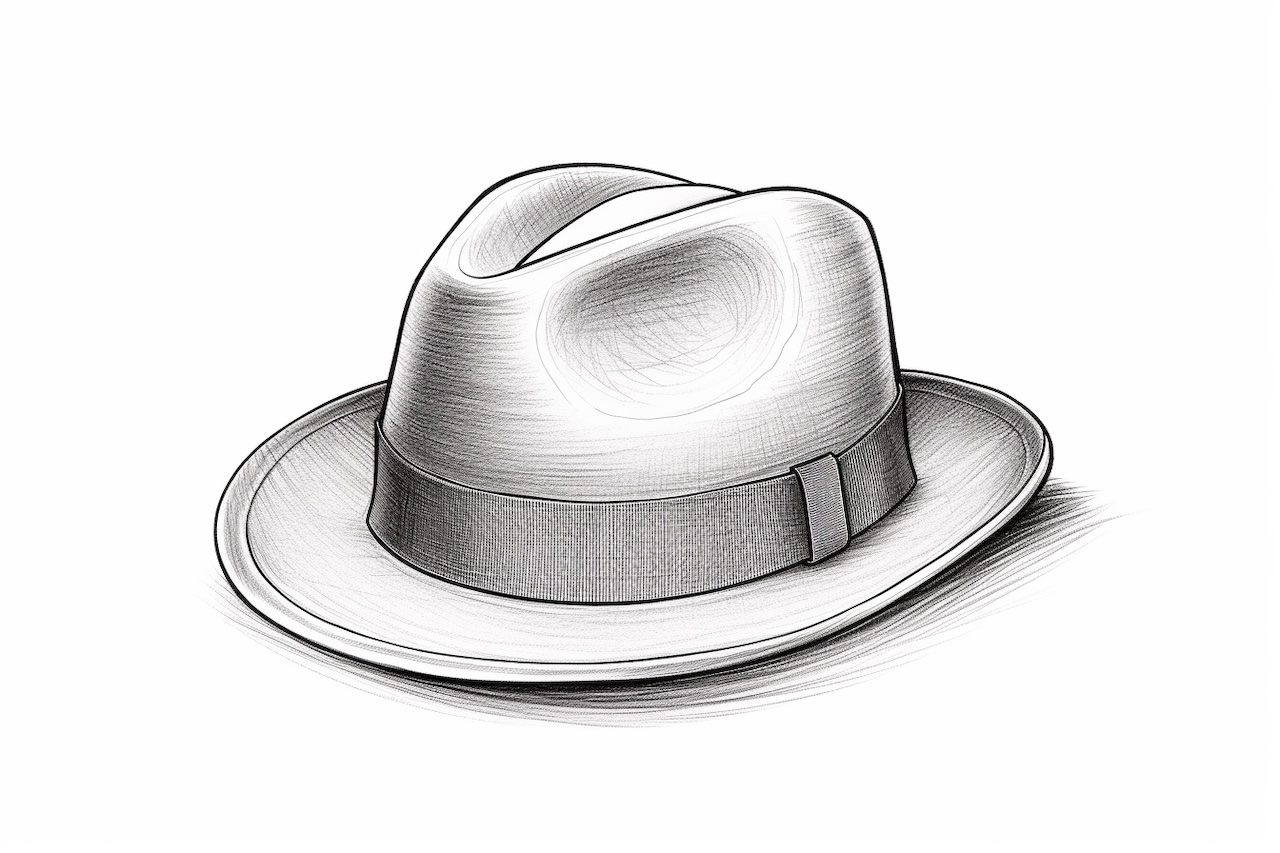
Welcome to this step-by-step guide on how to draw a fedora! Fedoras are stylish and iconic hats that can add a touch of class to any drawing or illustration. Whether you’re an aspiring artist or just someone looking for a fun and creative activity, this tutorial will take you through the process of drawing a fedora in a clear and concise manner. So grab your pencils and let’s get started!
Materials Required
Before we begin, make sure you have the following materials:
- Pencil (preferably a mechanical pencil with HB or B lead)
- Eraser
- Paper (preferably a sketchpad or drawing paper)
- Ruler (optional, but helpful for straight lines)
Now that you have everything you need, let’s dive into the steps!
Step 1: Sketch the Basic Shape
Start by sketching a large oval shape that will serve as the crown of the fedora. This will be the base of our drawing.
Step 2: Add the Brim
From the bottom of the oval shape, draw a slightly curved line going outwards. This line will represent the brim of the fedora. Make sure the brim is evenly sized around the entire oval shape.
Step 3: Define the Crown
To give the crown some depth, draw a slightly curved line just above the oval shape. This line will indicate the top portion of the crown. Then, draw another curved line below the oval shape, slightly following its contour. This will create the lower portion of the crown.
Step 4: Add Details to the Brim
To make the brim more realistic, add some curved lines along its outer edge. These lines will create a subtle wave-like pattern, giving the brim some texture and dimension.
Step 5: Draw the Hat Band
Draw a horizontal line near the bottom of the crown to serve as the hat band. This line should be slightly curved to match the shape of the crown. Feel free to add some details to the hat band, such as small dots or diagonal lines, to make it more interesting.
Step 6: Refine the Shape
Go over your sketch and refine the overall shape of the fedora. Pay attention to the proportions and make any necessary adjustments. Use your eraser to remove any unwanted lines and clean up the drawing.
Step 7: Add Shadows and Highlights
To make the fedora look more three-dimensional, add shadows and highlights to your drawing. Shade the areas that would be in shadow, such as the underside of the brim and the lower portion of the crown. Use light, gentle strokes to create a smooth gradient effect.
On the other hand, add highlights to the areas that would catch the light, such as the top of the crown and the edges of the brim. Leave these areas blank or lightly shade them to indicate their brightness.
Step 8: Finalize the Details
Take your time to refine the details of the fedora. Add more texture to the hat band by drawing small lines or patterns. You can also add some wrinkles or creases to the crown and brim to make the hat look more realistic.
Conclusion
Drawing a fedora is a fun and rewarding activity that allows you to explore your artistic skills. By following these step-by-step instructions, you can create a realistic and stylish fedora in no time. Remember to practice and experiment with different styles and techniques to make your drawings unique. So grab your pencils, unleash your creativity, and start drawing some fantastic fedoras!