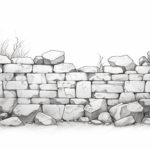
Welcome to this step-by-step guide on how to draw a cracked wall. Cracks add a sense of age and character to a drawing, whether it’s a landscape, still life, or any other subject matter. In this article, we will explore the techniques and materials needed to create a realistic and visually appealing cracked wall in your artwork. So let’s get started!
Materials Needed
Before we begin, gather the following materials:
- Paper: Choose a sturdy paper that can handle both light sketching and heavy shading.
- Pencils: Use a range of graphite pencils, such as H, HB, 2B, and 4B, to achieve different tones and textures.
- Eraser: Have a kneaded eraser or a soft rubber eraser on hand for correcting mistakes and highlighting.
- Blending Tools: Use a blending stump or tortillon to soften and blend shading.
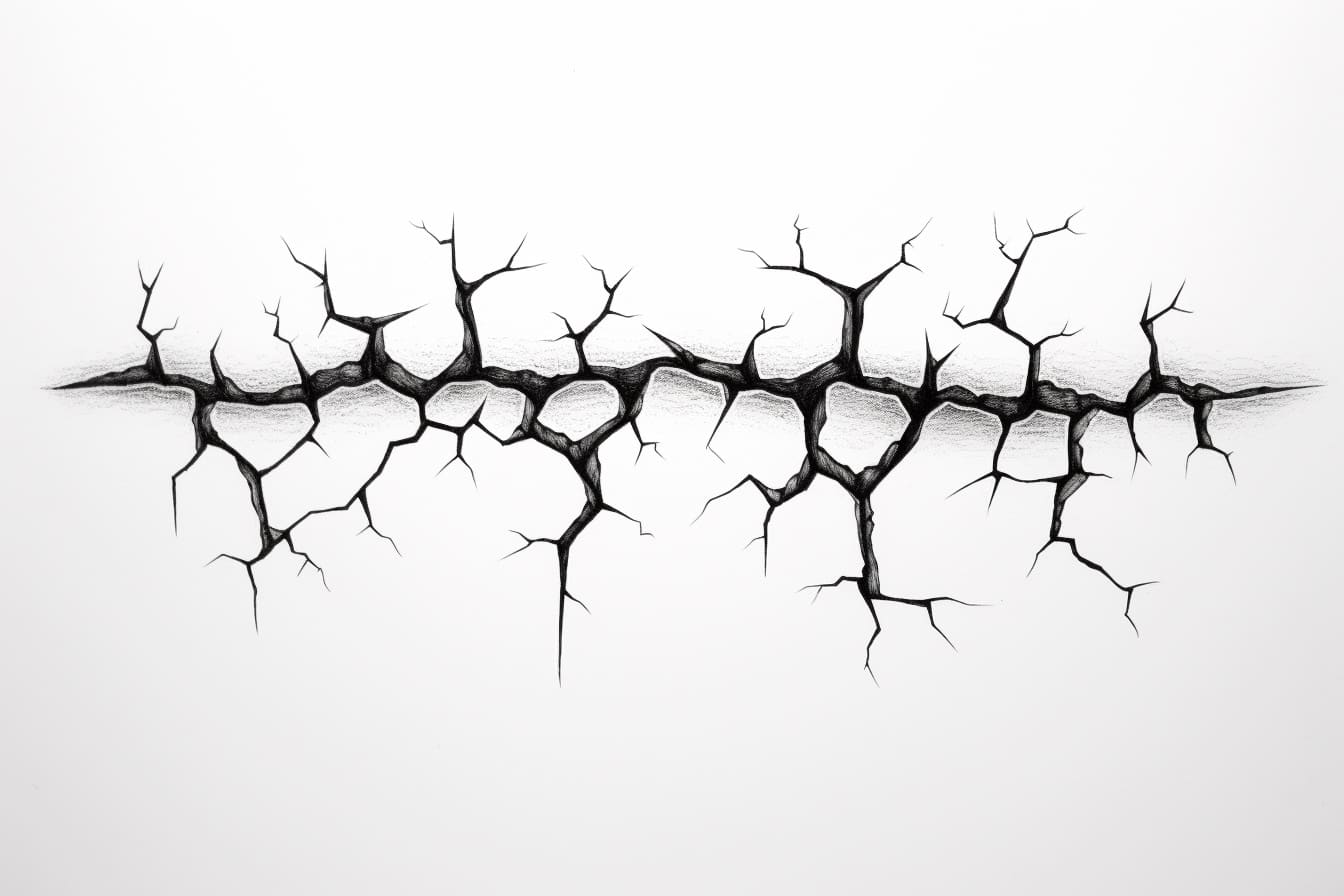
- Reference Image: Find a reference image of a cracked wall to guide your drawing.
Now that you have everything you need, let’s dive into the step-by-step process of drawing a cracked wall.
Step 1: Sketch the Outline
Start by lightly sketching the outline of the cracked wall on your paper. Use simple geometric shapes to represent the basic structure. Focus on the overall shape, size, and placement of the wall.
Step 2: Establish the Light Source
Determine the direction of the light source in your reference image. This will help you create realistic and consistent shading later on. Mark the areas of light and shadow accordingly.
Step 3: Add the Cracks
Using a sharp pencil, lightly draw the cracks on the wall. Pay attention to their shape, length, and direction. Cracks can vary in thickness and depth, so experiment with different line weights to create a natural effect.
Step 4: Shade the Cracks
Start shading the cracks to give them depth and dimension. Use a darker pencil (e.g., 2B or 4B) to shade the areas around the cracks, creating a recessed effect. Gradually build up the darkness, blending the shades smoothly using a blending tool.
Step 5: Add Texture
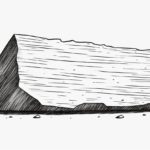
To make the cracks look more realistic, add texture to the surrounding wall. Use a combination of short, jagged lines and small dots to represent the roughness of the surface. Vary the density and direction of the texture to add visual interest.
Step 6: Enhance the Shadows
Observe the light source and intensify the shadowed areas accordingly. Use a darker pencil to add depth to the shadows within and around the cracks. Gradually build up the tones, blending the shades smoothly.
Step 7: Highlight and Refine
Use a kneaded eraser or a soft rubber eraser to gently lift off some graphite to create highlights and add details to the cracks. This will help create a contrast and bring the cracks to life. Refine the overall shape and details of the wall as needed.
Step 8: Final Touches
Take a step back and assess your drawing. Make any necessary adjustments and final touches to ensure the desired result. Pay attention to the overall composition, balance, and realism of the cracks.
Conclusion
Drawing a cracked wall can be a challenging yet rewarding artistic endeavor. By following these step-by-step instructions and using the right materials, you can create a visually captivating representation of a cracked wall in your artwork. Remember to take your time, be patient, and practice regularly to improve your skills. Now go grab your materials and start drawing your own stunning cracked wall!