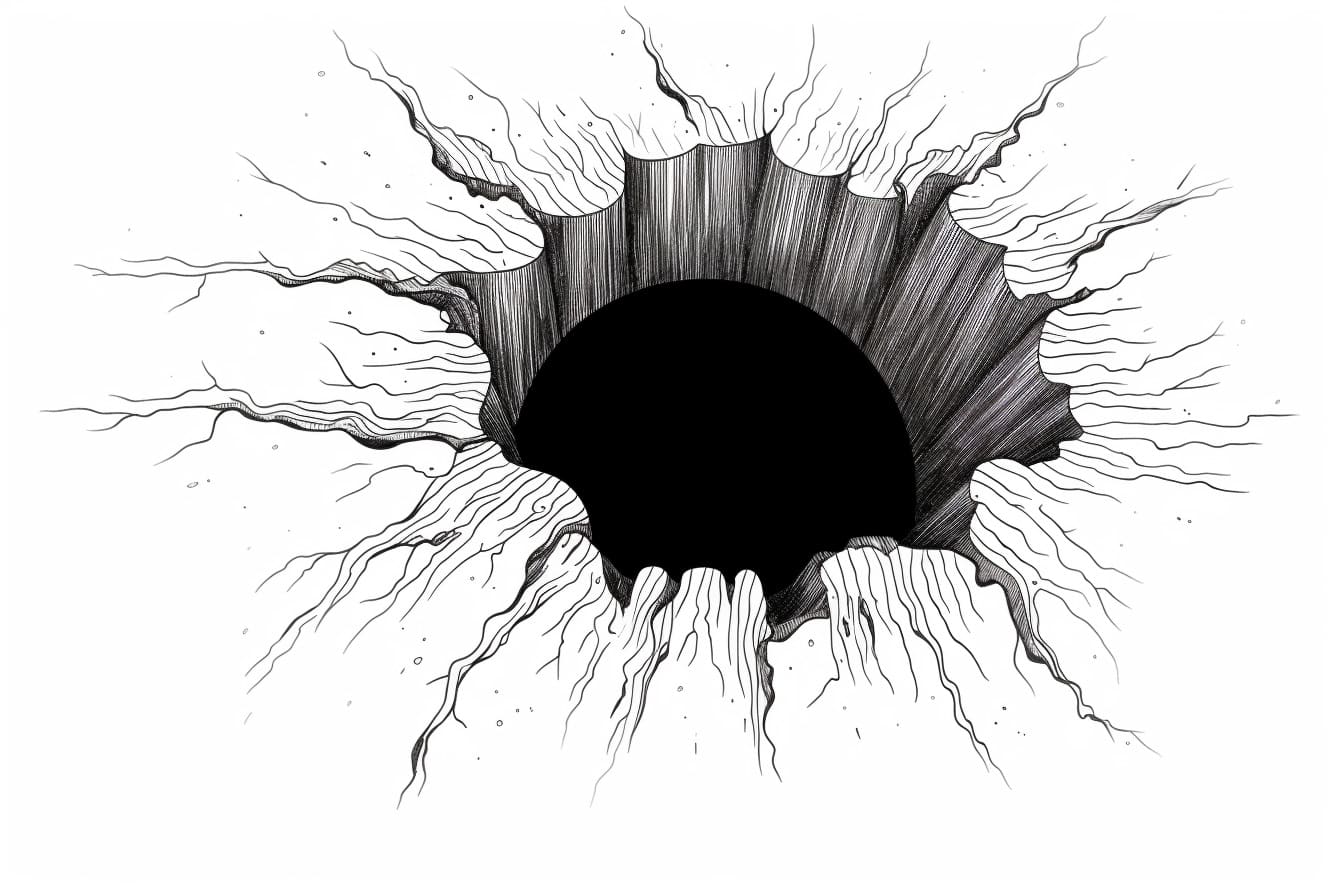
Drawing a hole can be a fascinating and challenging exercise for artists of all skill levels. Whether you are a beginner or an experienced artist, learning how to create the illusion of depth and dimension can greatly enhance your artwork. In this step-by-step guide, we will explore the process of how to draw a hole, providing clear instructions and tips along the way.
Materials Required
Here’s a list of materials you will need to draw a hole:
- Drawing paper or sketchbook
- Graphite pencils of varying grades (HB, 2B, 4B)
- Eraser
- Ruler
- Blending stump or cotton swabs
- Optional: Colored pencils or markers for added effects
Step 1: Planning the Composition
Before starting the actual drawing, it’s essential to plan the composition to ensure a well-balanced and visually appealing result. Decide on the size and position of the hole on your paper. Consider the surrounding elements, such as shadow, texture, or objects that may be inside or overlapping the hole.
Step 2: Sketching the Outline
Using a lighter graphite pencil (HB), lightly sketch the outline of the hole. Pay attention to the proportions and angles, as these will determine the perspective of the hole. Start with a basic shape, such as a circle or an oval, which will serve as the opening of the hole.
Step 3: Adding Depth and Dimension
To create the illusion of depth, we need to add shading and highlights. Start by identifying the light source in your composition. This will determine where the shadows and highlights fall on the hole. Use a darker graphite pencil (2B or 4B) to shade the areas where the hole recedes into the surface. Gradually build up the layers of shading to achieve a realistic effect.
Step 4: Creating Texture
Texture is crucial in making the hole appear more realistic. Use cross-hatching or stippling techniques to add texture to the inner walls of the hole. Pay attention to the direction of your strokes, following the contours of the hole. Vary the pressure and spacing of your lines to create the desired texture.
Step 5: Adding Shadows and Highlights
Shadows and highlights add depth and dimension to your drawing. Use a darker graphite pencil (4B) to shade the areas where the hole casts a shadow on the surrounding objects or surfaces. Pay attention to the angles and intensity of the shadows. Use an eraser to lift off highlights on the edges of the hole and any reflective surfaces within it.
Step 6: Refining the Details
Now it’s time to add finer details to your drawing. Use a lighter graphite pencil (HB) or a mechanical pencil to refine the edges of the hole and add any necessary details, such as cracks, pebbles, or debris. Be mindful of the overall composition and ensure that the details complement the depth and perspective of the hole.
Step 7: Blending and Smoothing
To achieve a more realistic and seamless look, use a blending stump or a cotton swab to blend and smooth the shading and textures. This helps soften any harsh lines and creates a more cohesive drawing. Be careful not to overblend, as it may result in a loss of contrast and definition.
Step 8: Adding Color (Optional)
If you want to take your drawing to the next level, consider adding color to your hole. Colored pencils or markers can be used to add depth and vibrancy to the composition. Experiment with different color combinations and shading techniques to enhance the realism of your drawing.
Conclusion
Drawing a hole can be a challenging but rewarding experience. By following these step-by-step instructions, you can learn how to create a realistic and visually compelling hole in your artwork. Remember to sketch the outline, add depth and dimension through shading and highlights, create texture, refine the details, and blend and smooth your drawing. With practice and patience, you’ll be able to master the art of drawing a hole and use this technique to add depth and interest to your future artwork.