Welcome to this step-by-step guide on how to draw a bug! Whether you are a beginner or an experienced artist, this tutorial will provide you with clear instructions on creating a detailed and realistic bug drawing. Bugs come in a variety of shapes and sizes, from spiders to ladybugs, and this guide will cover the fundamental steps to drawing any bug. So grab your pencils and let’s get started!
Materials Required
To draw a bug, you will need the following materials:
- Pencil
- Eraser
- Paper
- Fine-tipped marker or pen (optional, for outlining)
Now that you have your materials ready, let’s dive into the steps of drawing a bug.
Step 1: Sketching the Basic Shape
Start by lightly sketching the basic shape of your bug using a pencil. Bugs have different body types, but a common shape would resemble an oval or a circle. This shape will serve as the main body of your bug.
Step 2: Adding the Head and Antennae
At one end of the body shape, draw a smaller circle or oval to represent the bug’s head. Extend two curved lines outwards from the head to create the antennae. The length and shape of the antennae will depend on the bug you are drawing. Some bugs have long and straight antennae, while others have shorter and more curved ones.
Step 3: Drawing the Eyes
Draw two round or oval shapes on the bug’s head to represent the eyes. Bugs have different types of eyes, so feel free to experiment with different designs. You can draw larger eyes for a more cartoonish look or smaller, more realistic eyes for a detailed drawing.
Step 4: Adding Legs and Feet
Extend lines downward from the body shape to create the bug’s legs. The number of legs will vary depending on the type of bug you are drawing. In general, most insects have six legs. Draw small ovals or circles at the end of each leg to represent the bug’s feet. Take note of the bug’s body structure and the positioning of the legs to ensure a realistic representation.
Step 5: Incorporating Details and Patterns
Now that you have the basic structure of the bug, it’s time to add some details and patterns. Look closely at the bug you are drawing and observe the unique features. Does it have stripes or spots? Are there any distinctive patterns on its body? Use your pencil to lightly sketch these patterns onto the bug’s body. This step is essential for bringing your bug drawing to life.
Step 6: Refining the Outline
Once you are satisfied with the overall shape and details, go over your sketch with a fine-tipped marker or pen. Trace the main outline of the bug, emphasizing the contours and distinctive features. You can also define the eyes, antennae, and legs with the marker, making them stand out more.
Step 7: Adding Shadows and Highlights
To make your bug drawing appear more three-dimensional, add shadows and highlights. Imagine a light source and determine how it would hit the bug’s body. Shade the areas that would be in shadow, such as underneath the body and legs. Leave certain areas untouched or lightly shade them to create highlights, giving the bug a more realistic and dynamic look.
Step 8: Erasing Guidelines
Carefully erase any remaining pencil guidelines to clean up your drawing. Be gentle to avoid smudging or damaging the inked outlines and details. Use an eraser that is suitable for your paper type to achieve a clean and polished finished drawing.
Conclusion
Congratulations on completing your bug drawing! By following these step-by-step instructions, you have learned how to draw a bug with detail and precision. Remember to practice frequently and experiment with different bug species to enhance your skills. With time and dedication, you will continue to improve your artistic abilities. Enjoy the process, and happy drawing!
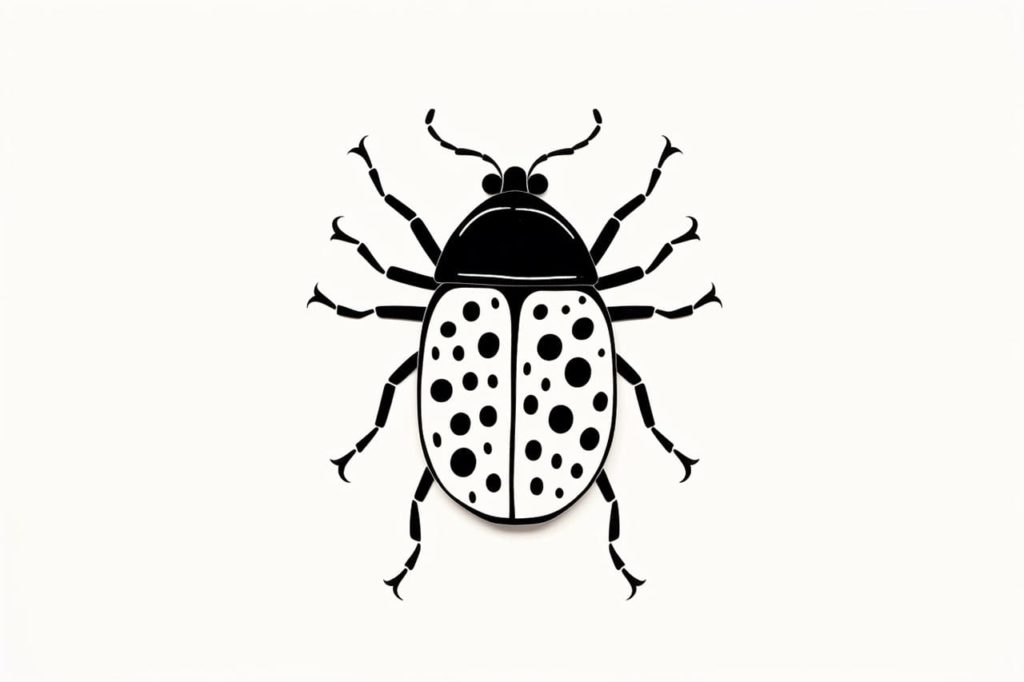
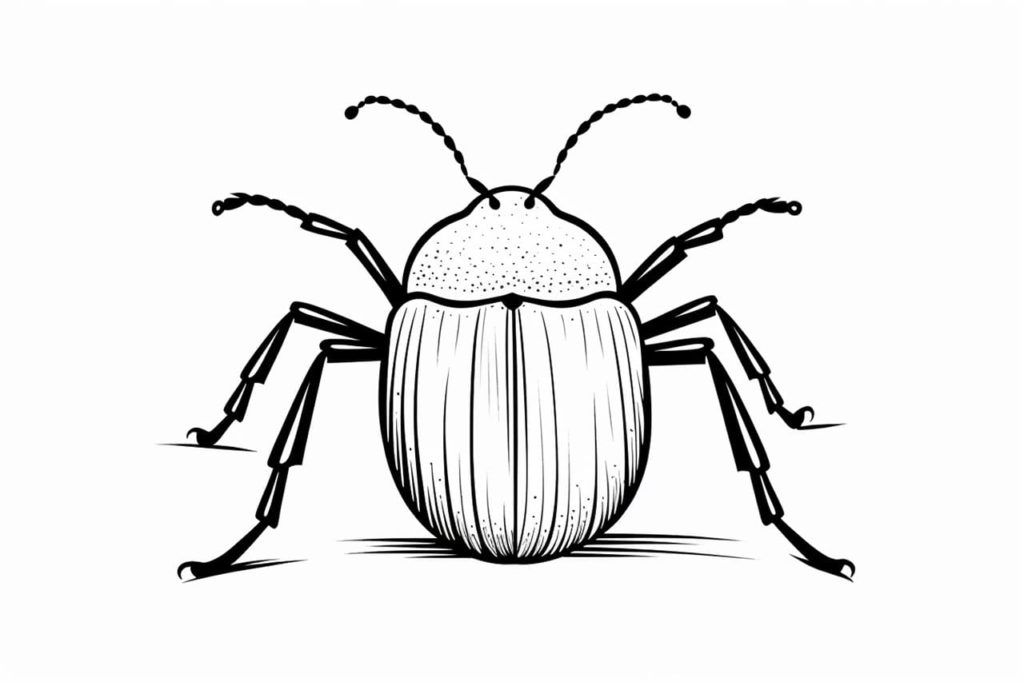
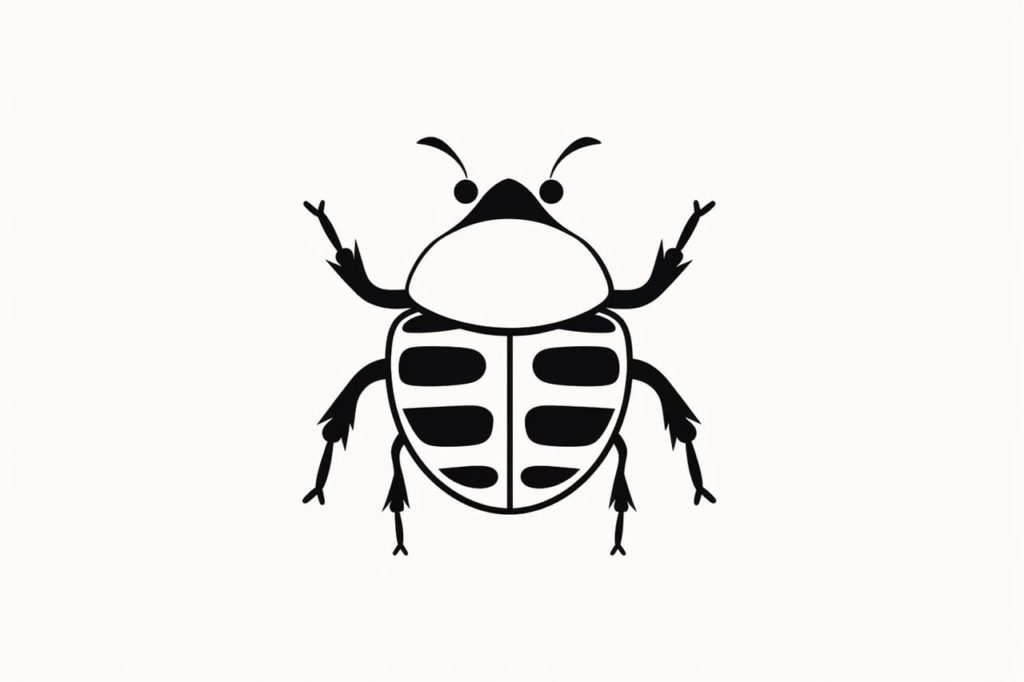
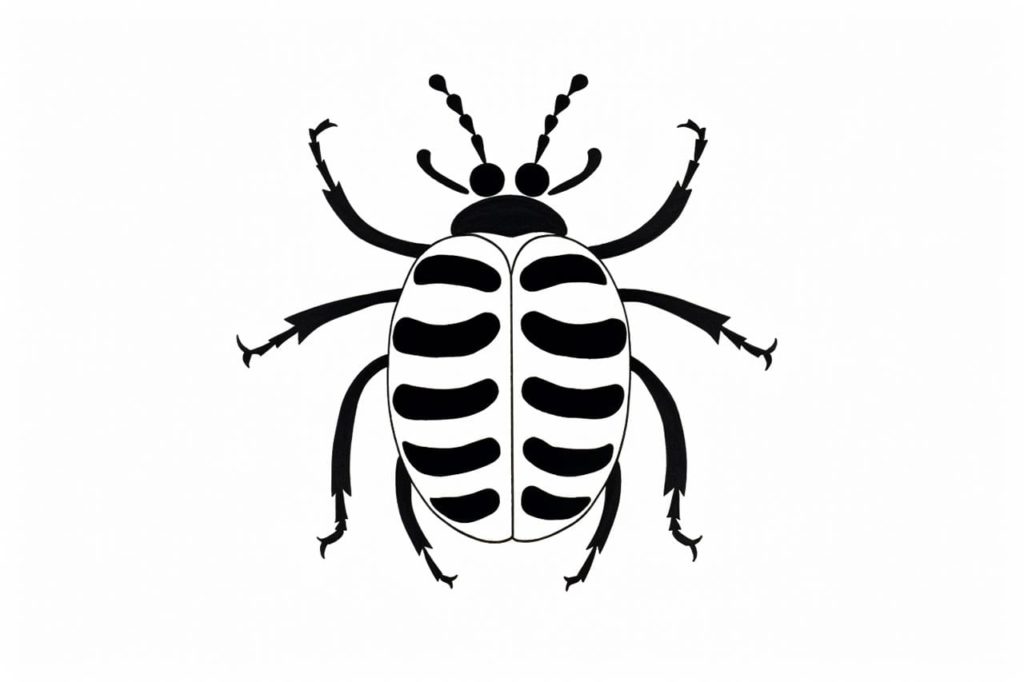
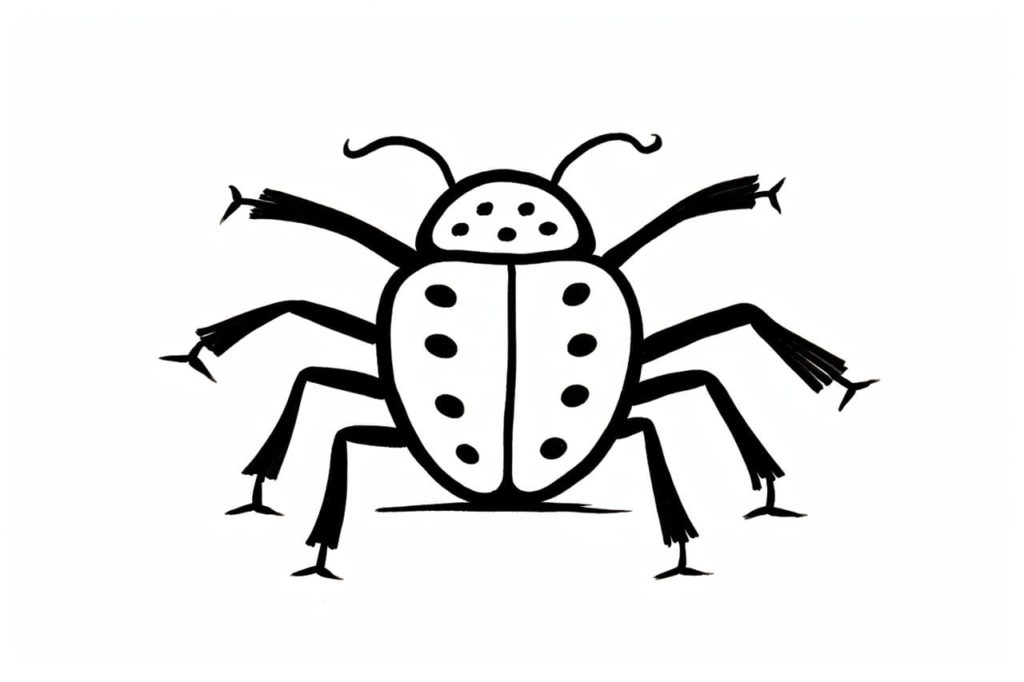
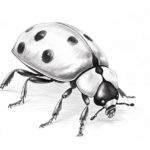
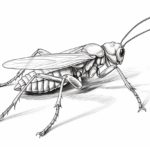
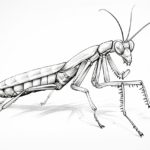
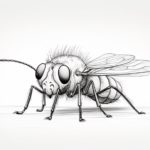
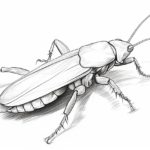
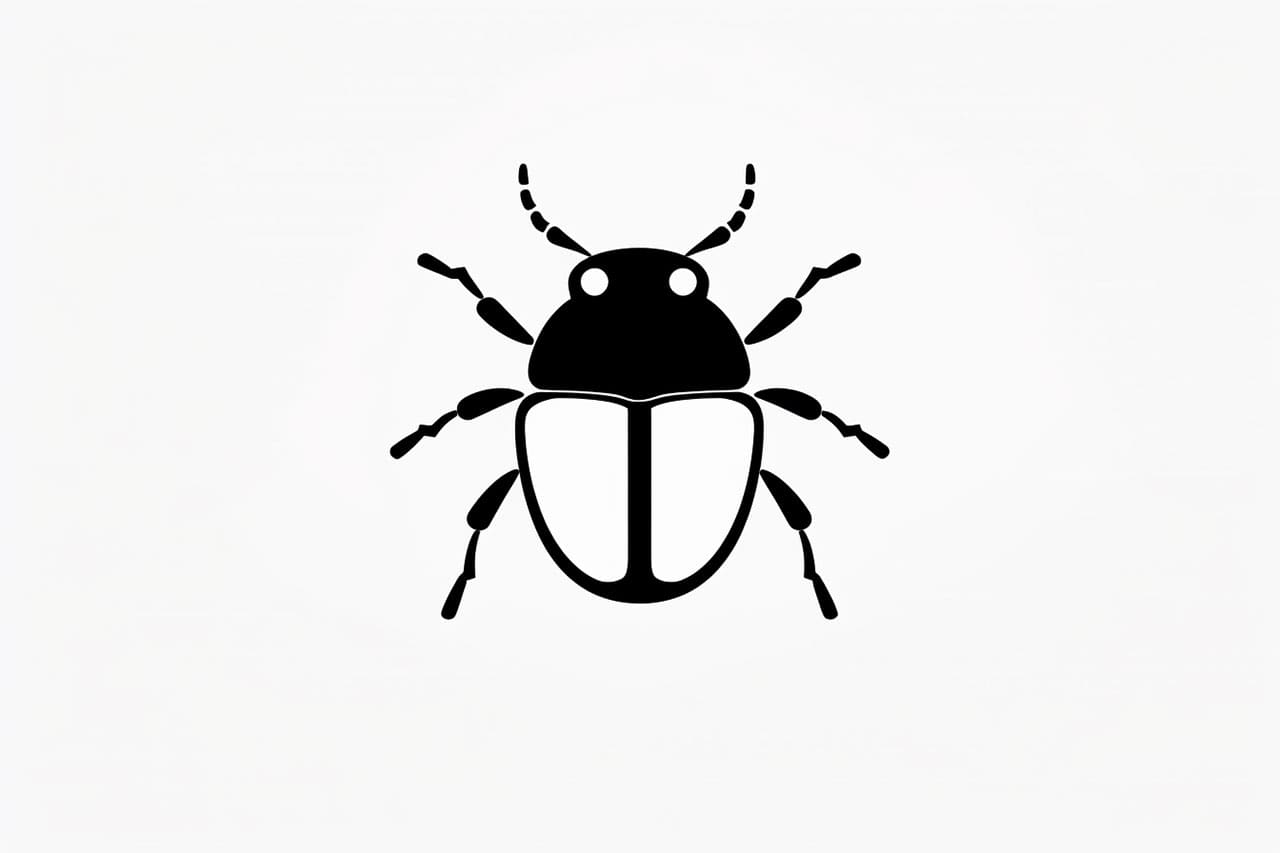
Gallery of Bug Drawings