Welcome to this step-by-step tutorial on how to draw a brick wall! Whether you’re an aspiring artist or just looking to add some visual interest to your drawings, this guide will teach you the techniques needed to create a convincing brick pattern. With just a few basic materials and some patience, you’ll be able to master this skill and incorporate it into your artwork.
Materials Required
Before we get started, let’s gather the necessary materials for this project. You’ll need:
- Drawing paper or sketchbook
- Pencil (preferably a 2B or softer)
- Ruler
- Eraser
- Colored pencils or markers (optional)
Now that we have our materials ready, let’s dive into the process of drawing a brick wall.
Step 1: Sketch the Basic Outline
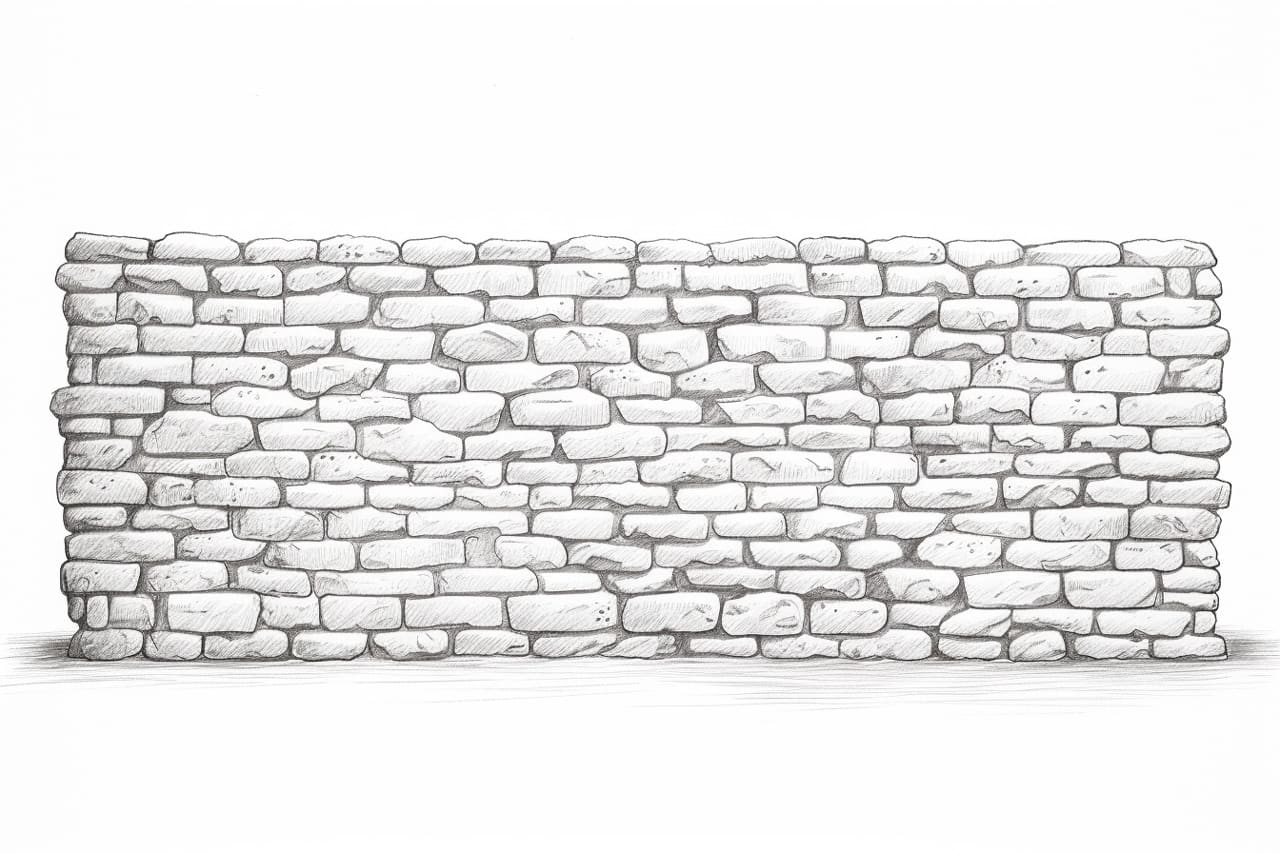
Start by lightly sketching the basic outline of the brick wall on your drawing paper. You can determine the size and shape of the wall based on your preference and the composition of your artwork. Use a ruler to ensure the lines are straight and even.
Step 2: Establish the Brick Placement
Using your ruler, draw horizontal lines across the wall to represent the placement of the bricks. These lines should be parallel and evenly spaced. The spacing will depend on the size of your bricks, so adjust accordingly. Remember that real brick walls have some variation in brick size and spacing, so don’t strive for absolute uniformity.
Step 3: Draw the Vertical Lines
Next, draw vertical lines intersecting the horizontal lines to create the individual bricks. Again, use your ruler to ensure they are straight and evenly spaced. Keep in mind that bricks have some irregularities, so you can vary the width of the bricks slightly for a more realistic effect.
Step 4: Add Texture to the Bricks
To give the bricks a realistic texture, lightly draw small horizontal lines or dashes across each brick. This will mimic the rough surface of actual bricks and add depth to your drawing. Be consistent with the direction of these lines to maintain a cohesive look.
Step 5: Shade the Bricks
Now it’s time to add shading to the bricks to make them appear three-dimensional. Using your pencil, darken one side of each brick, leaving the opposite side lighter. This shading technique creates the illusion of light and shadow. Take your time with this step, as it can greatly enhance the realism of your brick wall.
Step 6: Fine-tune the Details
Once you have shaded all the bricks, take a step back and assess your drawing. Look for any areas that may need refinement or additional detail. You can use your eraser to lighten or correct any mistakes. Pay attention to the overall balance of light and dark areas, as well as the perspective of the wall.
Step 7: Optional Coloring
If you want to add color to your brick wall, now is the time to do so. Colored pencils or markers can be used to add depth and vibrancy to the drawing. Consider using a range of warm earth tones, such as reds, browns, and oranges, to capture the natural color of bricks. Remember to apply the color lightly at first and gradually build up layers for a smoother effect.
Conclusion
Congratulations! You have successfully learned how to draw a realistic brick wall. By following these step-by-step instructions and practicing regularly, you can refine your skills and create impressive drawings with brick textures. Remember to be patient and experiment with different shading techniques to achieve the desired effect.
Drawing a brick wall can add a touch of realism and architectural interest to your artwork. So, grab your materials and start sketching! With practice, you’ll be able to incorporate brick walls seamlessly into your drawings.

