Have you ever been fascinated by the intricate details and sharpness of a shark tooth? Drawing a shark tooth can be a fun and challenging task that allows you to explore your artistic skills. In this step-by-step guide, I will show you how to draw a shark tooth. With some patience and practice, you’ll be able to create an impressive drawing that captures the essence of this fascinating natural structure.
Materials Required
Before we dive into the step-by-step process, let’s gather the materials you’ll need to draw a shark tooth:
- Pencil: A graphite pencil will allow you to create precise lines and shading.
- Eraser: A kneaded eraser or a soft gum eraser will help you correct any mistakes.
- Paper: A smooth and durable paper, such as drawing paper or Bristol board, is ideal for this drawing.
- Ruler: A ruler will assist you in creating straight lines and measuring proportions.
Now that you have your materials ready, let’s begin the step-by-step process of drawing a shark tooth!
Step 1: Start with Basic Shapes
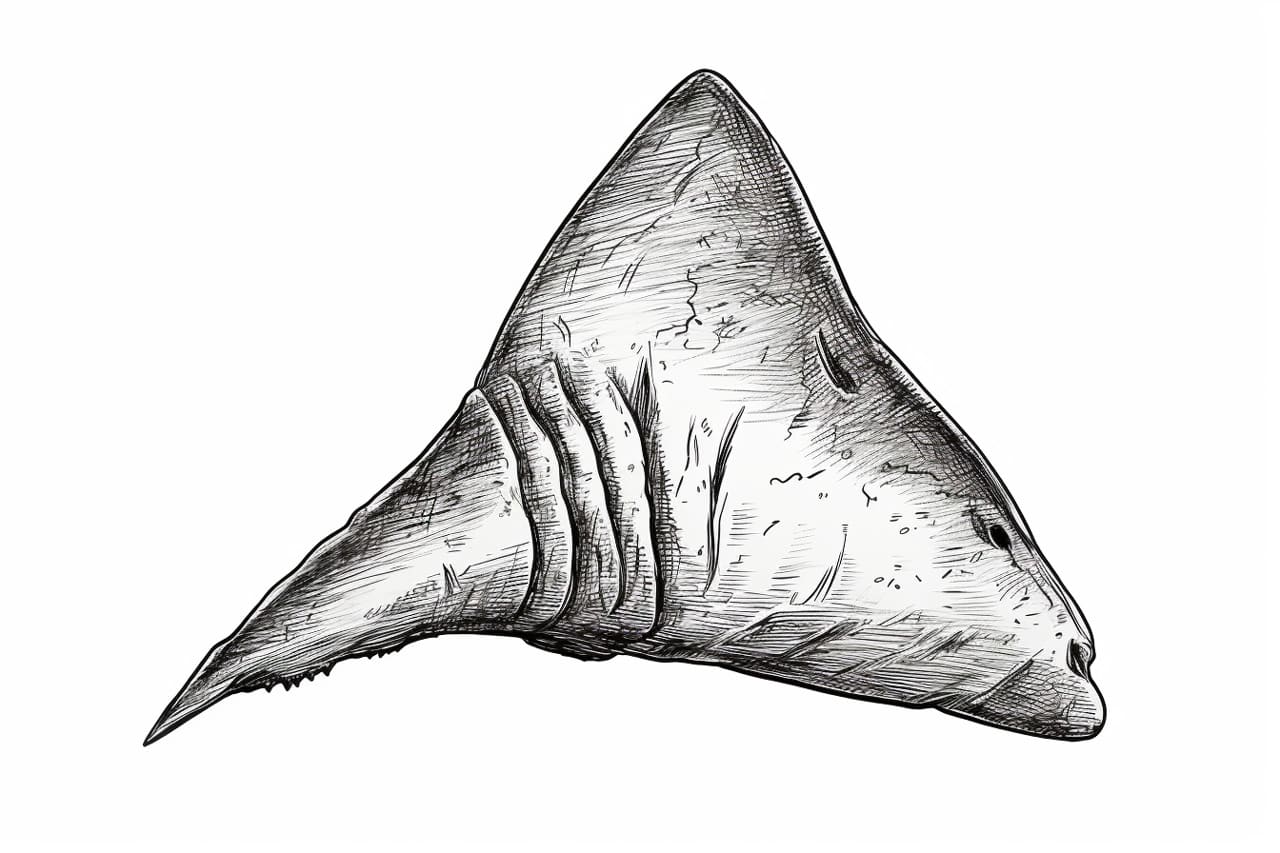
Begin by lightly sketching a long and narrow triangular shape to represent the outline of the shark tooth. This triangle will act as the foundation for your drawing. Make sure the base of the triangle is wider than the top.
Step 2: Add Detail to the Outline
Next, add some jagged edges to the sides of the triangle to depict the serrated edges of the shark tooth. These irregular and sharp edges are characteristic of a real shark tooth. Take your time and carefully observe the reference image or a real shark tooth to ensure accuracy.
Step 3: Define the Inner Structure
Draw a line vertically from the top of the tooth to the base, dividing it into two equal halves. Then, draw two additional lines horizontally, intersecting the vertical line near the base of the tooth. These lines will help you align and place the main features of the tooth accurately.
Step 4: Shape the Tooth
Using the outline as a guide, add volume and depth to the tooth. Start by sketching a curved line along the inner edges of the tooth to give it a three-dimensional appearance. This line will represent the gum line surrounding the tooth. It should follow the contours of the tooth, curving inward towards the base.
Step 5: Add Texture and Detail
Now it’s time to add texture and detail to your shark tooth drawing. Begin by sketching diagonal lines across the tooth, following the shape of the triangle. These lines will give the tooth a rough and textured look. Vary the length and direction of the lines to create a more realistic effect.
Step 6: Refine the Shape
Take a closer look at your drawing and refine the shape of the tooth as needed. Use your reference image or a real shark tooth to observe the subtle curves and contours. Pay attention to any irregularities in the tooth’s surface and make adjustments to capture those details.
Step 7: Shade the Tooth
Now it’s time to add shading to your drawing, which will bring depth and dimension to the tooth. Use your pencil to shade the areas where shadows would naturally fall. Start by applying a light layer of graphite to the areas that are slightly darker or recessed. Gradually build up the shading by applying more pressure to your pencil. Pay close attention to the reference image or a real shark tooth to identify the darkest areas and create a smooth transition between light and dark.
Step 8: Enhance the Contrast
To further enhance the realistic look of your drawing, increase the contrast by adding darker shades to the shadows and highlights to the lighter areas. This will make the tooth appear more three-dimensional and lifelike. Take your time and gradually build up the contrast, ensuring a smooth transition between the different values.
Step 9: Refine the Details
Now that you have established the basic shading and contrast, take a closer look at the smaller details of the tooth. Use a sharp pencil or a fine liner pen to accentuate the jagged edges and add extra texture. Pay attention to any imperfections or irregularities in the tooth’s surface and recreate them in your drawing.
Step 10: Finalize Your Drawing
Once you are satisfied with the overall look of your shark tooth drawing, evaluate it as a whole. Make any necessary adjustments or refinements to ensure that all the elements are harmonious and well-balanced. Use your eraser to gently remove any stray marks or smudges, giving your drawing a clean and polished finish.
Congratulations! You have successfully drawn a realistic and detailed shark tooth. By following these step-by-step instructions and practicing regularly, you can continue to improve your drawing skills and tackle more complex subjects.
Conclusion
Drawing a shark tooth may seem challenging at first, but with the right techniques and practice, you can create an impressive and realistic representation. Remember to observe the details, capture the three-dimensional form, and pay attention to shading and texture. With time and dedication, you’ll be able to master the art of drawing shark teeth and expand your artistic abilities.
Now it’s time to grab your pencil and paper, and start sketching your own shark tooth masterpiece!