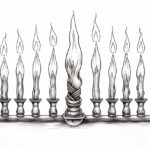
Are you an aspiring artist looking to enhance your drawing skills? Drawing a candle flame is a great exercise to develop your understanding of light and shadow, as well as to practice creating realistic textures. In this step-by-step tutorial, I will guide you through the process of how to draw a candle flame.
Materials Needed
Before we get started, make sure you have the following materials on hand:
Now that you have everything ready, let’s dive into the drawing process!
Step 1: Outline the Flame Shape
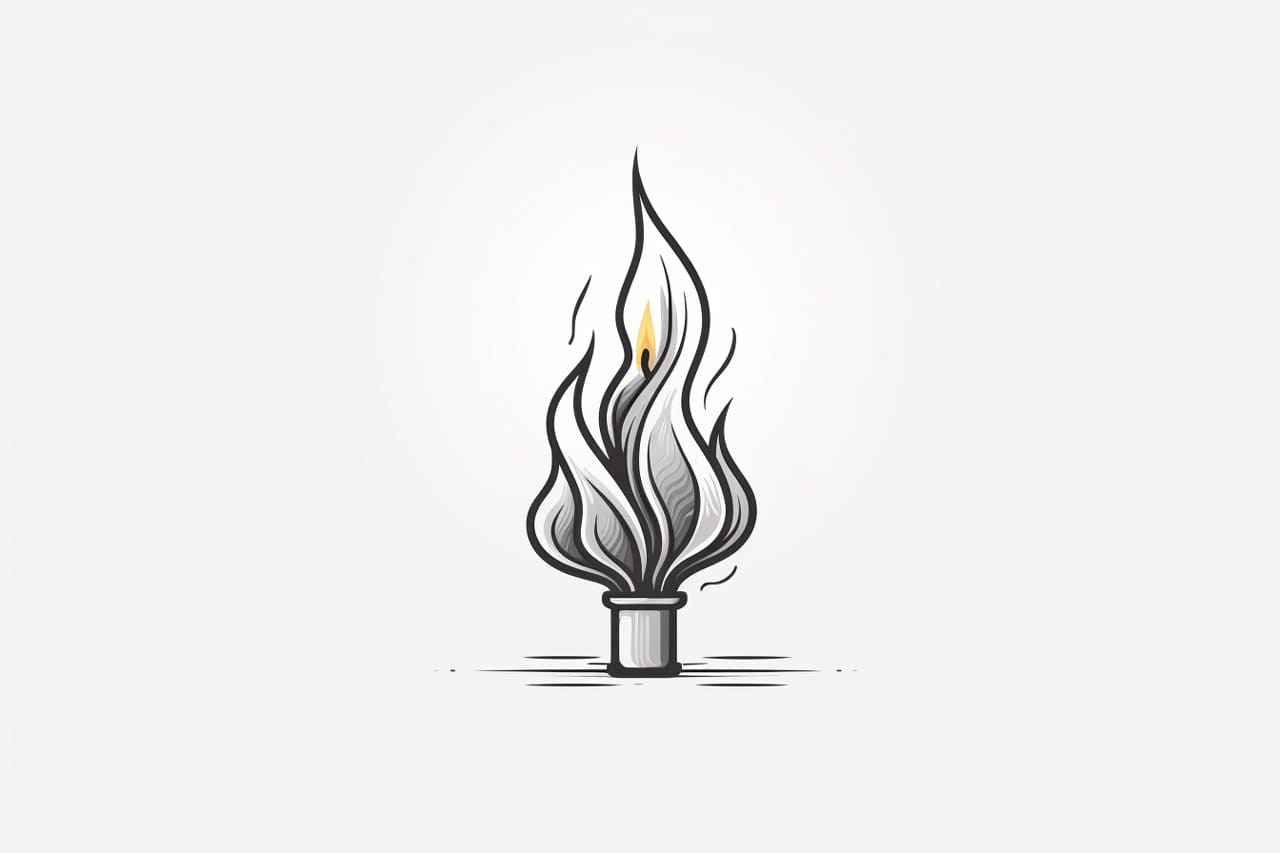
Begin by lightly sketching the basic shape of the flame. A candle flame typically has an elongated teardrop shape, so keep that in mind as you draw. Start with a curved line for the top part of the flame, and then gradually narrow it down towards the bottom. You can use light, loose strokes at this stage as we will be refining the shape later on.
Step 2: Add Inner Details
Next, add some inner details to give the flame more depth and dimension. Draw a series of wavy lines within the flame shape, following its contours. These lines represent the flickering movement of the flame. Pay attention to the shape and direction of the lines to create a more realistic effect.
Step 3: Define the Flame Edges
Now it’s time to define the edges of the flame. Using darker pencil strokes, carefully outline the outer shape of the flame. Pay attention to the areas where the flame tapers off and becomes thinner. Keep your strokes loose and organic to mimic the uneven nature of a real flame.
Step 4: Add Texture to the Flame
To make the flame look more realistic, we need to add some texture. Start by lightly shading the bottom portion of the flame with your pencil. Gradually build up the darkness by adding more layers of shading. Remember to leave some areas untouched to create highlights and areas of brightness. This will give the illusion of light emanating from the flame.
Step 5: Create Shadows and Highlights
To further enhance the three-dimensional aspect of the drawing, we need to add shadows and highlights. Observe the direction of the light source and imagine how it would interact with the flame. Use your pencil to shade the areas that would be in shadow, such as the underside of the flame and the areas where the flame overlaps itself. Enhance the brightness of the highlights by gently lifting the graphite off the paper with your eraser.
Step 6: Refine and Blend
Take a step back and evaluate your drawing so far. This is a good time to refine any areas that need it. Pay close attention to the shape of the flame, the transitions between light and dark areas, and the overall balance of the drawing. If you want to smooth out any harsh pencil lines, you can use a blending stump or a q-tip to gently blend the graphite.
Step 7: Final Touches
In the final touches, go over your drawing and make any necessary adjustments. Look for areas that need more definition or additional shading. Take your time with these final touches to ensure that your drawing looks polished and complete.
Conclusion
Drawing a candle flame can be a challenging yet rewarding exercise for artists of all skill levels. By following these step-by-step instructions and practicing regularly, you will gain a better understanding of light, shadow, and texture. Remember to be patient with yourself and have fun with the process. Now go ahead and light up your artistic skills by drawing a stunning candle flame!