Welcome to this step-by-step tutorial on how to draw an Ivysaur! In this guide, I will walk you through the process of creating a detailed and accurate drawing of this popular Pokemon. Whether you are a beginner or a seasoned artist, by following these easy steps, you’ll be able to create your very own Ivysaur masterpiece in no time. So, let’s get started!
Materials Required
Before we dive into the drawing process, let’s make sure you have all the materials you’ll need to complete your Ivysaur artwork. Here’s what you’ll need:
- Paper: Choose a high-quality drawing paper that is suitable for your chosen medium.
- Pencil: A set of drawing pencils with different lead hardness (2H for light shading, HB for general sketching, and 2B for darker shading).
- Eraser: A soft eraser to correct any mistakes or lighten lines.
- Fine-tip pens: Black fine-tip pens or liners for inking your drawing (optional).
- Colored pencils or markers: If you want to add color to your Ivysaur drawing, have some colored pencils or markers ready.
Now that you have all the necessary materials, let’s move on to the step-by-step process of drawing an Ivysaur!
Step 1: Basic Shapes
To begin, lightly sketch a circle for Ivysaur’s head and a large oval shape beneath the head for the body. These shapes will act as a framework for your drawing. Remember to keep the lines light, as you will be refining them later.
Step 2: Eyes and Facial Features
Inside the circle you drew for the head, add two circles for the eyes. Then, draw a small triangle-shaped nose and a smiling mouth below it. Ivysaur has a unique pattern of three small lines on its forehead, so make sure to include those as well.
Step 3: Body and Limbs
Using the oval shape as a guide, draw two short lines down from the sides to create the front legs. Then, add two longer lines from the bottom of the oval to form the back legs. In the front legs, draw small ovals for the feet, and in the back legs, draw larger ovals for the hind feet. Don’t forget to include the trademark sharp claws on each foot.
Step 4: Details and Leaves
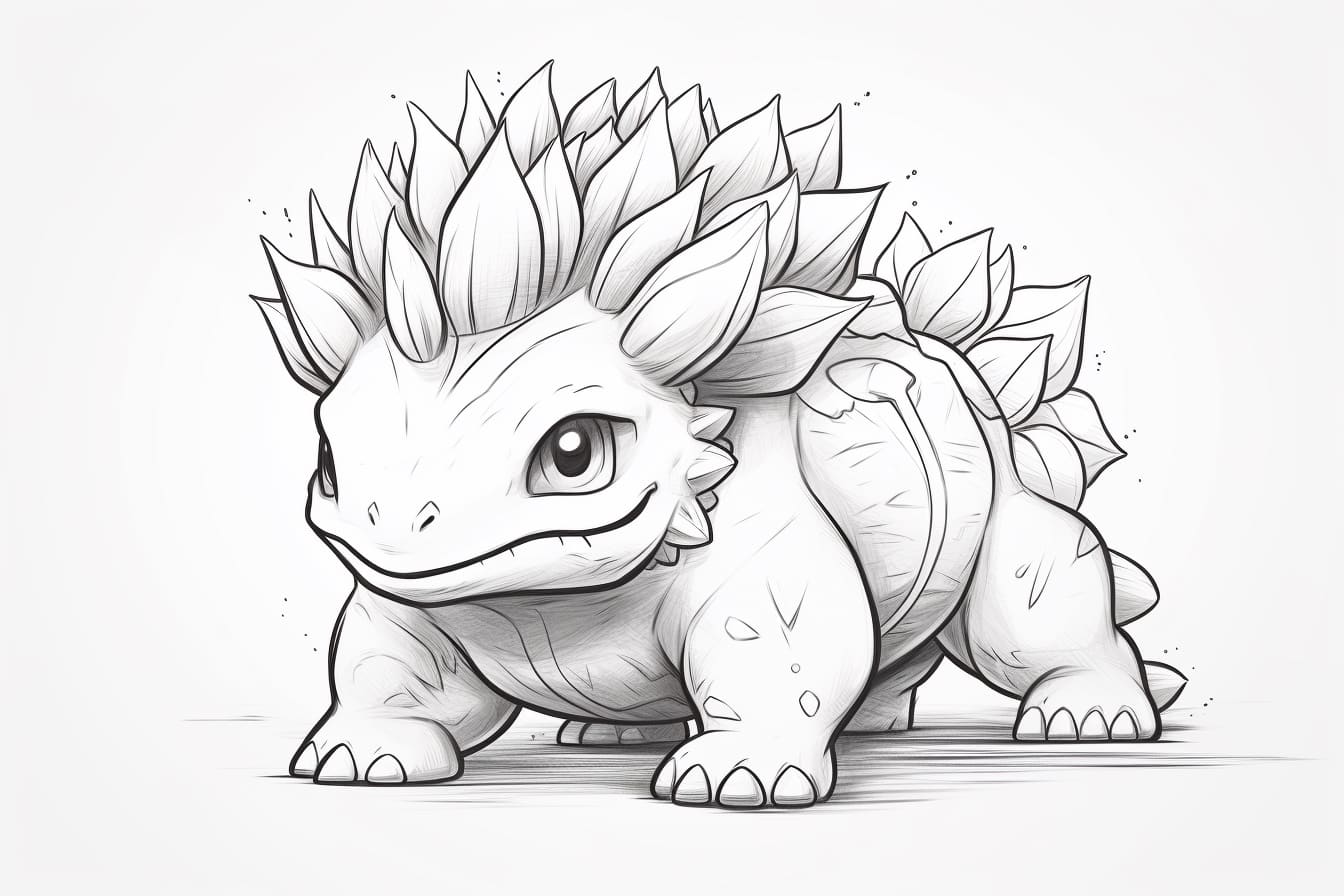
Now it’s time to add some details to your Ivysaur drawing. Sketch the shape of its leafy bulb on its back, extending above its head. Next, draw the pointed ears on either side of the head. Ivysaur also has a pair of large, leaf-like growths on the sides of its face. These will go right above the eyes, curving upward and outward.
Step 5: Shading and Texture
To give your Ivysaur drawing depth and dimension, add shading and texture. Use light, hatching lines to shade the shadows on its body and limbs. Pay attention to the direction of the light source to create realistic shadows. You can also add some texture to the leaves and the bulb on its back by drawing small, curved lines.
Step 6: Inking (Optional)
If you prefer a more defined and polished look, you can use fine-tip pens or liners to ink your drawing. Carefully go over the final lines of your artwork, emphasizing the outline and adding more details where necessary. Ink the eyes, mouth, and other facial features to make them stand out.
Step 7: Coloring (Optional)
If you want to bring your Ivysaur to life with color, grab your colored pencils or markers. Start by coloring the bulb on its back with shades of green, adding some darker areas for depth. Then, move on to the body, limbs, and facial features, using reference images or your imagination to choose the right colors. Add shading and highlights to enhance the realism of your drawing.
Congratulations! You have successfully completed your Ivysaur drawing. Take a moment to admire your work and make any final adjustments if needed. You can also add a background or additional details to make your artwork truly unique.
I hope you enjoyed this tutorial on how to draw an Ivysaur. With practice and patience, you can create stunning drawings of Pokemon and other subjects. Keep exploring your artistic skills and have fun with your creations. Happy drawing!
Conclusion
In conclusion, this step-by-step guide has provided you with the necessary instructions to draw an Ivysaur from start to finish. By following these steps and using your creativity, you can create an amazing depiction of this beloved Pokémon. Remember to practice regularly and be patient with yourself as you improve your drawing skills. So, grab your materials and start drawing your very own Ivysaur today!