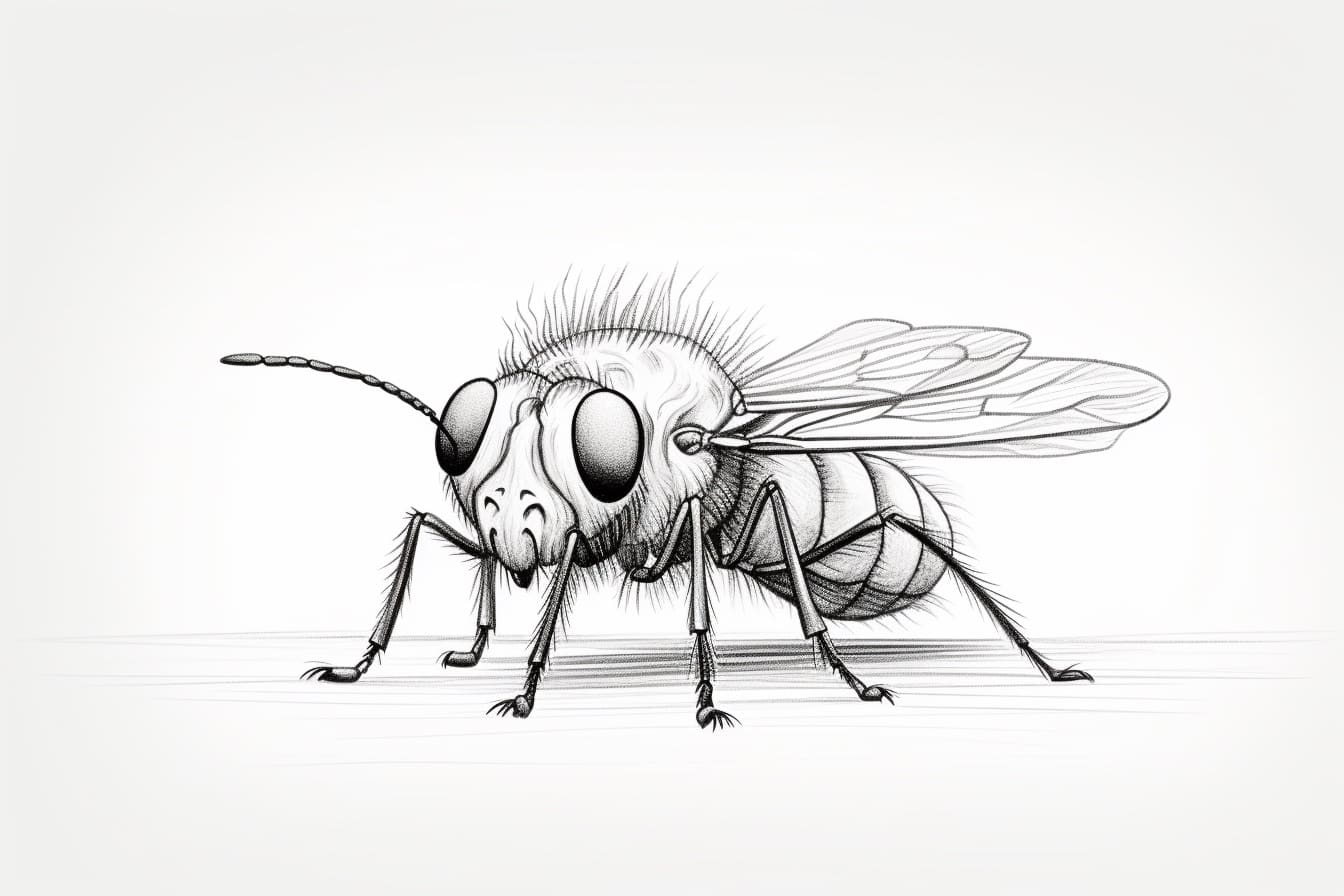
Welcome to this step-by-step guide on how to draw a flea. Drawing insects can be a fun and challenging task, and fleas are no exception. With a bit of patience and practice, you can learn to capture the intricate details of a flea’s body and create a realistic representation. So grab your sketchbook, sharpen your pencils, and let’s get started!
Materials Required
Before we begin, make sure you have the following materials:
- Sketchbook or drawing paper
- Pencils of varying grades (HB, 2B, 4B, etc.)
- Eraser
- Fine-tip pens or markers (optional, for outlining)
- Reference image of a flea (highly recommended)
Now that you have your materials ready, let’s dive into the steps of drawing a flea.
Step 1: Begin with Basic Shapes
Start by lightly sketching the basic shapes that make up the body of the flea. Begin with an oval shape for the main body, and then draw a smaller oval shape near the front for the head. Add two small circles at the front end of the head for the eyes.
Step 2: Define the Head and Eyes
Using your reference image, carefully observe the details of the flea’s head. Add more definition to the head shape, drawing the distinct contours such as the pointed nose and the curved lower edge. Refine the shape of the eyes, making them more rounded and adding a small reflective highlight in each.
Step 3: Outline the Body
Continue by outlining the body of the flea, paying attention to the specific curves and segments. Fleas have a unique body structure with strong legs, so take your time to capture these details. Add small bumps along the body to represent the segments.
Step 4: Add Legs and Claws
Next, draw the six legs of the flea. Begin with the front legs, which are shorter and located near the head. Fleas have strong, curved claws, so make sure to include them at the end of each leg. The middle and hind legs should be longer and more slender, tapering towards the ends.
Step 5: Detail the Body
Now it’s time to add more details to the body of the flea. Use short, curved lines to indicate the texture and contours of the exoskeleton. Pay attention to the smaller features like the hairs and spikes found on the flea’s body.
Step 6: Draw the Antennae
Fleas have small antennae located near their eyes. Draw these antennae as thin, curved lines protruding from the top of the head. They should be shorter than the length of the head.
Step 7: Refine the Details
Take a closer look at your drawing and make any necessary adjustments and refinements. Add more definition to the legs, making them look more 3-dimensional by shading or cross-hatching. Pay attention to the smaller details like the joints and segments of the legs.
Step 8: Finalize with Inking (Optional)
If you want to add a finished look to your drawing, grab your fine-tip pens or markers and carefully ink over your pencil lines. Start with the outline of the flea, emphasizing the curves and contours. Then, add more definition and depth by hatching or cross-hatching certain areas.
Conclusion
Drawing a flea may seem like a daunting task at first, but by breaking it down into simple steps, you can create a realistic and detailed representation. Remember to take your time, observe the reference image closely, and practice regularly. With each attempt, you’ll improve your skills and be able to capture the intricate beauty of these tiny creatures.
So, grab your sketchbook, pencil, and reference image, and start drawing a flea today!