Firefighters are real-life heroes who selflessly risk their lives to save others. If you want to pay tribute to these brave individuals by drawing a firefighter, then you’ve come to the right place. In this step-by-step guide, we will walk you through the process of creating a realistic and detailed drawing of a firefighter. So, grab your drawing materials and let’s get started!
Materials Required
Before we begin, make sure you have the following materials:
- Pencil: Opt for a medium or hard graphite pencil for sketching. You can also use a mechanical pencil.
- Drawing Paper: Choose a smooth and sturdy paper that will hold your artwork well. A sketchbook or drawing pad would work perfectly.
- Eraser: Have a good quality eraser handy to correct any mistakes or lighten lines when necessary.
- Fine-tip Pens: Use fine-tip pens or ink pens of various thicknesses to add details and define your drawing.
- Colored Pencils or Markers (optional): If you wish to add color to your artwork, have some colored pencils or markers of your choice.
Now that you have all the necessary materials, let’s dive into the step-by-step process of drawing a firefighter!
Step 1: Basic Outline
Start by lightly sketching the basic outline of the firefighter’s body. Begin with a simple stick figure to establish the pose. Pay attention to the proportions of the head, torso, arms, and legs. Use simple shapes to represent different body parts.
Step 2: Adding Details to the Head
Now that you have the basic outline, focus on adding details to the firefighter’s head. Sketch in the helmet shape, making sure to leave enough space for the face. Draw the facial features such as the eyes, nose, and mouth. You can also add some basic markings on the helmet to give it a realistic look.
Step 3: Drawing the Body and Uniform
Refine the outline of the firefighter’s body and start adding details to the uniform. Pay attention to the various elements such as the turnout gear, reflective strips, and pockets. Add the emblem or logo on the chest area and any additional patches or insignia on the sleeves or shoulders.
Step 4: Sketching the Equipment
Next, draw the firefighter’s equipment such as the breathing apparatus, fire hose, and axe. Take your time to capture the details and proportions of each item accurately. Remember to adjust the size and positioning of the equipment based on your firefighter’s pose.
Step 5: Adding Texture and Shadows
To make your drawing more realistic, start adding texture and shadows to the firefighter’s uniform and equipment. Use hatching and cross-hatching techniques to create the illusion of texture and depth. Pay attention to the areas where light would hit and cast shadows, such as folds in the fabric or the firefighter’s body.
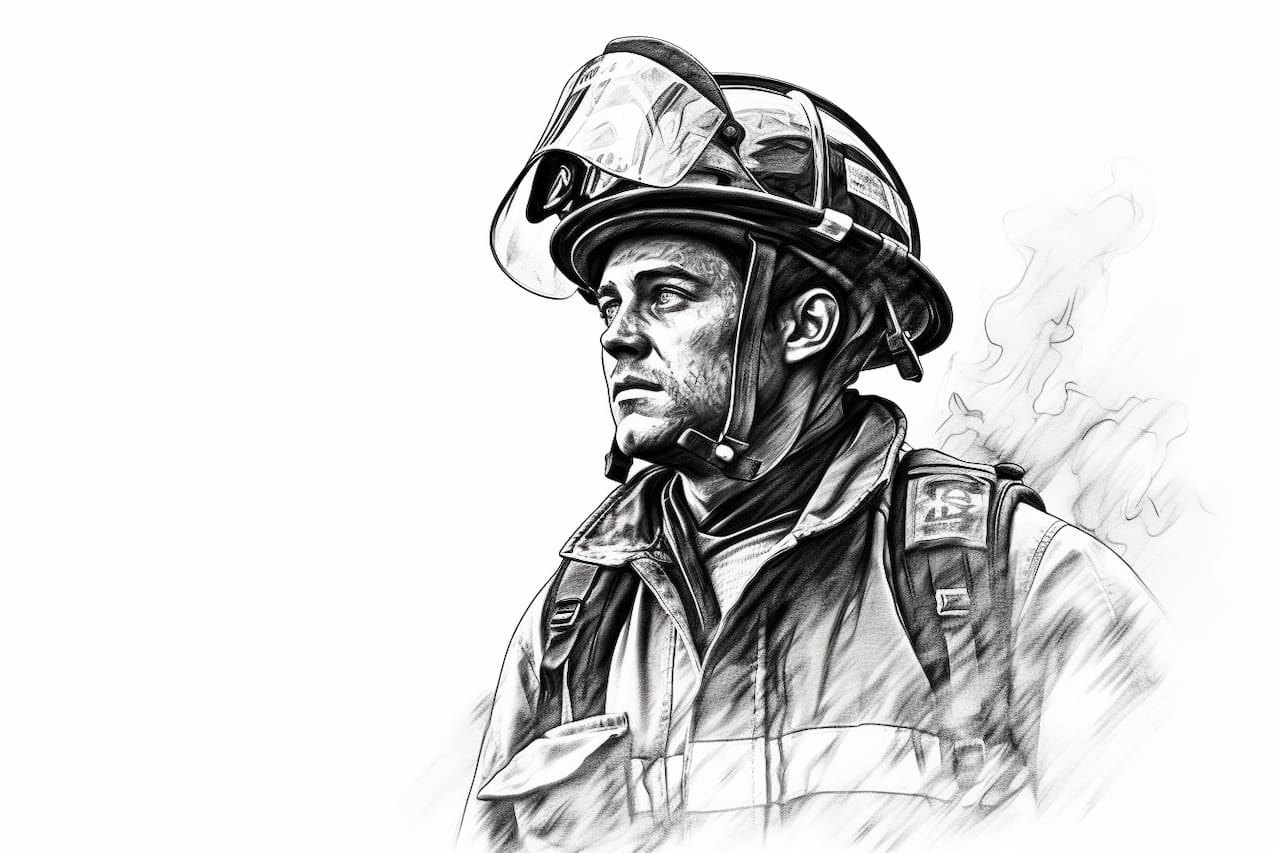
Step 6: Facial Features and Expression
Refine the facial features of the firefighter, adding more detail and depth to the eyes, nose, and mouth. Pay attention to the expression you want to convey. Firefighters often display determination and strength, so capture that in the facial features and posture of your drawing.
Step 7: Final Touches and Cleanup
Once you are satisfied with the overall drawing, go over it with a fine-tip pen to define the lines and add more precision. Erase any unnecessary pencil marks and smudges carefully to clean up the artwork. Take your time with this step to ensure a polished and professional-looking drawing.
Conclusion
Drawing a firefighter allows you to honor the bravery and selflessness of these everyday heroes. By following the step-by-step instructions provided in this guide, you can create a realistic and detailed representation of a firefighter. Remember to pay attention to the details of the uniform and equipment, as well as the facial features and expression. With practice, you’ll be able to capture the spirit and strength of these courageous individuals with your artwork.
So, grab your drawing materials and start sketching your own firefighter masterpiece today!