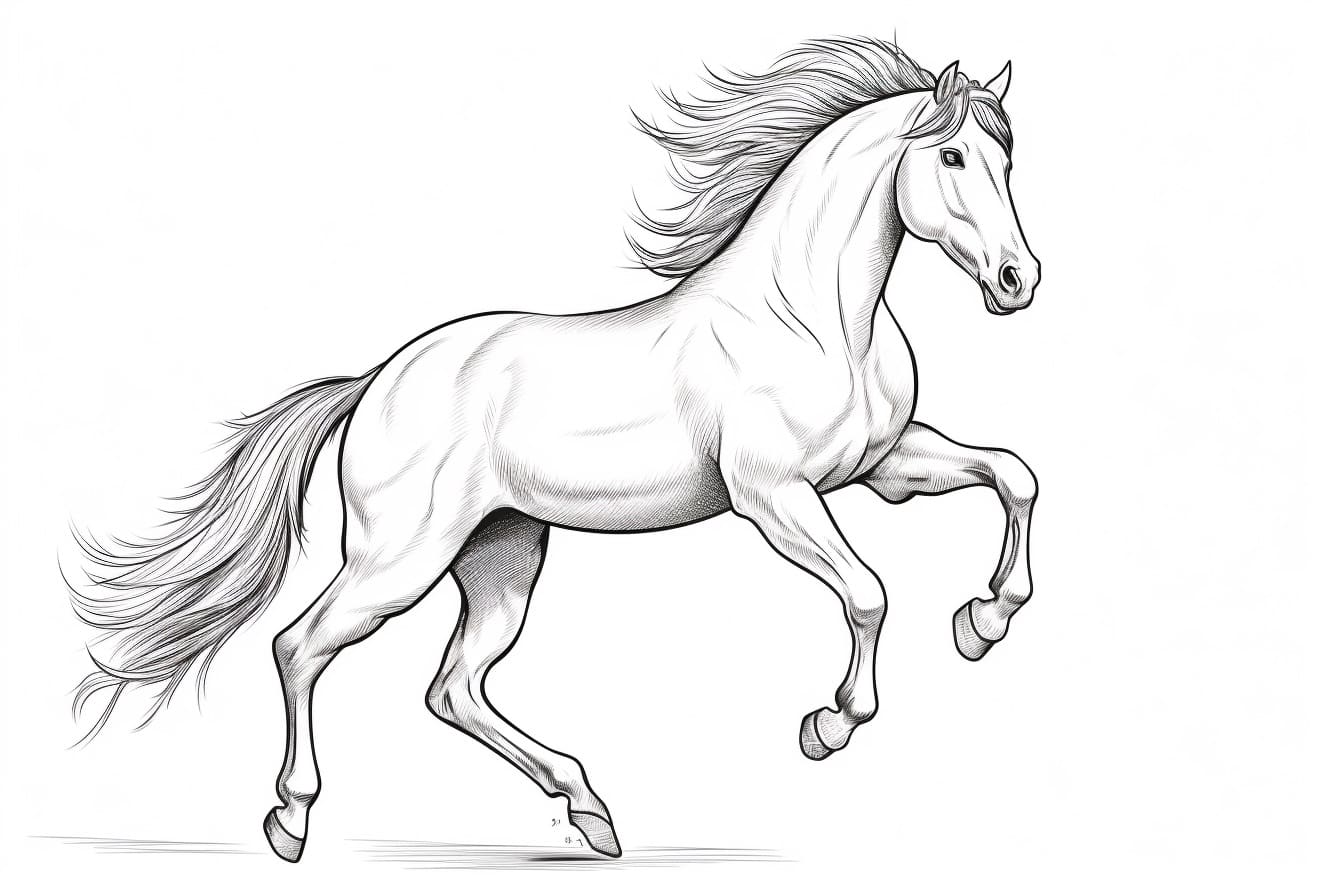
Welcome to this step-by-step guide on how to draw a Mustang horse! Whether you’re an experienced artist looking to enhance your skills or a beginner interested in learning the fundamentals, this tutorial is perfect for you. By following these easy instructions, you’ll be able to capture the beauty and power of this iconic breed on paper. So grab your drawing materials and let’s get started!
Materials Required
Before we begin, let’s gather all the materials you’ll need to complete this drawing:
- A pencil: Use a graphite pencil with a medium or soft lead for sketching and shading. It’s always a good idea to have an eraser handy as well.
- Drawing paper: Choose a high-quality paper that is suitable for sketching and shading. The size is up to you, but a standard 8.5×11 inch or A4 paper should work well.
- Reference image: Find a clear and detailed reference image of a Mustang horse to use as a visual guide throughout the drawing process.
Now that you have everything ready, let’s move on to the steps!
Step 1: Basic Shapes
Start by lightly sketching the basic shapes that make up the body of the Mustang horse. Begin with an oval shape for the head, followed by a larger oval for the body. Connect these two ovals with a curved line to indicate the neck. Add a smaller oval shape for the hindquarters and connect it to the body with another curved line. Finally, draw guidelines for the legs and tail to establish proportions.
Step 2: Outline and Details
Using the basic shapes as a guide, start outlining the main features of the Mustang horse. Begin with the head, paying attention to the placement of the eyes, nostrils, and mouth. Then, carefully outline the neck, body, and hindquarters, following the curve of the initial shapes. Refine the legs, making sure to capture the elegant shape and musculature. Add the tail, flowing gracefully from the hindquarters.
Step 3: Facial Features
Focus on the details of the horse’s face. Start by defining the shape of the eyes, giving them a gentle almond shape. Add the eyelids, making sure to leave a highlight in each eye for a realistic effect. Sketch the ears, taking note of their size and position. Then, draw the nostrils and the mouth, paying attention to the horse’s unique structure. Finally, add a few simple lines to suggest the mane.
Step 4: Shading and Texture
Now it’s time to add depth and dimension to your drawing by shading and adding texture. Start by identifying the light source in your reference image. This will determine where the highlights and shadows fall on the horse’s body. Use your pencil to gradually build up layers of shading, starting with light strokes and gradually darkening as needed. Pay close attention to the contours of the horse’s muscles and the texture of its coat.
Step 5: Refine and Add Details
Take a step back and assess your drawing so far. Look for any areas that need refinement or additional details. Make any necessary adjustments to the proportions, shape, or shading. Add more definition to the muscles, paying attention to the contours and curves. Take your time to capture the unique characteristics of the Mustang horse, such as its strong build and flowing mane.
Step 6: Final Touches
Now that you’ve completed the main features of the Mustang horse, it’s time to add the finishing touches. Use your eraser to carefully lighten any guidelines or stray lines that are still visible. This will give your drawing a clean and polished look. Take a moment to evaluate the overall composition and make any final adjustments if needed. Congratulations, you’ve successfully drawn a Mustang horse!
Conclusion
Drawing a Mustang horse may seem challenging, but with the right techniques and practice, you can create a beautiful representation of this majestic creature. Remember to take your time, observe the reference image closely, and pay attention to the details. By following the step-by-step instructions in this guide, you’ll be able to capture the grace and power of the Mustang horse on paper. So grab your drawing materials and let your creativity soar!