Welcome to this step-by-step guide on how to draw a spider. Whether you are a beginner or an experienced artist, you will find this tutorial easy to follow. By the end, you will have your very own realistic spider drawing that you can be proud of. So, let’s get started!
Materials Required
Before we begin, make sure you have the following materials at hand:
- Drawing paper
- Pencil
- Eraser
- Black pen or marker
- Colored pencils or markers (optional)
Now that you have your materials ready, let’s begin the process of drawing a spider.
Step 1: Sketch the Spider’s Body
Start by drawing a small circle in the center of your paper. This will be the spider’s body. Make sure the circle is not too big or too small, but just about the size you want your spider to be.
Step 2: Add the Spider’s Legs
Extend four lines from the bottom of the circle to represent the spider’s legs. These lines should be slightly curved and taper towards the ends to give them a more realistic look. Repeat this step on the opposite side to draw the remaining four legs.
Step 3: Create the Spider’s Head
Now, draw a smaller circle just above the spider’s body. This will be the spider’s head. Position it in a way that it slightly overlaps with the body to create a more connected look.
Step 4: Detail the Spider’s Body
To add texture to the spider’s body, draw small, short lines or curves from the outer edge of the circle towards the center. These lines should be evenly spaced apart and cover the entire body.
Step 5: Define the Spider’s Legs
Next, add details to the spider’s legs. Draw small curved lines across each leg to represent the joints. Then, add small triangular shapes at the end of each leg to symbolize the spider’s feet.
Step 6: Draw the Spider’s Eyes
Inside the spider’s head, draw two large oval shapes to represent the eyes. Leave a small white space in the top corner of each eye to create a glimmer effect. Then, add a small dot or circle in the center of each eye to represent the spider’s pupils.
Step 7: Add the Spider’s Mouth
Below the spider’s eyes, draw a slightly curved line to form the mouth. This line should start from the top of one side of the head and end at the opposite side. Add two smaller curved lines at the ends of the main line to complete the mouth.
Step 8: Refine the Spider’s Details
Now that the basic shapes of the spider are complete, take your time to refine the details. Add more curves and lines to the spider’s body to create a sense of depth and texture. Pay attention to the contours of the body and legs to make your drawing more realistic.
Step 9: Ink the Spider
Using a black pen or marker, carefully go over the final lines of your drawing. Start with the spider’s body and then move on to the legs, head, and other details. Once you have finished inking, let the ink dry completely before erasing any pencil lines.
Step 10: Color the Spider (Optional)
If you want to add color to your drawing, now is the time to do it. Use colored pencils or markers to bring your spider to life. Spiders can be found in various colors, so feel free to use your imagination or reference images for inspiration.
Congratulations, you have successfully drawn a spider! With practice, you can improve your technique and create even more realistic and detailed spider drawings in the future.
Conclusion
Drawing a spider can be an enjoyable and rewarding experience. By following these step-by-step instructions, you have learned how to create a realistic spider drawing. Remember to have fun and experiment with different techniques and styles to develop your own unique spider illustrations.
We hope you found this guide helpful. Happy drawing!
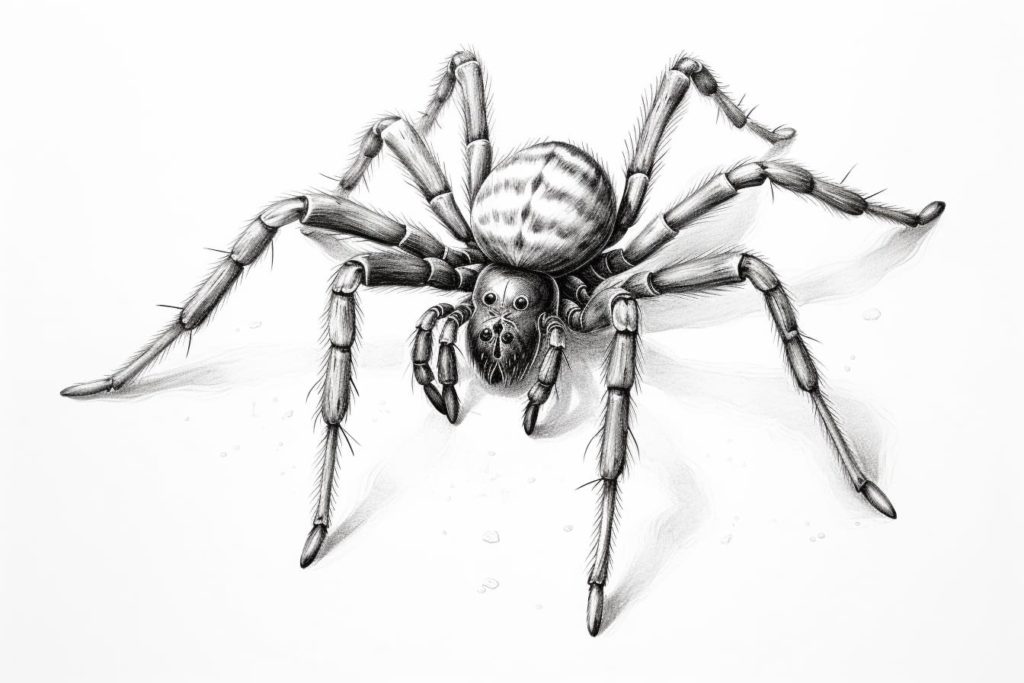
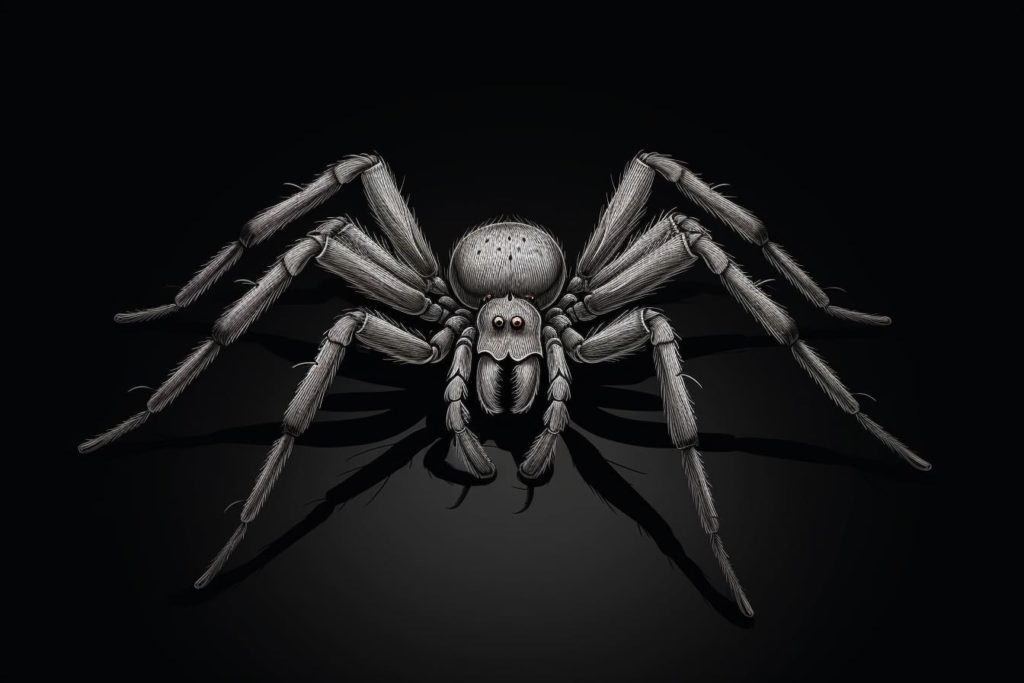
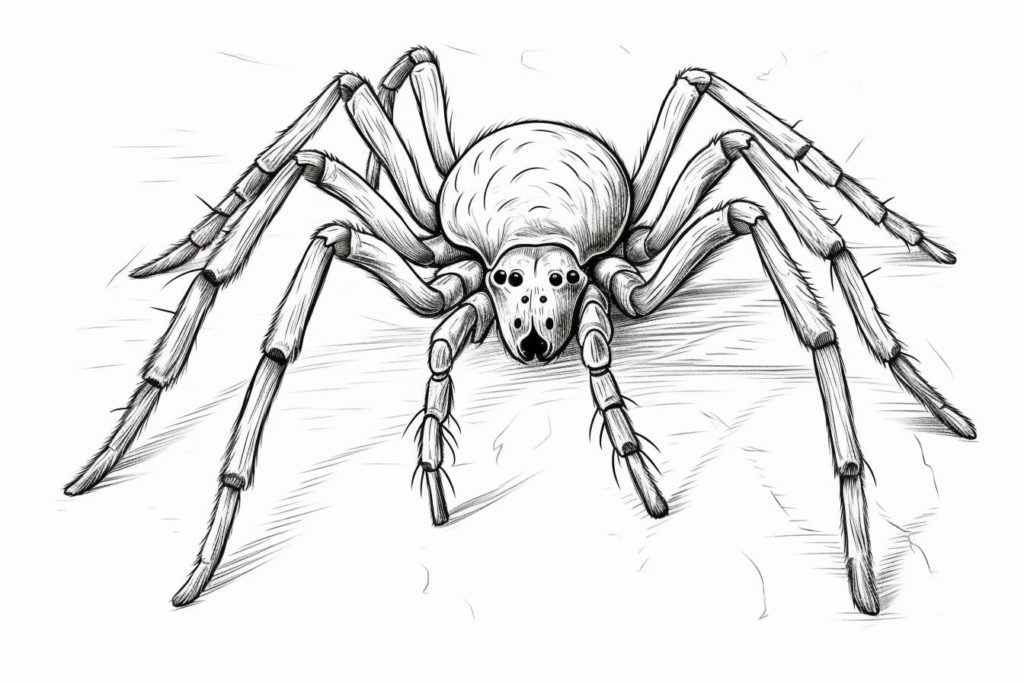
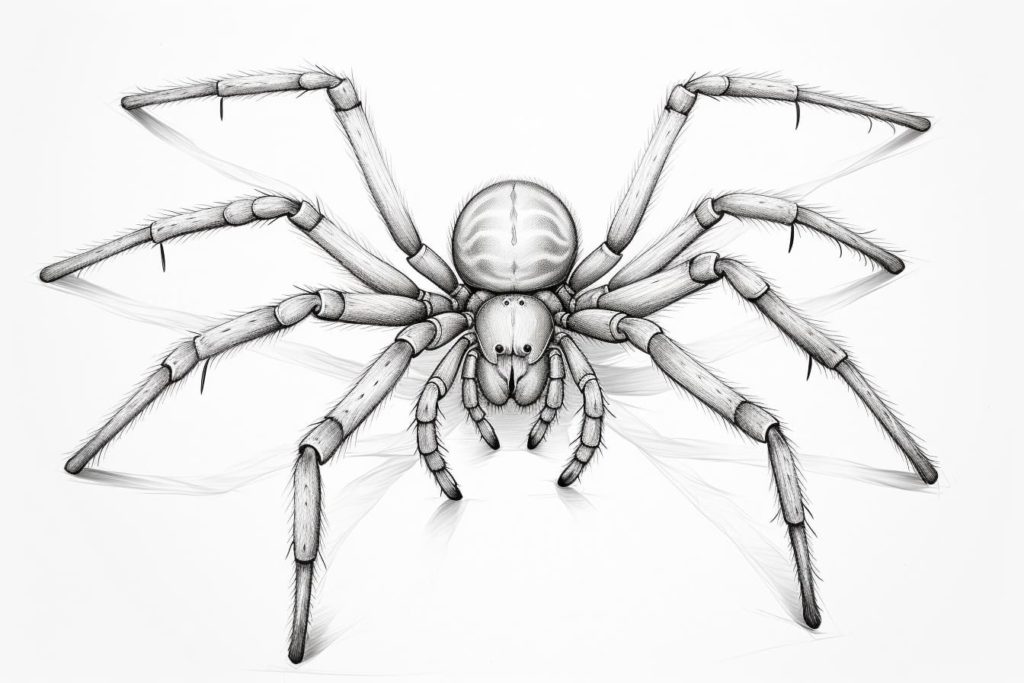
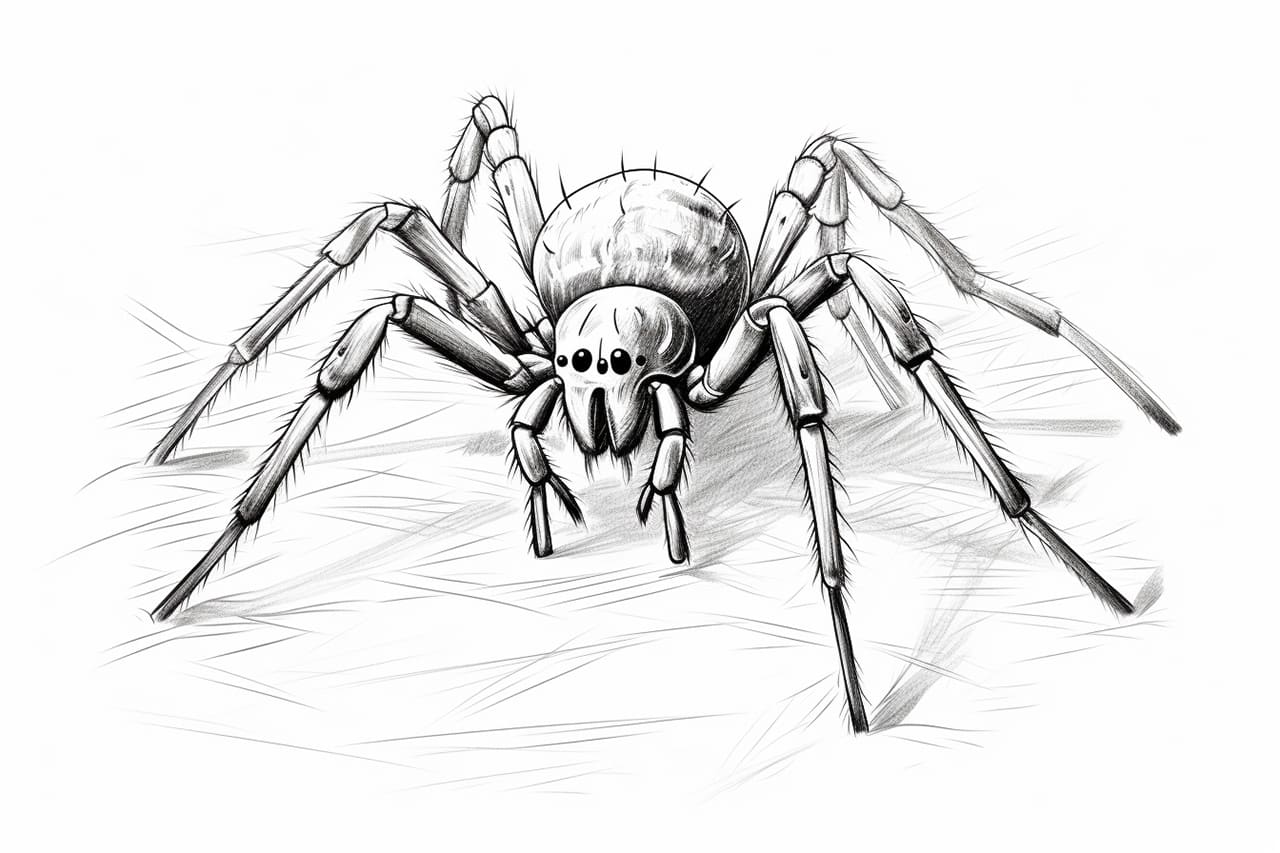
Gallery of Spider Drawings