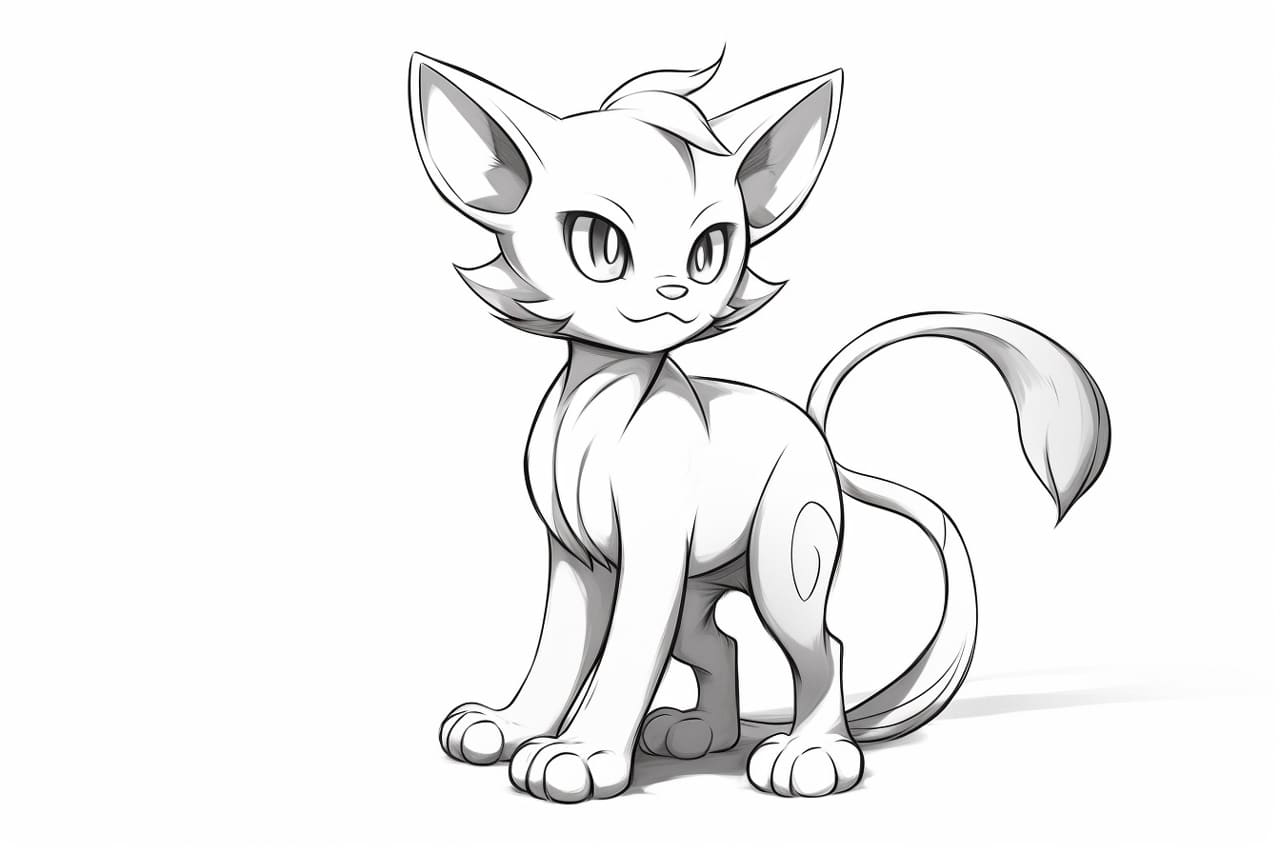
Welcome to this step-by-step tutorial on how to draw the adorable and elusive Pokemon, Mew. With its playful nature and mystical powers, Mew has captured the hearts of Pokemon fans worldwide. By following these simple instructions, you’ll be able to bring Mew to life on your very own paper.
Materials Required
Before we begin, make sure you have the following materials ready:
- Drawing paper or sketchbook
- Pencil (HB or 2B recommended)
- Eraser
- Fine-tip black marker or pen
- Colored pencils or markers (optional)
Now, let’s dive into the process of drawing Mew!
Step 1: Basic Shapes
Start by drawing a large oval shape in the center of your paper. This will be Mew’s head. Then, draw a smaller oval shape beneath it, slightly to the right. This will be the body. These two shapes will serve as a foundation for the rest of the drawing.
Step 2: Facial Features
Within the head oval, draw two large round eyes, leaving some space between them. Add small circles inside the eyes to represent the pupils. Just below the eyes, draw a small triangular nose. Finally, add a curved line to indicate Mew’s smiling mouth.
Step 3: Ears and Hair
At the top of Mew’s head, draw two pointy ears that slightly curve outward. Then, add some wavy hair-like lines on the sides of Mew’s head, extending from the base of each ear. These lines should be soft and flowing, adding to Mew’s playful appearance.
Step 4: Arms and Fingers
Extend two curved lines from the sides of Mew’s body to create its arms. At the end of each arm, draw three small ovals to represent Mew’s fingers. Make sure the fingers are slightly curved to give them a natural look.
Step 5: Legs and Feet
Extend two slightly curved lines from the bottom of Mew’s body to create its legs. At the end of each leg, draw three small ovals to represent the feet. Mew has small and dainty feet, so keep the ovals relatively small.
Step 6: Tail
Mew has a long and thin tail that curves gently. Starting at the back of Mew’s body, draw a slightly curved line that tapers toward the end. Add a few smaller curved lines within the tail to give it some texture.
Step 7: Details
Now that you have the basic Mew shape, it’s time to add some details. Draw two short curved lines above each eye to represent Mew’s eyebrows. Then, add three small ovals on each ear to give them some texture. On Mew’s belly, draw a small oval shape to represent its belly button.
Step 8: Finalize the Outline
Using a fine-tip black marker or pen, trace over the final outline of Mew, emphasizing the main features. Start with the head and work your way down to the tail, carefully outlining each shape. Once you finish, let the ink dry before erasing any remaining pencil lines.
Step 9: Coloring (optional)
If you prefer, you can add color to your Mew drawing using colored pencils or markers. Mew is known for its pink color, so start by coloring the body and head in a light shade of pink. Add some darker shades of pink to create shadows and depth. For the eyes, you can use a mix of blue and black to make them stand out.
Conclusion
Congratulations! You’ve successfully learned how to draw Mew, the lovable Pokemon. By following these step-by-step instructions, you’ve created a charming and playful representation of this mystical creature. Remember, practice makes perfect, so keep honing your drawing skills and exploring different Pokemon characters. Happy drawing!

