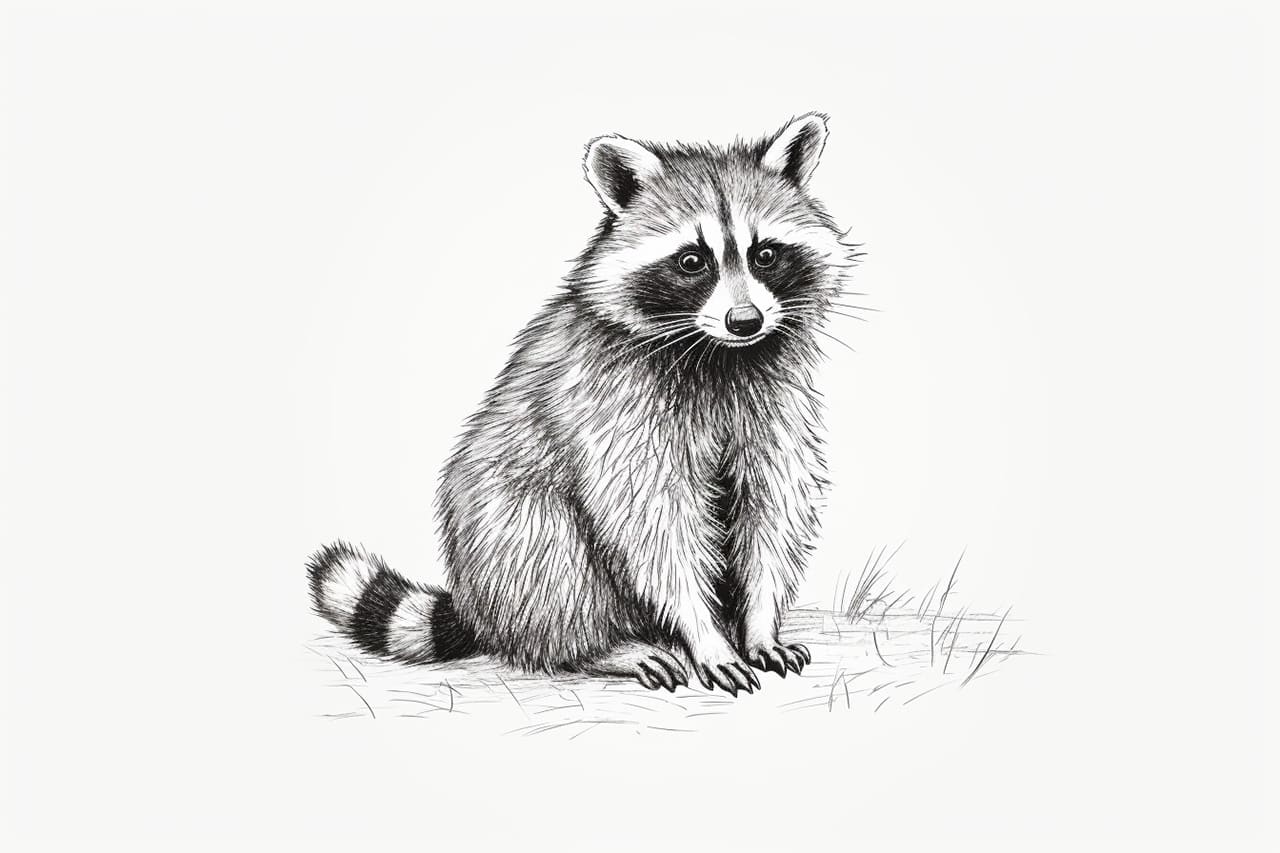
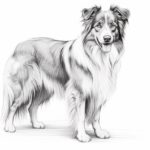
Welcome to this step-by-step tutorial on how to draw a raccoon! Whether you’re a beginner or an experienced artist, this guide will help you create a realistic and charming raccoon drawing. So grab your drawing materials and let’s get started!
Materials Required
To bring your raccoon drawing to life, you will need the following materials:
- Pencil: Use a soft graphite pencil with a sharp point for sketching and shading.
- Eraser: Have a soft eraser handy to correct any mistakes.
- Paper: Choose a smooth and sturdy paper that can handle shading and blending.
- Drawing Pens: Fine-tipped pens are great for adding fine details to your drawing.
- Colored Pencils or Markers (optional): If you want to add color to your raccoon, have some colored pencils or markers ready.
Now that you’ve gathered your materials, let’s dive into the steps of drawing a raccoon.
Step 1: Outline the Basic Shape
Start by lightly sketching an oval shape for the raccoon’s head. Then, add a slightly curved line extending from one side of the oval for the body. Connect the head and body with a curved line for the neck. Remember to keep your pencil lines light, as they are just guides at this stage.
Step 2: Add the Facial Features
Within the oval shape, draw two intersecting lines—one vertical and one horizontal—to create reference points for the raccoon’s facial features. Next, sketch two small circles near the top of the vertical line for the eyes. Below the eyes, draw a rounded triangle shape for the muzzle, with a small circle at the tip for the nose. Add two curved lines on each side of the muzzle for the raccoon’s cheeks. Finally, sketch in two small triangular ears on top of the head.
Step 3: Refine the Facial Details
Using the reference points, carefully draw the raccoon’s eyes. Include the iris and highlight to give them depth and expression. Add small dots above the eyes to indicate eyebrows. Then, define the muzzle by outlining the shape and adding a curved line to form the mouth. Don’t forget to draw the raccoon’s distinctive mask by extending the lines around the eyes and partially covering the cheeks.
Step 4: Sketch the Body and Limbs
Refine the shape of the raccoon’s body by adding curved lines to indicate the contours and volume. Sketch in the front and hind limbs using elongated ovals, tapering them towards the ends for the paws. Include small curved lines to define the joints and outline the toes on each paw.
Step 5: Add the Tail
Extend a long, fluffy curved line from the back of the body to represent the raccoon’s tail. Make the tail slightly wider at the base and taper it towards the tip. Add some short, curved lines to create the texture and fur detail.
Step 6: Refine the Outline
With the basic elements in place, go over your initial sketch with firmer pencil strokes, refining the outline of the raccoon’s body, limbs, and tail. Make sure to erase any unwanted lines or guidelines while preserving the main proportions and shapes.
Step 7: Start Shading
Now it’s time to give your raccoon drawing some depth and dimension with shading. Begin by identifying the light source and envisioning where the shadows will fall. Use light, circular strokes to shade the darker areas, such as the fur surrounding the raccoon’s eyes and the shadows under the body and limbs. Gradually build up the shading, adjusting the pressure on your pencil to create a smooth transition between light and dark areas.
Step 8: Add Fur Texture
To bring your raccoon drawing to life, add texture and detail to the fur. Use short, curved strokes in the direction of the fur growth to create a realistic fur effect. Pay attention to the areas around the raccoon’s mask, ears, and tail, where the fur tends to be longer and more defined.
Step 9: Enhance the Features
Refine and darken the outlines of the raccoon’s eyes, nose, and mouth using a fine-tipped pen or a darker pencil. Add small details like whiskers and extra fur strands around the face to enhance the realism.
Step 10: Add Color (optional)
If you prefer a colored raccoon drawing, this is the perfect time to bring it to life. Use colored pencils or markers to carefully add color to your artwork. Observe reference images or pictures of raccoons to capture their distinct color patterns. Layer different shades of gray, brown, and black to create depth and dimension in the fur. Don’t forget to add a touch of white for the mask and a dash of brown for the raccoon’s eyes.
Conclusion
Congratulations on completing your raccoon drawing! By following these step-by-step instructions, you have created a charming and realistic illustration of this adorable animal. Remember, practice makes perfect, so keep honing your skills and experimenting with different techniques. We hope you enjoyed this tutorial and that it inspired your creativity. Happy drawing!

