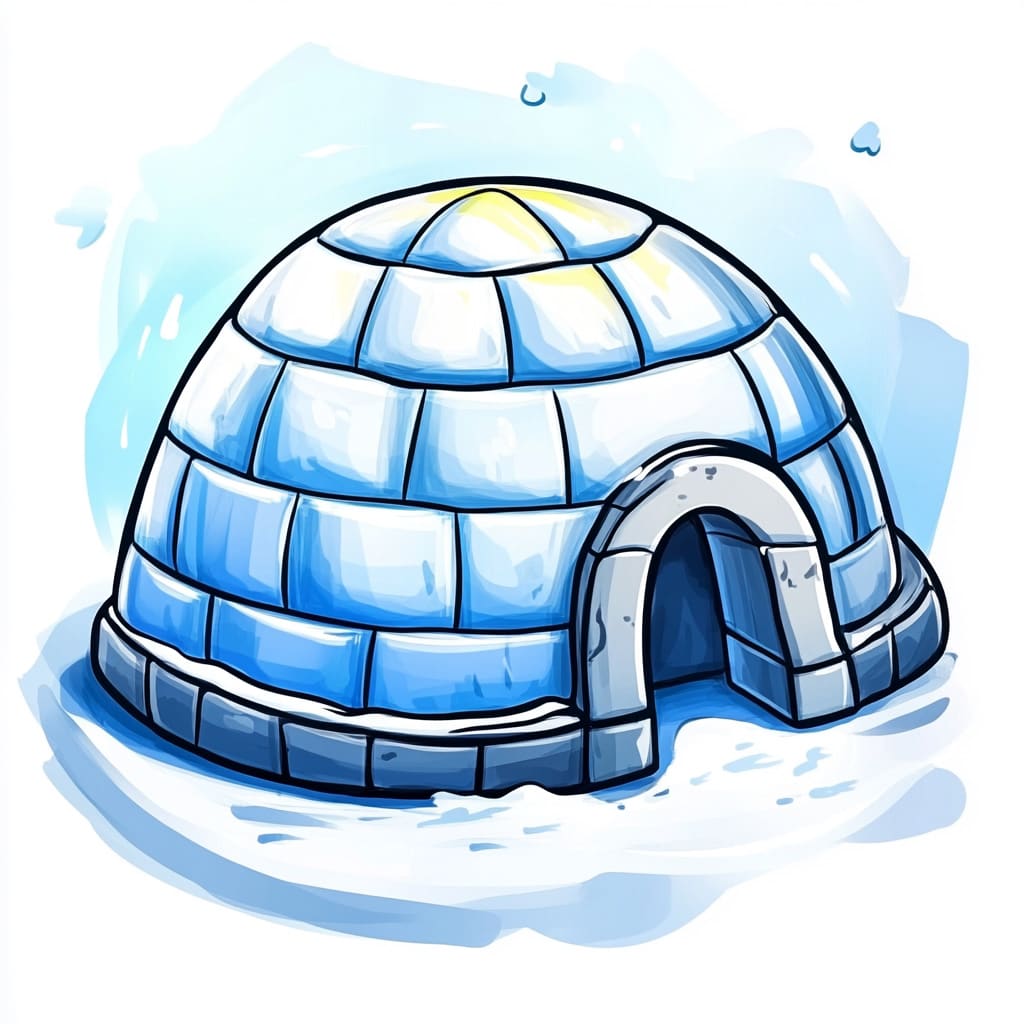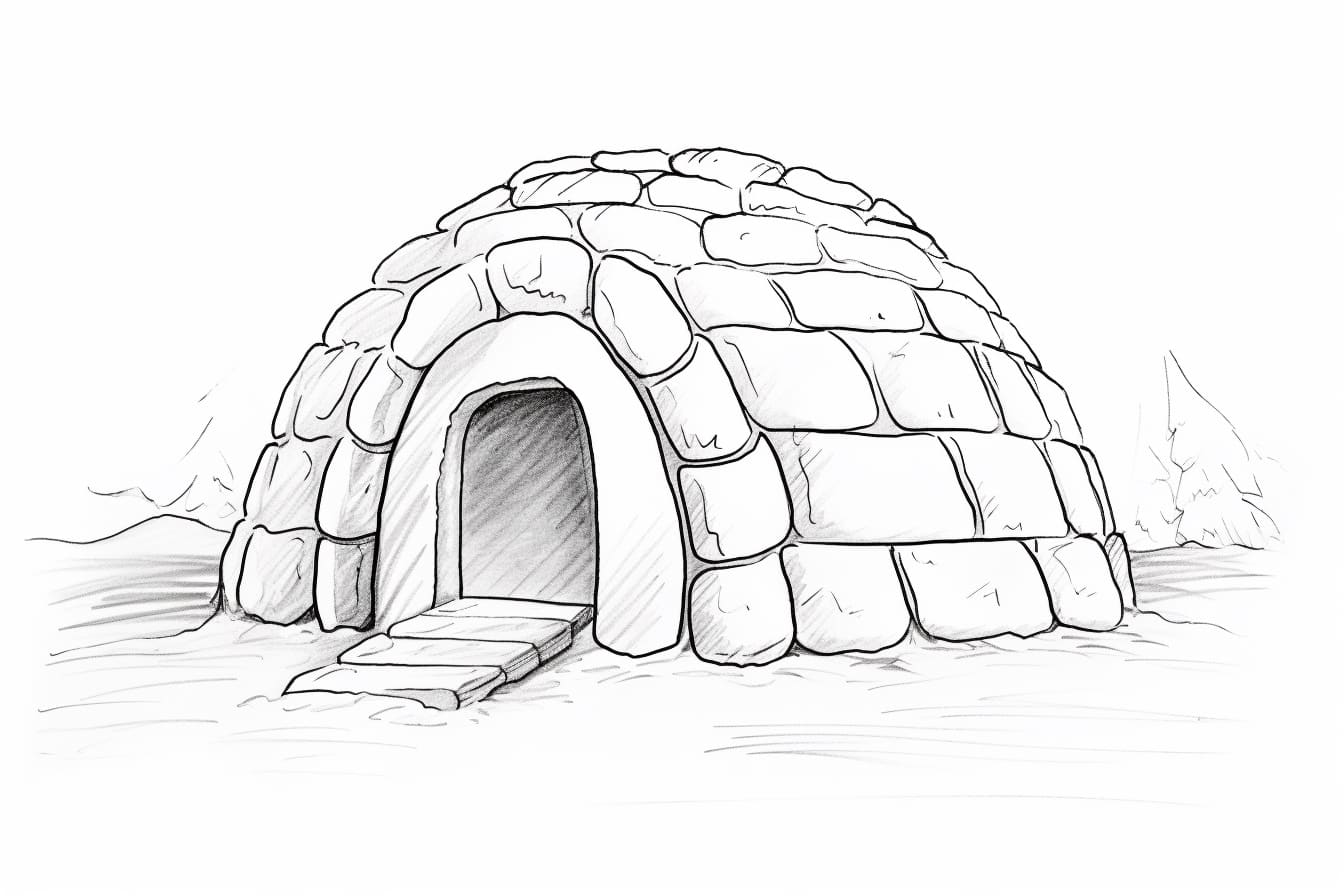
Welcome to the enchanting realm of drawing, where creativity knows no bounds! In this guide, we are set to embark on an inspiring journey that will lead us to explore one of nature’s most fascinating structures: the igloo. This unique architectural form, rooted in the rich traditions of the Inuit people from the Arctic regions, represents not only a clever means of shelter but also a remarkable testament to human resilience and innovation in the face of some of the planet’s harshest climates.
As we delve into the art of sketching the igloo, we will uncover its intricate features and cultural significance. From its rounded, snow-constructed dome to the pristine, icy textures that characterize its façade, drawing the igloo presents an opportunity to appreciate both its beauty and functionality. So, gather your artistic tools, ignite your imagination, and prepare to capture the essence of this iconic structure. Together, we will appreciate how this timeless symbol of survival can inspire our artistic endeavors in the most profound ways.
Get ready to embrace your creativity and develop your drawing skills as we set out to create a stunning representation of the igloo. Whether you aim to produce a realistic depiction or prefer a stylized interpretation, this journey promises to enhance your understanding of form and texture while celebrating a piece of cultural history. Let the adventure begin!
Materials Required
To draw an igloo, you will need the following materials:
- Drawing paper or sketchbook
- Pencil for sketching and outlining
- Eraser for correcting mistakes
- Ruler for measuring and creating straight lines (optional)
- Colored pencils, markers, or crayons for adding color (optional)
- Reference images of igloos for inspiration and guidance
With these materials, you can create a realistic or stylized drawing of an igloo. Remember to take your time, practice your sketching skills, and have fun with the creative process!
How to Draw an Igloo: a Step-by-step Guide
Step 1: Gather Supplies
Gather the necessary supplies for drawing an igloo, including drawing paper, a pencil, an eraser, a ruler, and colored pencils or markers if you want to add color to your drawing.
Step 2: Start with the Foundation
Begin by drawing a large, slightly curved half-circle on your paper. This will be the base of your igloo. Use a light hand when sketching this outline as you will be refining it later.
Step 3: Add the Blocks
Divide the half-circle into smaller sections to represent the blocks of ice or snow that make up the igloo. These sections should be slightly curved and decrease in size as they reach the top of the igloo.
Step 4: Create the Opening
At the front of the igloo, draw a smaller half-circle within the larger one to create the entrance. Make sure the opening is large enough to allow entry into the igloo.
Step 5: Detail the Blocks
Add texture and dimension to the blocks by drawing curved lines within each section to represent the layers of ice or snow. This will give your igloo a more realistic look.
Step 6: Define the Structure
Using a ruler, draw straight lines connecting the top of each block to create the dome shape of the igloo. Make sure the lines are slightly curved to follow the shape of the blocks.
Step 7: Add Final Details
Refine your drawing by erasing any unnecessary lines and adding small details such as snow on top of the igloo, shadows to create depth, and any other embellishments you desire.
Step 8: Color (Optional)
If you want to add color to your drawing, use colored pencils or markers to bring your igloo to life. Consider adding shading to create a sense of light and shadow on the igloo.
Step 9: Final Touches
Once you are satisfied with your drawing, go over the lines with a darker pencil or pen to make them stand out. Add any final touches or adjustments to complete your igloo drawing.
Conclusion
In conclusion, mastering the art of drawing an igloo requires patience, attention to detail, and practice. By following the step-by-step guidelines provided in this article, you can confidently create a realistic and visually appealing representation of this unique structure. Remember to experiment with different shading techniques and textures to add depth and dimension to your drawing. With dedication and perseverance, you can enhance your artistic skills and capture the beauty of an igloo on paper. Keep practicing and enjoy the creative process!
Fun Facts About Igloos
- Igloos are traditional shelters built by the Inuit people in the Arctic regions of North America and Greenland.
- Despite their dome-like appearance, igloos are actually made of compacted blocks of snow and ice.
- The word “igloo” comes from the Inuit word “iglu,” which means “house” or “shelter.”
- Igloos are designed to provide excellent insulation, keeping the interior warm even in freezing temperatures outside.
- The entrance to an igloo is typically built lower than the interior to trap heat and prevent cold air from entering.
- Igloos are surprisingly strong and can support the weight of a person standing on the roof.
- In traditional Inuit culture, igloos were used as temporary shelters during hunting trips or as emergency shelters during blizzards.
- Igloos are not just for humans – some animals, such as polar bears, have been known to dig out snow caves similar to igloos for shelter.
- Building an igloo requires skill and knowledge of snow conditions, as well as proper techniques for cutting and stacking snow blocks.
- Igloos have become iconic symbols of the Arctic and are often featured in popular culture, such as in movies, cartoons, and winter-themed decorations.
Suggestions for Scenes and Settings for Igloo Drawings
- Arctic landscape with a traditional igloo surrounded by snow-covered mountains and the Northern Lights dancing in the sky.
- Inside an igloo with a cozy fire burning in the center, casting warm light and shadows on the icy walls.
- A family of Inuit people building an igloo together, showcasing the teamwork and craftsmanship involved in constructing a traditional shelter.
- An igloo village with several interconnected igloos, each uniquely decorated with intricate ice carvings and designs.
- A polar bear peeking into an igloo entrance, curious about the inhabitants inside.
- A modern twist on the igloo concept, with a futuristic ice dome structure blending traditional and contemporary architectural elements.
- A whimsical scene featuring a group of penguins frolicking around an igloo, adding a touch of playfulness to the icy landscape.
- An igloo being transformed into a greenhouse, with plants thriving inside the sheltered environment despite the freezing temperatures outside.
- A mystical igloo hidden in a snow-covered forest, with hints of magic and enchantment emanating from within.
- A serene winter evening with an igloo perched on the edge of a frozen lake, reflecting the colors of the setting sun on its icy surface.


