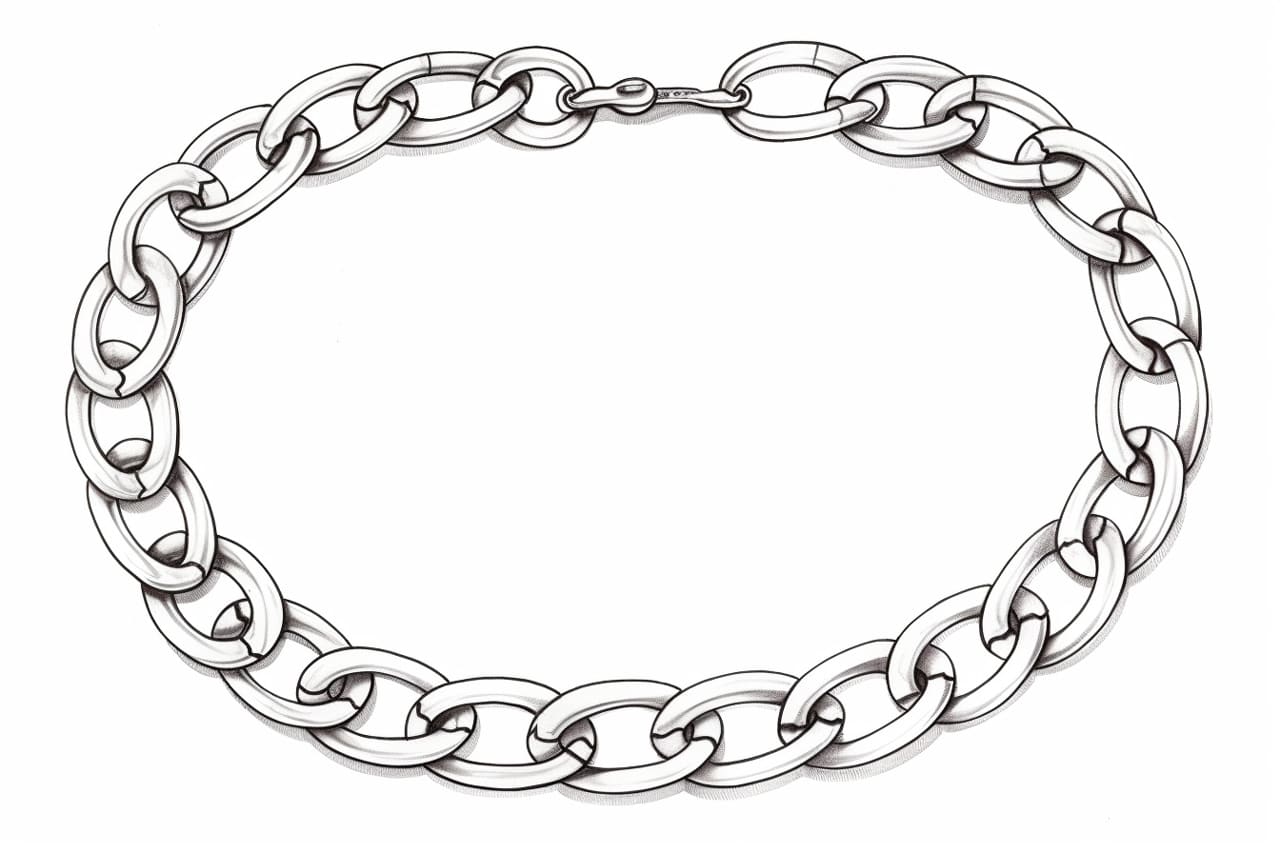
In this tutorial, we will explore the step-by-step process of how to draw a chain necklace. Whether you are an aspiring artist or simply interested in learning a new drawing technique, this guide will help you create a realistic and detailed representation of a chain necklace. By following the instructions provided, you will gain valuable insights into shading, texture, and perspective. So grab your drawing tools and let’s get started!
Materials Required
To complete this drawing tutorial, you will need the following materials:
- Pencil (preferably a mechanical pencil or a set of graphite pencils)
- Eraser (preferably a kneaded eraser for precise details)
- Paper (preferably a smooth surface paper, such as drawing paper)
- Ruler (optional, for symmetry and straight lines)
Now that you have gathered your materials, let’s begin the process of drawing a chain necklace.
Step 1: Establish the Necklace Shape
Start by lightly sketching the overall shape of the necklace. Determine the length and curvature you desire, as this will serve as the foundation for the chain links. Keep in mind that chains can vary in design, so choose a style that appeals to you. For simplicity, we will focus on a basic chain with uniform links.
Step 2: Outline the Chain Links
Next, begin outlining the individual links of the chain. Each link should be slightly curved and connect seamlessly with the adjacent links. Use light and loose strokes to sketch these outlines, as they will be refined later on. Avoid pressing too hard with your pencil, as it will make erasing mistakes or making adjustments more difficult.
Step 3: Define the Chain Links
Now it’s time to add more definition to the chain links. Use darker and more confident strokes to outline the outer edges of each link. Pay attention to the thickness and curves of the links, as this will contribute to the realistic appearance of the necklace. Remember that chains have a three-dimensional quality, so make sure to capture the depth and volume of each link.
Step 4: Add Texture and Details
To make the chain necklace look more realistic, you need to incorporate texture and details. Start by drawing small indentations or grooves along the edges of each link, indicating where they connect. This will give the illusion of interlocking links. Additionally, add slight variations in the thickness of the links to mimic the way light hits the surface of the necklace.
Step 5: Shade the Necklace
Now it’s time to bring the chain necklace to life with shading. Start by determining the primary light source and imagine how it would interact with the necklace. Use your pencil to create gradual transitions from light to dark areas, emphasizing the curves and contours of each link. Pay attention to the highlights and shadows, as they play a crucial role in creating a sense of depth and volume.
Step 6: Refine and Adjust
Take a step back and assess your drawing so far. Look for any areas that need refinement or adjustment. Use your eraser to gently remove any unwanted lines or smudges. If necessary, use a ruler to ensure straight lines and symmetry. Don’t be afraid to make small tweaks and improvements to achieve the desired result.
Step 7: Final Touches
In this final step, add any additional details or touches to enhance your drawing. You may want to emphasize certain areas with extra shading or highlights, depending on your personal style and preferences. Take some time to evaluate your drawing and make any final adjustments before considering it complete.
Conclusion
Drawing a chain necklace may seem daunting at first, but by following these step-by-step instructions and utilizing the tips provided, you can create a stunning representation of this intricate accessory. Remember to be patient, practice, and experiment with different techniques to hone your drawing skills. With time and dedication, you will be able to master this subject matter and create realistic chain necklaces in your future artworks.
So, gather your materials, find a quiet space, and let your creativity flow as you embark on this drawing journey. Happy drawing!

