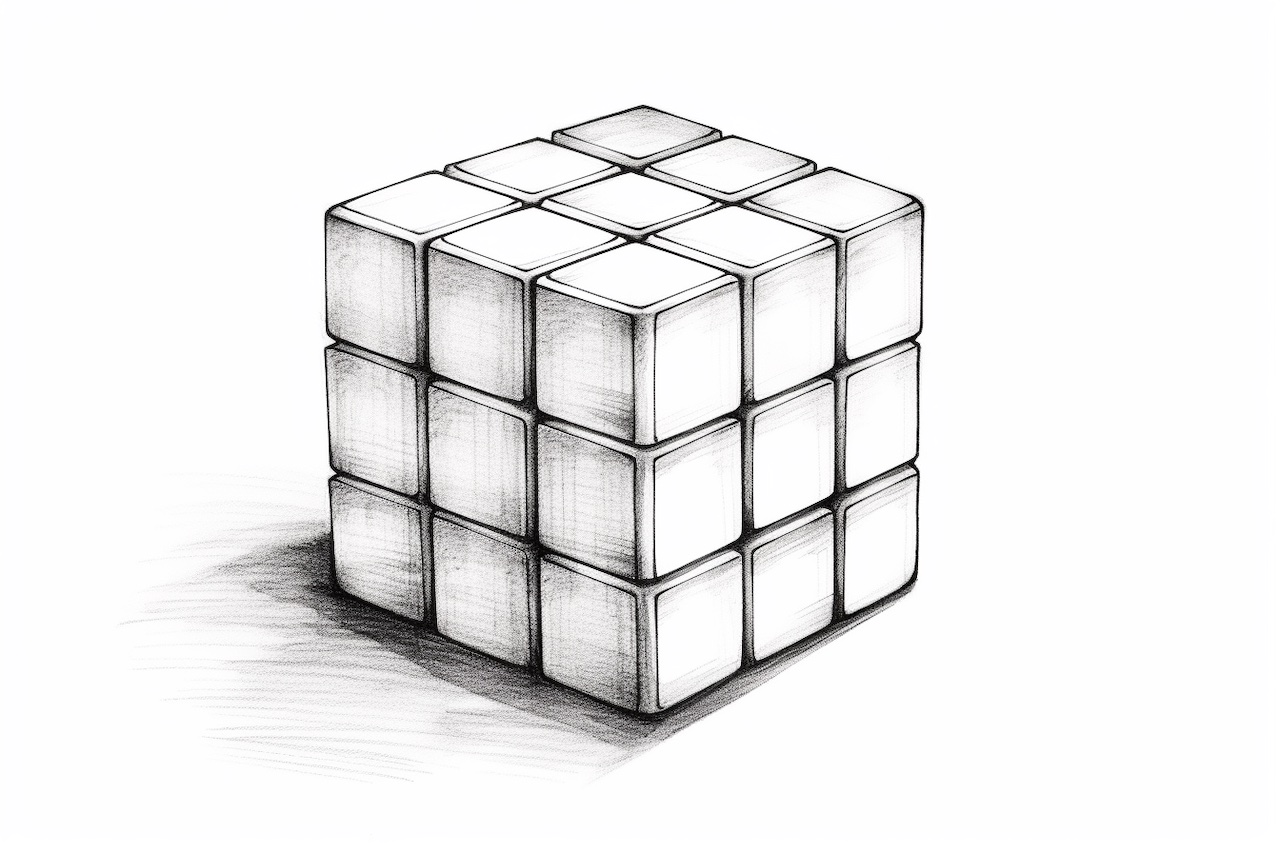
Welcome to this step-by-step guide on how to draw a Rubik’s Cube. Drawing this iconic puzzle can be a fun and challenging exercise for artists of all levels. Whether you are a beginner or an experienced artist looking to improve your skills, this tutorial will provide you with the necessary guidance to create an accurate and realistic representation of a Rubik’s Cube. So grab your drawing tools and let’s get started!
Materials Required
Before we begin, make sure you have the following materials handy:
- Drawing paper or sketchbook
- Pencil (preferably an HB or 2B)
- Eraser
- Ruler
- Colored pencils or markers (optional)
Now that you have gathered your materials, let’s dive into the steps of drawing a Rubik’s Cube.
Step 1: Start with the Outer Frame
Begin by drawing a square to represent the outer frame of the Rubik’s Cube. Use your ruler to ensure that all sides are of equal length and to maintain symmetry. Start by lightly sketching the square shape, as we will refine it later.
Step 2: Divide the Frame into Individual Cubes
Inside the outer frame, draw two evenly spaced vertical lines and two evenly spaced horizontal lines to divide the frame into nine equal squares. These smaller squares represent the individual cubes of the Rubik’s Cube. Again, make sure to use your ruler to maintain consistency and accuracy.
Step 3: Add Depth to the Cubes
To create a three-dimensional appearance, add depth to the individual cubes. Choose a direction for the light source, and lightly shade the left and bottom edges of each cube. This shading will give the illusion that these edges are receding into the background.
Step 4: Draw the Cube’s Rectangular Center Pieces
Within the center square of each individual cube, draw a smaller rectangle to represent the center piece. These center pieces are solid in color on a real Rubik’s Cube. To create a more realistic drawing, you can use different colors for each center piece. However, if you prefer a simpler approach, you can leave them blank or lightly shade them in gray.
Step 5: Draw the Lines on the Cubes
Now, let’s add the lines on the individual cubes to represent the smaller cube faces. Using your ruler, draw two vertical and two horizontal lines on each cube, intersecting at the center of the cube. These lines will create a grid pattern on each individual cube.
Step 6: Define the Cube Faces
To make the Rubik’s Cube look more realistic, we need to create the illusion of depth. Start by selecting one color for the cube faces and lightly shade each individual cube face, leaving the lines intact. Remember to consider the direction of the light source and shade the areas with less light accordingly.
Step 7: Add the Cube’s Stickers or Colors
To accurately represent a Rubik’s Cube, we need to add the stickers or colors on each individual cube face. You can choose any color combination you like, or even create your own unique design. Take your time to carefully color in each face, ensuring that the colors align with the lines and the grid pattern.
Step 8: Refine the Drawing
Now that you have completed the basic structure of the Rubik’s Cube, take a moment to review your drawing and make any necessary adjustments. Use your eraser to remove any unwanted lines or smudges. Sharpen the edges of the cube frames and the lines between the individual cubes to enhance the overall appearance of your drawing.
Step 9: Optional: Add Shadows and Highlights
If you would like to take your drawing to the next level, you can add shadows and highlights to create a more realistic and three-dimensional effect. Consider the direction of the light source and shade the areas that would naturally be darker. Use a soft pencil or blending tool to blend the shading and create a smooth transition between light and dark areas.
Conclusion
Congratulations! You have successfully learned how to draw a Rubik’s Cube. By following this step-by-step guide and using your creativity, you can create stunning drawings of this iconic puzzle. Remember to practice regularly to improve your drawing skills. Have fun experimenting with different color combinations and designs. Happy drawing!

