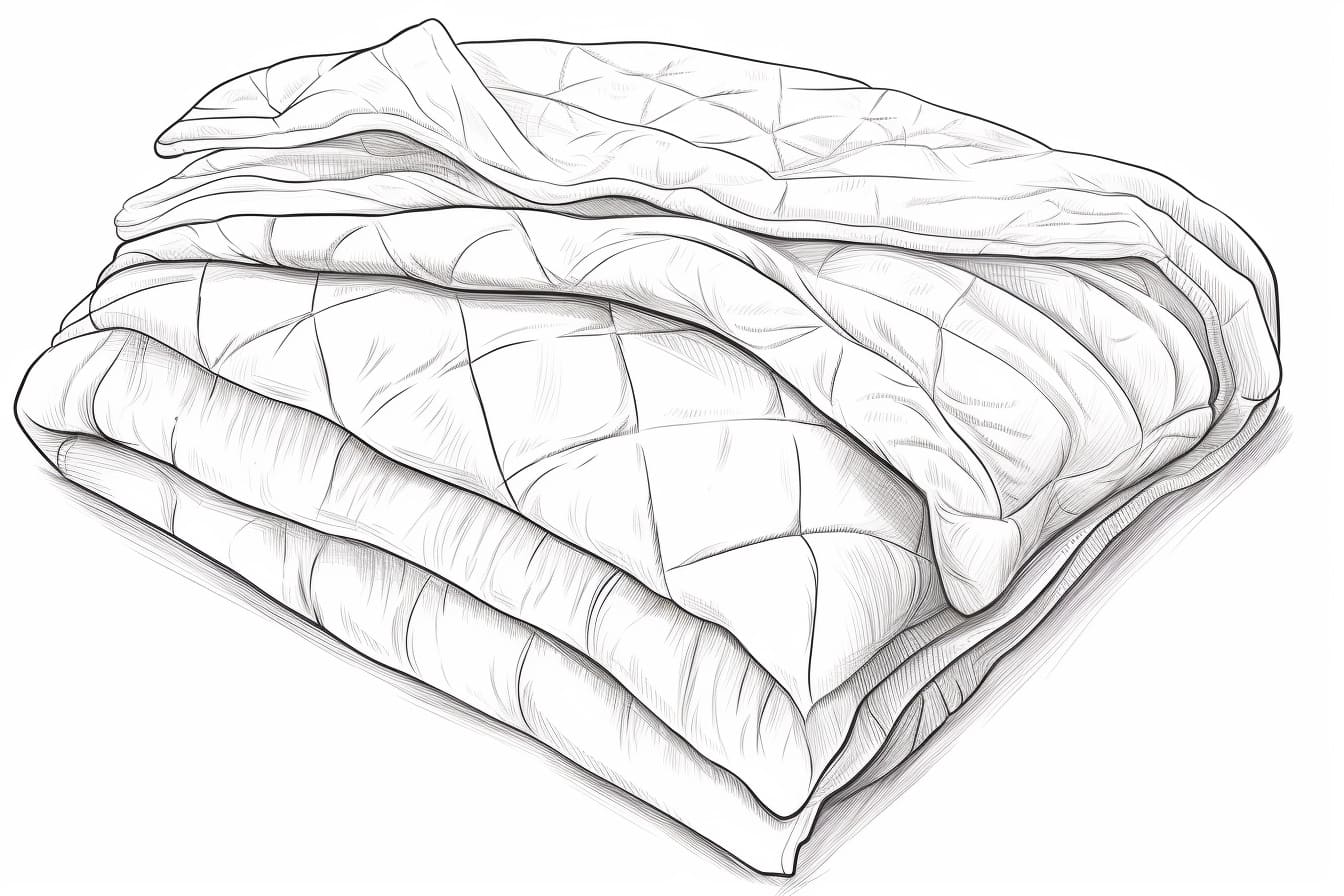
A quilt is a beautiful work of art that combines different patterns and fabrics to create a cozy and decorative cover. Whether you’re a seasoned artist or a beginner looking to explore your creative side, drawing a quilt can be a fun and rewarding experience. In this article, we will guide you through the step-by-step process of how to draw a quilt, allowing you to create your own unique design. So grab your sketchbook and let’s get started!
Materials Required
Before we dive into the drawing process, let’s gather the materials you will need to create your quilt drawing:
- Sketchbook or drawing paper
- Pencil (preferably with a sharp tip)
- Eraser
- Ruler
- Colored pencils or markers (optional)
Now that we have everything we need, let’s begin the journey of drawing a beautiful quilt!
Step 1: Start with a Square Grid
To create the base for your quilt, start by drawing a large square in the center of your paper. Use a ruler to ensure straight and even lines. This square will act as the canvas for your quilt design.
Step 2: Divide the Square into Smaller Squares
Next, divide the large square into smaller squares to represent the different quilt blocks. You can do this by drawing evenly spaced horizontal and vertical lines across the square. The number of squares you create will depend on the size and complexity of your design. Feel free to experiment with different sizes and arrangements.
Step 3: Add Patterns to Each Square
Now comes the fun part – adding patterns to each square! Quilt patterns can range from simple geometric shapes to intricate designs. Here are a few ideas to get you started:
- Checkerboard: Alternate between two different colors for a classic checkerboard pattern.
- Pinwheel: Draw four triangles meeting at the center of the square to create a pinwheel effect.
- Log Cabin: Start with a small square in the center and add strips of fabric around it, building outward like a log cabin.
- Flying Geese: Draw triangles in a V-shape across the square to create the illusion of flying geese.
Feel free to mix and match patterns, or create your own unique designs. Remember to leave some squares blank if you plan to incorporate solid colors or negative space into your quilt drawing.
Step 4: Add Details and Texture
To make your quilt drawing more realistic and visually interesting, add details and texture to each square. You can do this by shading certain areas to create depth, or by adding small details like stitching lines or quilted textures.
Experiment with different shading techniques, such as hatching or cross-hatching, to add dimension to your design. You can also use colored pencils or markers to add vibrant colors to your quilt squares.
Step 5: Connect the Squares
Once you have finished adding patterns and details to each square, it’s time to connect them to create a cohesive quilt design. Use your ruler and pencil to draw lines connecting the edges of the squares, creating a grid-like pattern.
You can choose to follow the traditional quilt layout, where all the squares connect in a straight line, or get creative and experiment with different arrangements. The choice is yours!
Step 6: Final Touches
Now that your quilt drawing is complete, take a moment to review and make any final touches or adjustments. Erase any stray lines or smudges, and add any additional details you feel are necessary.
If you’re feeling adventurous, you can even add some embellishments to your quilt drawing, such as buttons or ribbons, to give it an extra pop of personality.
Conclusion
Drawing a quilt is a wonderful way to unleash your creativity and explore different patterns and designs. By following these step-by-step instructions, you can create your very own quilt drawing that reflects your unique style and imagination.
So grab your sketchbook and start creating your masterpiece. Let the colors and patterns flow, and watch as your quilt comes to life on the page. Happy drawing!