Welcome to this step-by-step tutorial on drawing an elk. Whether you are a beginner or an experienced artist, this guide will help you create a realistic and detailed representation of this majestic creature. Grab your drawing materials and let’s get started!
Materials Required
To draw an elk, you will need the following materials:
- Drawing paper: Choose a high-quality paper that is suitable for the medium you will be using (pencil, charcoal, etc.).
- Pencils: Use a set of graphite pencils with different hardness or a mechanical pencil with multiple lead options.
- Eraser: Have a soft eraser handy for making corrections and a kneaded eraser for lighter adjustments.
- Blending tools: Consider using a blending stump or tortillon to achieve smooth transitions and shading.
- Reference image: Find a clear and detailed photo of an elk to use as a reference throughout the drawing process.
Now that you have your materials ready, let’s begin the elk drawing process.
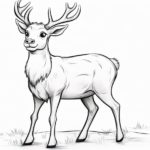
Step 1: Sketch the Basic Shape
Start by lightly sketching the basic shape of the elk. Begin with a circle for the head and a larger oval for the body. Add two parallel lines for the neck and attach them to the body with a curved line. Don’t worry about details at this stage, focus on capturing the overall proportions.
Step 2: Add the Antlers
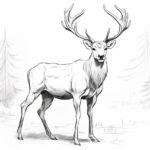
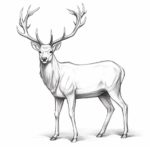
Elks are known for their impressive antlers, so let’s add them next. Draw two curved lines on top of the head, starting from the center and extending outward. These lines will serve as the main branches of the antlers. Add smaller branches and tines to make the antlers look more intricate and realistic.
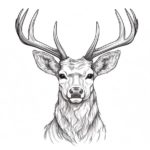
Step 3: Outline the Face
Now it’s time to outline the elk’s face. Add a long, narrow snout by extending a line from the head circle. Sketch two almond-shaped eyes, a small nose, and a curved line for the mouth. Don’t forget to add the ears as well, which are typically large and curved.
Step 4: Refine the Body and Legs
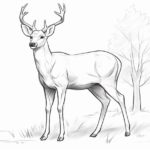
Refine the body shape by adding curves and muscles to make it look more three-dimensional. Sketch the legs by adding straight lines with slight curves to represent the joints. Remember to add the hooves at the bottom of the legs.
Step 5: Define the Fur and Details
Elks have a thick coat of fur, so let’s define it now. Start by adding some short, curved lines around the neck, back, and legs to represent the fur texture. Gradually add more lines to give the fur a realistic appearance. Pay attention to the details such as the dewlap (a flap of skin under the neck), the tail, and any distinguishing marks on the elk you’re drawing.
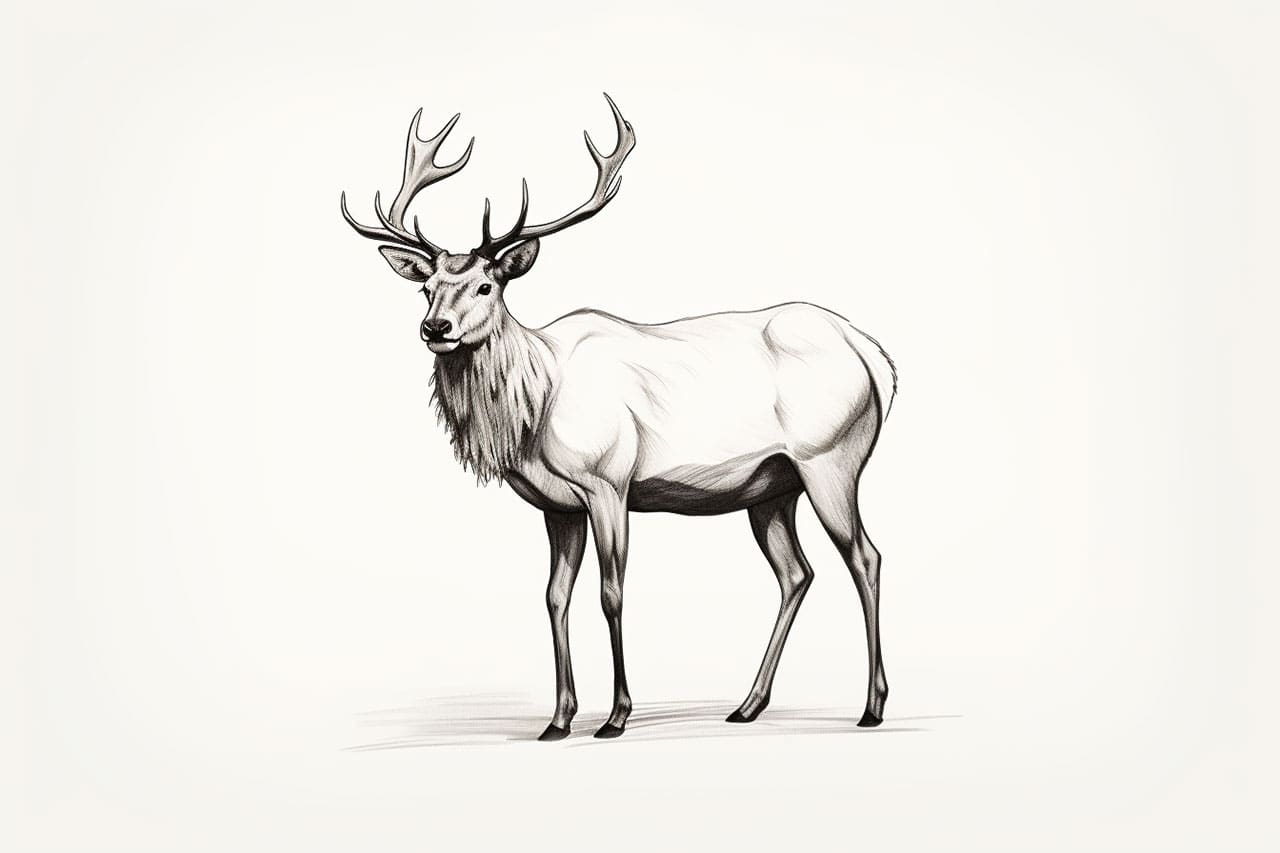
Step 6: Shade and Add Depth
To add depth and realism to your drawing, it’s important to understand how to shade correctly. Observe the reference image and identify the areas that are in shadow. Use your pencils to gradually build up layers of shading, applying more pressure for darker areas and less pressure for lighter areas. Use your blending tool to smudge and blend the shading, creating smooth transitions between light and dark.
Step 7: Finalize the Details
Focus on the minute details that will bring your elk to life. Pay attention to the eyes, adding highlights and shading to make them appear realistic and expressive. Add more texture to the fur by carefully adding additional lines and shading. Don’t forget the details on the antlers, making sure they look intricate and well-defined. Take your time to refine all the small details until you are satisfied with the result.
Conclusion
Drawing an elk may seem challenging, but with the right techniques and patience, you can create a stunning representation of this magnificent animal. Remember to start with a basic sketch, gradually refine the details, and focus on shading and texture to bring your drawing to life. By following the step-by-step instructions in this guide, you will know how to draw an elk that will impress others and showcase your artistic skills. Happy drawing!