Do you have a passion for drawing and want to learn how to draw a deer buck? Deer are majestic creatures that capture the imagination with their graceful presence. In this step-by-step guide, we will walk you through the process of drawing a deer buck from start to finish. So, grab your sketch pad and pencils, and let’s get started!
Materials Needed
Before we dive into the drawing process, let’s gather the materials you will need:
- Sketch pad or drawing paper
- Pencils (HB, 2B, 4B, and 6B)
- Eraser
- Blending stump or tortillon
- Reference image of a deer buck (either from a book, magazine, or online)
Now that we have everything ready, let’s begin our artistic journey to capture the beauty of a deer buck on paper.
Step 1: Basic Shapes
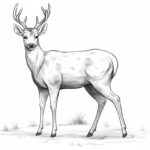
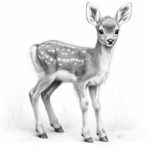
Start by drawing the basic shapes that will serve as the foundation for your deer buck’s body. Begin with a large oval shape for the body, slightly tilted at an angle. Then, draw a smaller oval shape for the head, connected to the body. These shapes will provide a framework for the proportions of the deer buck.
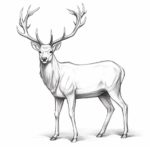
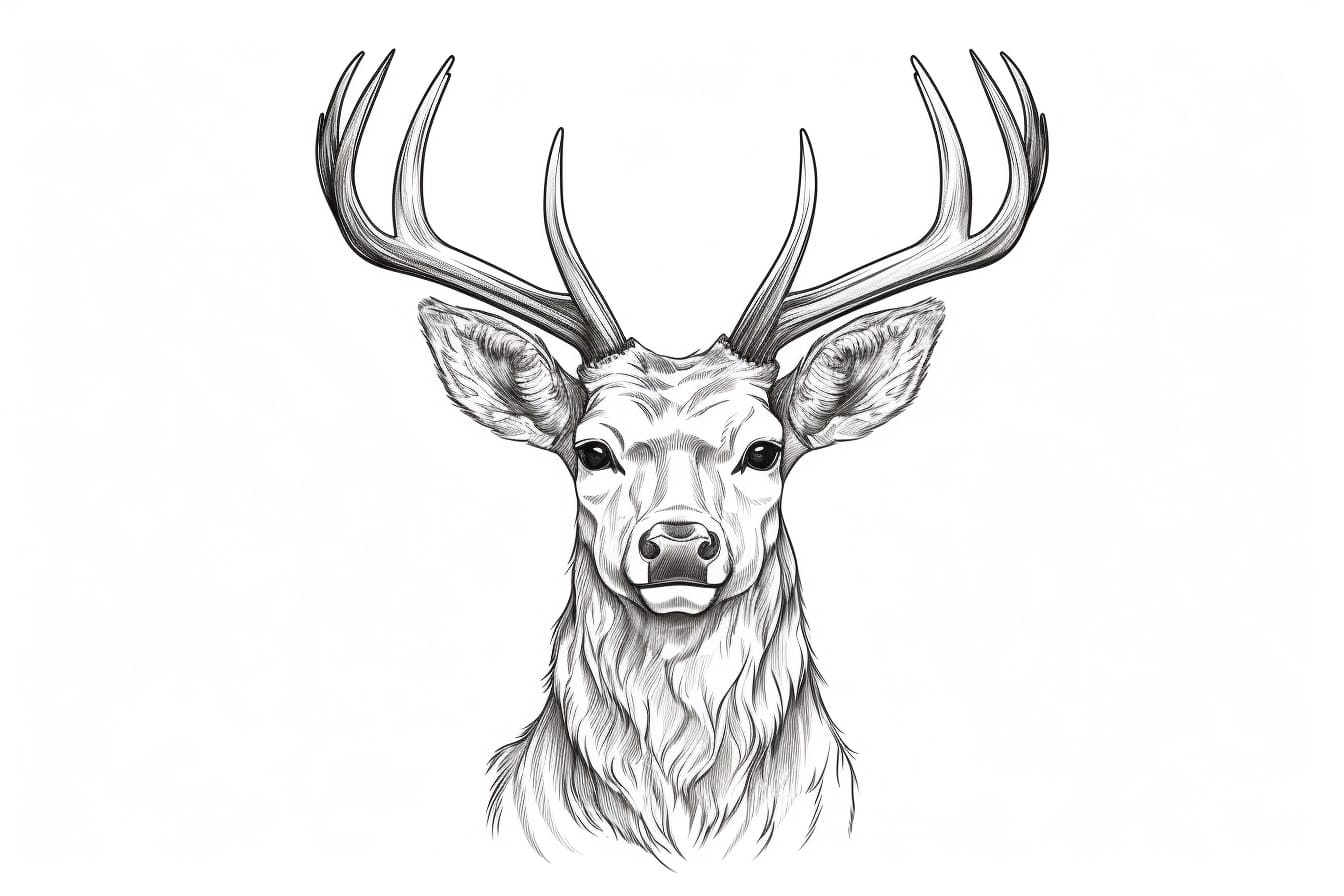
Step 2: Antlers
Next, let’s focus on the antlers, one of the distinguishing features of a deer buck. Draw two curved lines that branch out from the head, resembling the shape of tree branches. The antlers can vary in shape and size, so feel free to add your own creative touch.
Step 3: Face and Ears
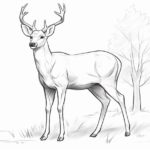
Now, let’s add some details to the face of the deer buck. Sketch the eyes using two almond-shaped ovals, with smaller circles inside for the pupils. Then, add a triangular shape for the nose, followed by a small curve for the mouth. Remember to leave enough space between the eyes and the nose to include the deer buck’s snout.
Next, draw two long, thin lines for the ears, extending from the top of the head. Deer ears are usually pointy at the top, so keep that in mind while sketching. Pay attention to the direction the ears are facing, as this will add a sense of realism to your drawing.
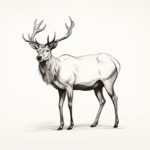
Step 4: Neck and Body
Let’s continue by refining the neck of the deer buck. Extend two curved lines from the back of the head, tapering down to meet the body. Ensure that the neck looks graceful and slender, as this will enhance the overall elegance of the deer buck.
Now, let’s work on the body. Begin by adding two lines that curve outwards from the base of the neck, forming the upper part of the deer buck’s chest. Then, draw a slightly curved line that connects these two lines to create the lower part of the chest and the belly. Remember to maintain the proportions of the body to reflect the strength and grace of the deer buck.
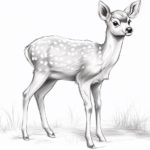
Step 5: Legs and Hooves
Moving on, let’s sketch the legs and hooves of the deer buck. Start with the front legs by drawing two parallel lines that extend down from the bottom of the chest. Then, add two more lines to create the lower part of the legs, tapering towards the hooves.
For the hind legs, draw two lines that curve from the back of the body and extend down to form the upper part of the legs. Then, add the lower part of the legs using two more lines, tapering towards the hooves. Deer hooves are divided into two parts, so be sure to include this detail in your drawing.
Step 6: Tail
Let’s not forget about the tail! Draw a curved line that extends from the back of the body, slightly above the hind legs. The tail can vary in size and shape, so feel free to experiment and add your own creative twist.
Step 7: Refining the Details
Now that the basic structure of the deer buck is complete, it’s time to refine the details and add more depth to your drawing. Use a softer pencil, such as a 4B or 6B, to darken and define the lines of the deer buck. Start with the head, refining the shape of the eyes, nose, and mouth.
Next, focus on the antlers. Add more branches and curves to make them look more intricate and realistic. Pay attention to the direction and flow of the antlers to capture the natural beauty of a deer buck’s antlers.
Step 8: Shading and Textures
To bring your drawing to life, let’s add shading and textures. Begin by shading the darker areas, such as the eyes, nose, and antlers. Use hatching and cross-hatching techniques to create depth and dimension. Gradually build up the shading by layering different pencil grades, from lighter to darker.
Use a blending stump or tortillon to blend the shading and create a smooth transition between light and dark areas. This will give your drawing a more realistic and polished look. Add finer details, such as fur textures, by using light strokes in the direction of the fur’s growth.
Step 9: Final Touches
Lastly, take a step back and assess your drawing. Make any necessary adjustments and add any final touches to refine your artwork. Erase any unnecessary lines and smudges, paying attention to clean up the areas around the highlights. This will enhance the overall presentation of your deer buck drawing.
Congratulations! You have successfully completed your drawing of a deer buck. With practice and time, your skills as an artist will continue to grow, allowing you to create even more impressive drawings.
Conclusion
Drawing a deer buck may seem like a challenging task, but with the right guidance and practice, anyone can achieve wonderful results. By following the step-by-step instructions and using the materials listed, you now have the knowledge to capture the grace and beauty of a deer buck on paper.
Remember to take your time, be patient with yourself, and enjoy the creative process. Drawing is not only a skill but also a form of self-expression. So, embrace your inner artist, and let your imagination run wild as you continue to explore the world of art.