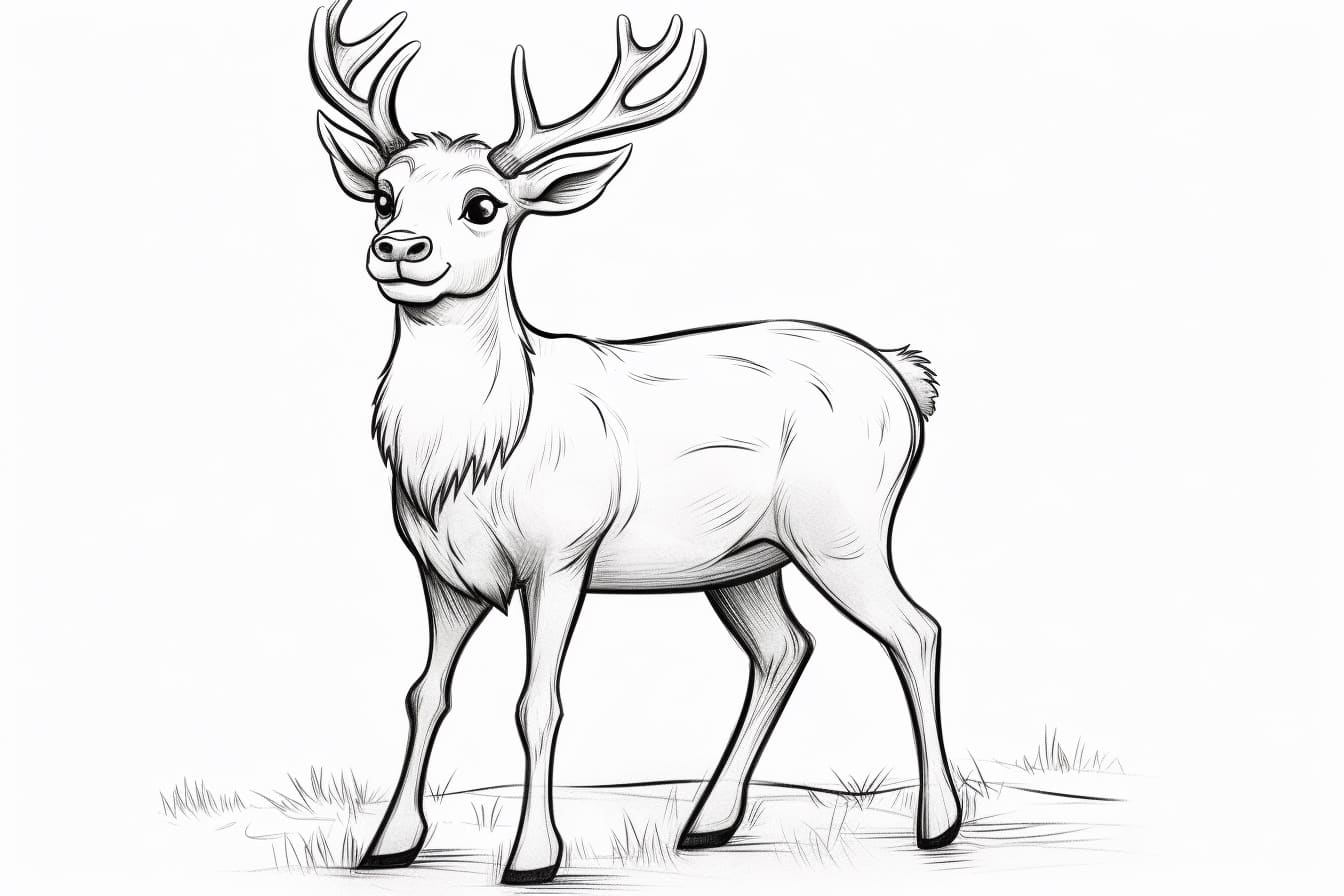
Welcome to this step-by-step guide on how to draw a cartoon reindeer! Whether you’re a beginner or an experienced artist, this tutorial will help you create a cute and festive reindeer drawing. With easy-to-follow instructions, you’ll be able to bring this lovable holiday character to life on paper.
Materials Required
Before we dive into the drawing process, let’s make sure you have all the necessary materials:
- Pencil
- Eraser
- Paper
- Fine-tip black marker or pen
- Colored pencils, markers, or crayons (optional)
Now that we have all the tools we need, let’s get started on sketching our cartoon reindeer!
Step 1: Draw a Circle for the Head
Begin by drawing a medium-sized circle near the top center of your paper. This circle will serve as the head of our reindeer.
Step 2: Add the Facial Details
Inside the circle, draw two large oval shapes for the eyes, leaving some space in between them. Then, draw a smaller oval shape below the eyes for the reindeer’s snout. Add a small upside-down triangle for the nose and a smiling curved line for the mouth.
Step 3: Sketch the Antlers
Extend two curved lines upward from the top of the reindeer’s head. At the end of each line, draw two branches that curve upward and then slightly outward. These branches will form the antlers of our reindeer.
Step 4: Draw the Ears
On either side of the reindeer’s head, draw two curved lines that are slightly smaller than the height of the head. Connect these lines with small arcs on top to form the ears.
Step 5: Outline the Body
Below the head, draw a large oval shape for the body of the reindeer. Make sure to leave some space in between the body and the head.
Step 6: Add the Legs
Draw four thin, elongated ovals extending downwards from the body. These will serve as the reindeer’s legs. Make the back legs slightly longer than the front legs to create a natural pose.
Step 7: Define the Hooves
At the bottom of each leg, draw a smaller oval shape for the hooves. Refine the shape of the hooves by adding small curves to suggest depth and definition.
Step 8: Add the Tail
On the right side of the reindeer’s body, draw a short curved line pointing upwards. Connect this line to a small oval shape to create the reindeer’s tail.
Step 9: Refine the Outline
Using a fine-tip black marker or pen, carefully trace over the main lines of your drawing. Erase any unnecessary pencil marks to clean up the image.
Step 10: Color the Reindeer (Optional)
If you prefer a colored drawing, now is the time to grab your colored pencils, markers, or crayons! You can choose traditional brown tones or let your imagination run wild with different colors. Add shading and highlights to give your reindeer depth and dimension.
Conclusion
Congratulations! You’ve successfully drawn a cartoon reindeer. This simple step-by-step guide has hopefully made the process enjoyable and easy for you. Remember, practice makes perfect, so don’t be afraid to try drawing more reindeer or explore other festive characters. Happy drawing!

