Welcome to this comprehensive guide on how to draw an arm muscle! Whether you’re an aspiring artist eager to sharpen your skills or simply someone curious about human anatomy, this tutorial is designed for you. Drawing the intricate details of muscles can provide a fascinating glimpse into the body’s structure while also refining your artistic technique.
In this step-by-step process, you will learn how to create a realistic representation of the arm muscle. As you follow along with the instructions, you’ll not only enhance your understanding of anatomy but also develop essential drawing skills. Embrace the journey of practice and exploration—every stroke will bring you closer to mastering this subject.
So, prepare your materials and get ready to unleash your creativity! Together, we will navigate through the various steps required to depict this important aspect of human anatomy. Let’s dive into the world of form and muscle definition, and embark on this artistic adventure!
Materials Required
Before we begin, let’s gather the materials you’ll need for this drawing tutorial:
- Drawing paper
- Pencil
- Eraser
- Fine-tip marker or pen (optional)
- Colored pencils or markers (optional)
Now that we have all the necessary materials, let’s dive into the steps of drawing an arm muscle.
Step 1: Sketch the Basic Shape
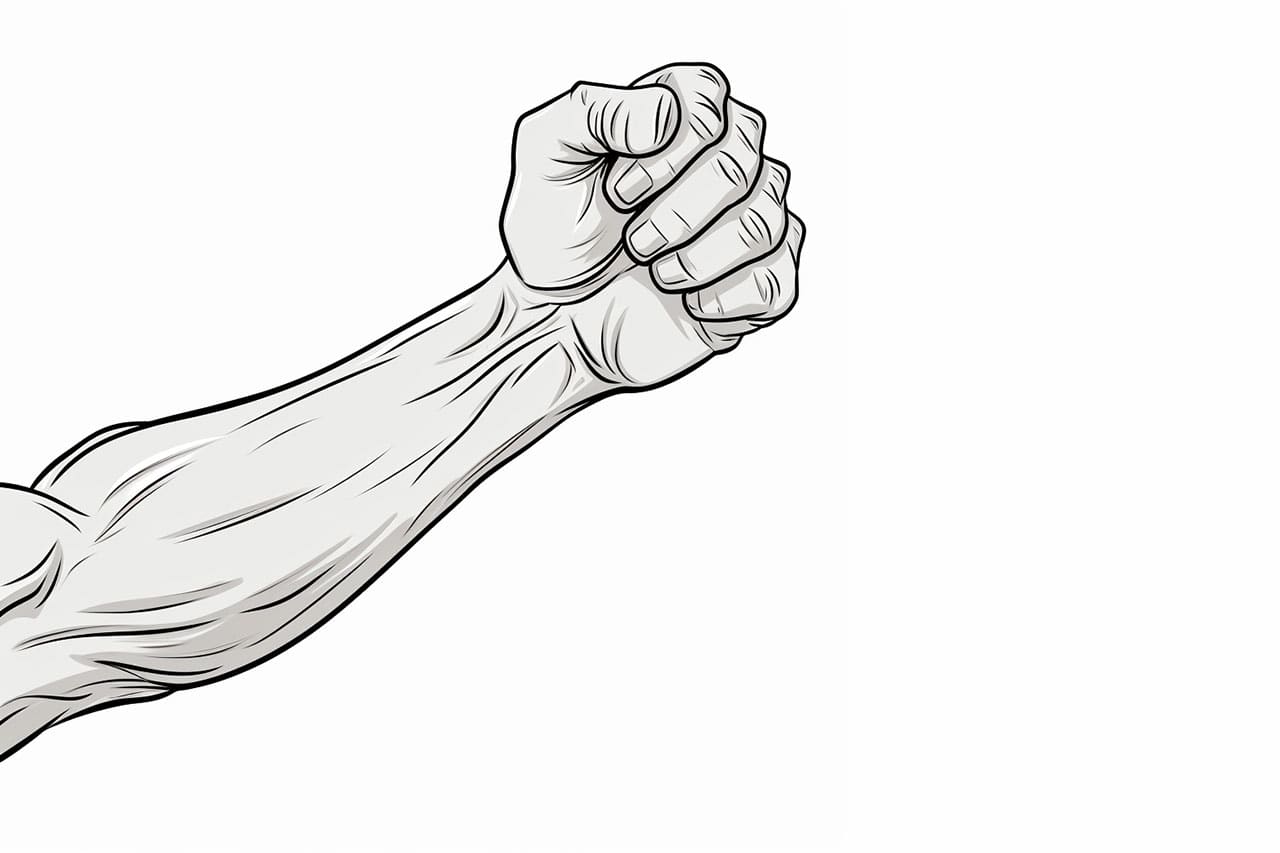
Start by lightly sketching the basic shape of the arm. Begin with a long and curved line to represent the upper arm. Then, add another curved line below it to indicate the lower arm. Remember to keep your lines light and sketchy so that you can easily make adjustments as you progress.
Step 2: Outline the Major Muscles
Next, outline the major muscles of the arm. Starting from the upper arm, draw the bicep muscle by adding a curved line on the front side of the arm. Then, draw the tricep muscle by adding a curved line on the back side of the arm. Remember that these muscles have a rounded and voluminous shape.
Step 3: Add Details to the Muscles
Now, it’s time to add more details to the muscles. Start by drawing smaller curved lines within the bicep and tricep muscles to indicate the muscle fibers. These lines will give your drawing a more realistic and three-dimensional look.
Step 4: Define the Elbow
Move on to defining the elbow. Draw a circle at the joint of the upper and lower arm to represent the condyle of the humerus bone. Then, add two curved lines on each side of the circle to indicate the bones of the forearm, the radius, and the ulna.
Step 5: Sketch the Forearm
Continue by sketching the forearm. Add more volume to the forearm muscles by drawing curved lines on the front and back sides of the lower arm. Remember to pay attention to the proportions and make adjustments if needed.
Step 6: Refine the Details
Refine the details of the arm muscle by adding more muscle fibers and texture. Pay attention to the natural curves and contours of the muscles. You can also use a fine-tip marker or pen to define the outlines of the muscles and erase any unnecessary sketch lines.
Step 7: Shade and Add Depth
To make your drawing more realistic, it’s time to add shading and depth. Study the source of light and imagine where the shadows would fall on the arm. Use your pencil or colored pencils to add shading accordingly, keeping in mind the three-dimensional form of the muscles.
Step 8: Add Final Details
Lastly, add any final details to your drawing. This may include highlighting certain areas of the muscles, adding veins, or any other specifics you wish to include. Take your time and pay attention to the small nuances that make your drawing unique.
Congratulations! You have successfully drawn an arm muscle. With practice and patience, you will refine your skills and be able to apply what you’ve learned to other muscle groups as well.
Conclusion
In this step-by-step tutorial, we have explored the process of drawing an arm muscle. By breaking down the process into simple steps, you can gradually build your understanding of anatomy and improve your drawing abilities. Remember to practice regularly and experiment with different techniques to further develop your skills. So grab your materials and start drawing those arm muscles today!
Fun Facts About Arm Muscles
- The arm muscles comprise major groups like the biceps, triceps, and forearm muscles, each with distinct functions.
- The biceps brachii were named as such because “biceps” means “two heads,” referring to its two points of origin on the shoulder.
- Triceps, located at the back of the upper arm, is responsible for arm extension and is often targeted for sculpted arm workouts.
- The forearm alone contains over 20 individual muscles, controlling wrist and finger movements.
- Despite their name, the biceps are primarily responsible for elbow flexion, rather than thickening the arm.
- Among athletes, arm muscles are crucial for strength and performance in sports ranging from basketball to swimming.
- Arm muscles play a critical role in daily activities such as lifting, pulling, pushing, and many more dynamic movements.
- Popeye, the cartoon character, is famous for his exaggerated arm muscles, which supposedly gain strength from eating spinach.
- Arm wrestling is an ancient test of strength reliant on arm muscle power, particularly the biceps and forearm muscles.
- Many people celebrate “Arm Day” in fitness routines to target and strengthen their arm muscles, maintaining both functionality and aesthetics.
Suggestions for Scenes and Settings for Arm Muscle Drawings
- Bodybuilder’s Pose: Illustrate a close-up of a bodybuilder flexing their arm muscles under bright stage lights for a dynamic, intense drawing.
- Arm Anatomy Study: Create a detailed anatomical representation with labeled muscles of the arm, showing the complexity and structure beneath the skin.
- Sports Action Shot: Capture a baseball pitcher mid-throw, focusing on the intricacy of flexed arm muscles as they deliver a fastball.
- Heroic Gesture: Design a superhero raising their arm triumphantly with muscles accentuated to showcase their strength and power.
- Artistic Silhouette: Draw a silhouette of an athlete’s arm against a vibrant sunset, emphasizing their muscle form and strength.
- Construction Worker Lift: Depict a construction worker lifting a heavy tool with visible arm muscles straining, representing toil and hard work.
- Relieved Tension: Illustrate a person stretching their arm muscles, showing relaxation and release from tension.
- Renaissance Reinterpretation: Reimagine an arm from a classic Renaissance painting, like a Michelangelo sculpture, highlighting the muscular detail.
- Arm Wrestling Showdown: Create an exhilarating scene of an arm wrestling match with bulging arm muscles clashing at a table.
- Everyday Strength: Depict an elderly person lifting their grandchild, using gentle yet strong arm muscles, showing a different kind of strength.