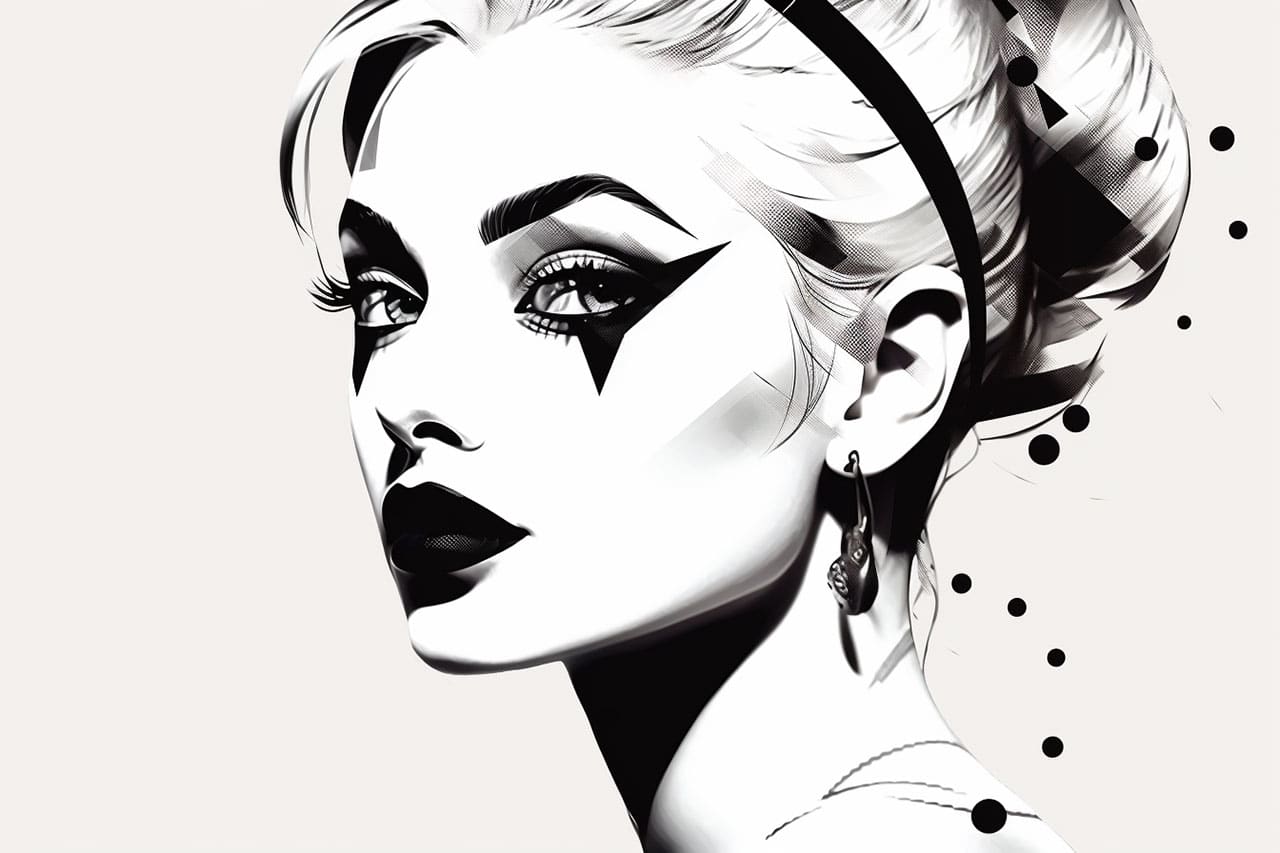
Do you love the mischievous and unpredictable character of Harley Quinn? Are you eager to learn how to bring her to life on paper? In this step-by-step guide, I will show you how to draw Harley Quinn like a pro. Whether you’re a beginner or an experienced artist, this tutorial will help you capture her unique personality and iconic style.
Materials Required
Before we dive into the drawing process, let’s gather the necessary materials. Here’s what you’ll need:
- Drawing paper or sketchbook
- Pencil
- Eraser
- Fine-tip markers or pens
- Colored pencils or markers (optional)
Now that you have everything ready, let’s get started!
Step 1: Basic Outline
Begin by sketching the basic outline of Harley Quinn’s head and body. Focus on creating simple shapes to define her proportions. Start with an oval for the head, then add a slightly elongated shape for the body. Remember to keep your pencil strokes light and loose for easy adjustments.
Step 2: Facial Features
Next, let’s add Harley Quinn’s facial features. Draw two large oval-shaped eyes, slightly angled and positioned towards the sides of her face. Add curved eyebrows above the eyes to give her a mischievous expression. Draw a small nose and a wide smile with exaggerated lips. Don’t forget her signature beauty mark slightly above her lip.
Step 3: Hair
Harley Quinn’s hair is an important part of her iconic look. Start by drawing the basic shape of her hair, which consists of two side buns. Add some wild and messy strands to give it a dynamic appearance. Then, draw two ponytails on each side with small curls at the ends. Add some loose strands of hair around her face for a more realistic effect.
Step 4: Outfit
Harley Quinn’s outfit is vibrant and full of personality. Begin by drawing her collar, which is a large, pointed shape that extends from her shoulders. Next, draw the upper part of her jester-inspired top, emphasizing the curves of her body. Add the lower part as a simple triangular shape, and then draw the belt around her waist. Don’t forget to include the diamond pattern on her top and shorts.
Step 5: Accessories
Harley Quinn is known for her unique accessories. Draw her diamond-patterned gloves, making sure to accentuate the creases and folds. Add details to her boots, such as laces and buckles. Include her signature domino mask by drawing two small triangles over her eyes. Finally, add some finishing touches by drawing a few jester bells hanging from her collar and boots.
Step 6: Inking
Now that you have the basic outlines and details in place, it’s time to ink your drawing. Use fine-tip markers or pens to carefully trace over the pencil lines. Start with the main outlines and then work your way to the smaller details. Let the ink dry completely before erasing any remaining pencil marks.
Step 7: Coloring (Optional)
If you prefer to add color to your drawing, grab your colored pencils or markers and let’s bring Harley Quinn to life! Start by coloring her face, using light tones for the skin and vibrant colors for her hair. Add a touch of red to her lips and cheeks to enhance her playful expression. Use bold colors for her outfit, keeping the diamond pattern intact.
Conclusion
Congratulations! You’ve successfully learned how to draw Harley Quinn from start to finish. By following these step-by-step instructions, you’ve captured her distinctive features and iconic style. Remember to practice regularly to improve your skills and develop your own unique artistic voice.
So grab your materials and let your creativity flow as you bring Harley Quinn to life on paper. Have fun and enjoy the process of creating your own masterpiece!

