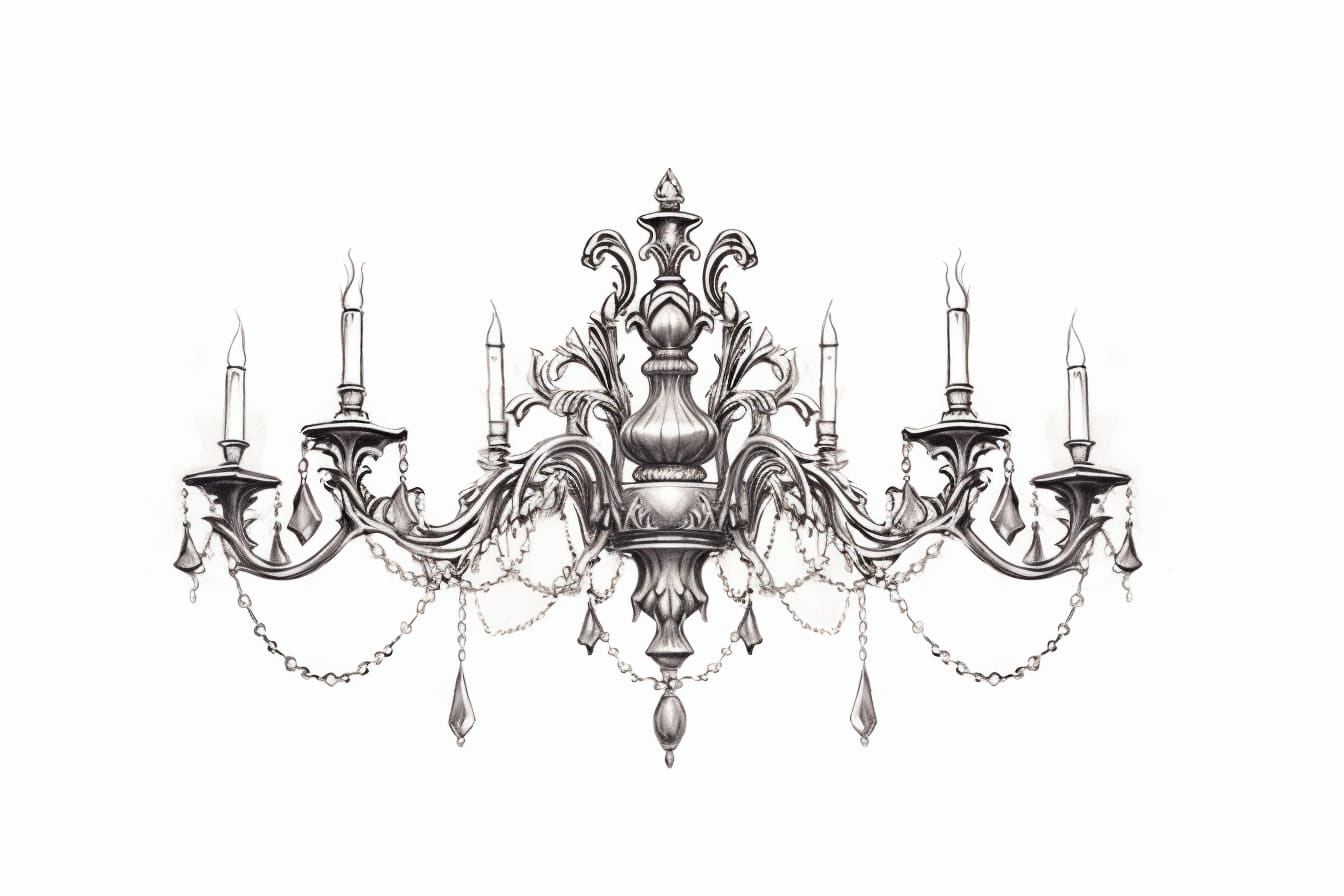
Are you interested in learning how to draw a chandelier? Chandeliers are elegant and intricate light fixtures that can add a touch of sophistication to any space. Whether you want to draw a chandelier for a home decor project or simply as a creative exercise, this step-by-step guide will help you master the art of drawing a chandelier.
Materials Required
To get started, gather the following materials:
- Pencil
- Eraser
- Paper
- Ruler
- Compass
- Fine-tip pen or marker (optional)
Now that you have your materials ready, let’s dive into the steps for drawing a chandelier.
Step 1: Basic Outline
Begin by drawing a horizontal line near the top of your paper. This line will serve as the ceiling from which the chandelier will hang. Next, draw a vertical line from the middle of the horizontal line downwards. This line will be the central axis of your chandelier. Sketch lightly so that you can easily erase any guidelines later on.
Step 2: Draw the Upper Frame
Now, let’s start drawing the upper frame of the chandelier. From the top of the vertical line, draw a slightly curved horizontal line going to the right. Then, mirror this line on the left side of the vertical line, creating a symmetrical shape. These lines will form the upper rim of the chandelier.
Step 3: Add Details to the Frame
To give your chandelier more depth and dimension, add some decorative details to the upper frame. Draw small, curved lines that connect the upper rim to the vertical line. These lines can be simple or elaborate, depending on the style of chandelier you want to create.
Step 4: Draw the Lower Frame
Now, let’s move on to drawing the lower frame of the chandelier. Start by extending the vertical line downwards, creating a longer line that represents the length of the chandelier. From the bottom of this line, draw two diagonal lines that meet at a point, forming an upside-down triangle. This shape will serve as the base of the chandelier.
Step 5: Add Details to the Base
Similar to the upper frame, add decorative details to the base of the chandelier. Use curved lines to create the appearance of intricate patterns or embellishments. These decorative details will give your chandelier a more elegant and ornate look.
Step 6: Draw the Arms
Chandeliers typically feature multiple arms that hold the light bulbs. To draw the arms, start by drawing two curved lines that extend from the upper rim towards the center of the chandelier. These lines should be evenly spaced and parallel to each other. Repeat this step to add more arms to your chandelier, depending on the desired design.
Step 7: Add Bulb Holders and Candles
Now, let’s add the bulb holders or candle fixtures to the chandelier. Draw small circles or ellipses at the end of each arm to represent the holders. If you prefer a more traditional chandelier, you can draw small candles instead of bulb holders. Add as many holders or candles as you’d like, keeping them evenly spaced along the arms.
Step 8: Refine and Erase Guidelines
At this point, you have the basic structure of your chandelier. Take a moment to review your drawing and make any necessary refinements. If there are any guidelines or construction lines that are still visible, gently erase them, leaving only the final outline of the chandelier.
Step 9: Add Shading and Details
To add more depth and realism to your chandelier, consider adding shading and details. Shade the areas where shadows would naturally fall, such as the underside of the arms or the lower part of the chandelier. You can use cross-hatching or stippling techniques to create texture and depth. Additionally, add more intricate details to the chandelier, such as additional patterns or decorations, to make it more visually appealing.
Conclusion
Drawing a chandelier may seem like a challenging task, but with the right techniques, you can create a beautiful and intricate design. By following the step-by-step instructions outlined in this article, you will be able to draw a chandelier with confidence and skill. So grab your materials and start creating your unique chandelier masterpiece today!