The crown of thorns is a powerful symbol often associated with the crucifixion of Jesus Christ. Drawing a crown of thorns can be a meaningful and challenging artistic endeavor. In this step-by-step guide, I will walk you through the process of drawing a crown of thorns, from start to finish. So grab your pencils and paper, and let’s get started!
Materials Required
Before we dive into drawing, let’s gather the materials you’ll need for this project:
- Drawing paper
- Pencils (preferably HB, 2B, and 4B)
- Eraser
- Ruler (optional)
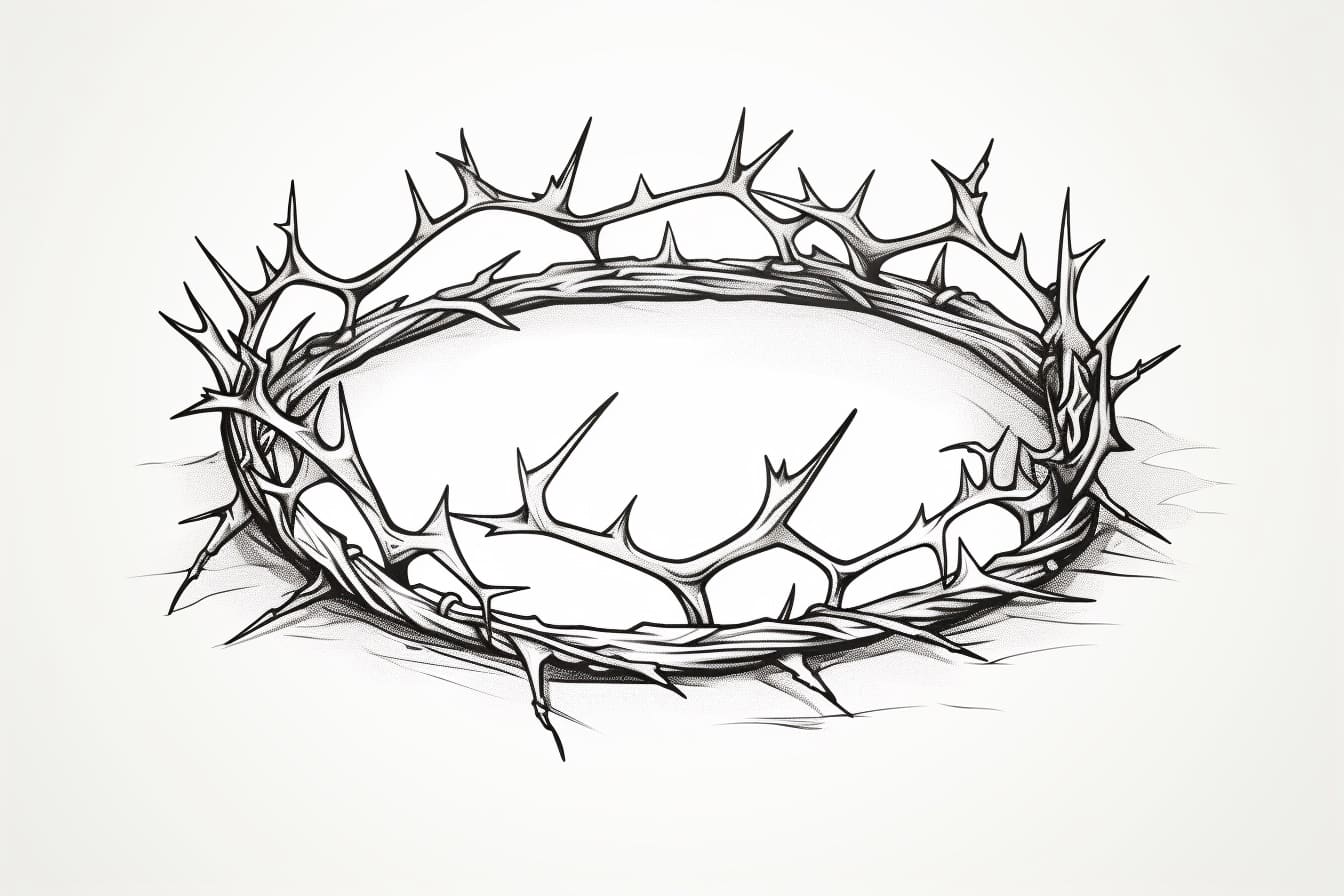
- Reference image of a crown of thorns (for inspiration)
Now that we have all the necessary materials, let’s begin the drawing process.
Step 1: Sketch the Basic Shape
Start by lightly sketching the outline of the crown’s basic shape. Use your HB pencil for this initial sketch. Keep the lines loose and gentle to allow for any adjustments as you progress. Remember, the crown of thorns should have an irregular and twisted appearance, so don’t worry about making it perfect.
Step 2: Add Thorn Details
Using your HB pencil, start adding the thorns to the crown. Keep in mind that the thorns should overlap and vary in size. Use short, jagged lines to create the thorns, giving them a sharp and spiky appearance. Make sure to pay attention to the placement and direction of the thorns, following the overall shape of the crown.
Step 3: Darken the Lines
Once you are satisfied with the placement of the thorns, use your 2B pencil to darken the outline of the crown. This will help define the shape and give it a more prominent appearance. Be careful not to press too hard, as we will be adding more details in the next steps.
Step 4: Add Texture
To add depth and texture to the thorns, switch to your 4B pencil. Start by shading the areas between the thorns, creating shadows and adding a three-dimensional feel to the drawing. Use hatching and cross-hatching techniques to enhance the texture and make the thorns appear more realistic.
Step 5: Refine and Add Details
With your 4B pencil, carefully refine the shape of the thorns and add additional details. Pay close attention to the smaller branches and spikes that protrude from the main thorns. Remember to keep the lines irregular and jagged to maintain the natural and organic look of the crown.
Step 6: Shade the Background (Optional)
If you’d like to add more depth and contrast to your drawing, consider shading the background. Use a lighter pencil shade, such as the HB or 2B, to create a subtle gradient or a darker shade, like the 4B, for a more dramatic effect. This step is optional but can enhance the overall impact of your drawing.
Step 7: Erase and Adjust
Take a step back and evaluate your drawing. Use your eraser to remove any unwanted lines or smudges. Adjust the shape of the crown or thorns if necessary. Don’t be afraid to make changes at this stage to ensure you are satisfied with the final result.
Step 8: Finalize and Detailing
Now that the bulk of your drawing is complete, take some time to refine and add any additional details. Pay attention to the light and shadows, and add some highlights to make certain areas stand out. Use your eraser to create highlights by gently lifting off the graphite. This will give your drawing a more realistic and polished appearance.
Conclusion
Drawing a crown of thorns is a challenging yet rewarding artistic endeavor. By following these step-by-step instructions, you can create a powerful and meaningful representation of this symbolic image. Remember to take your time, be patient, and enjoy the process of bringing your drawing to life.
So, gather your materials, channel your creativity, and start drawing your own crown of thorns today!