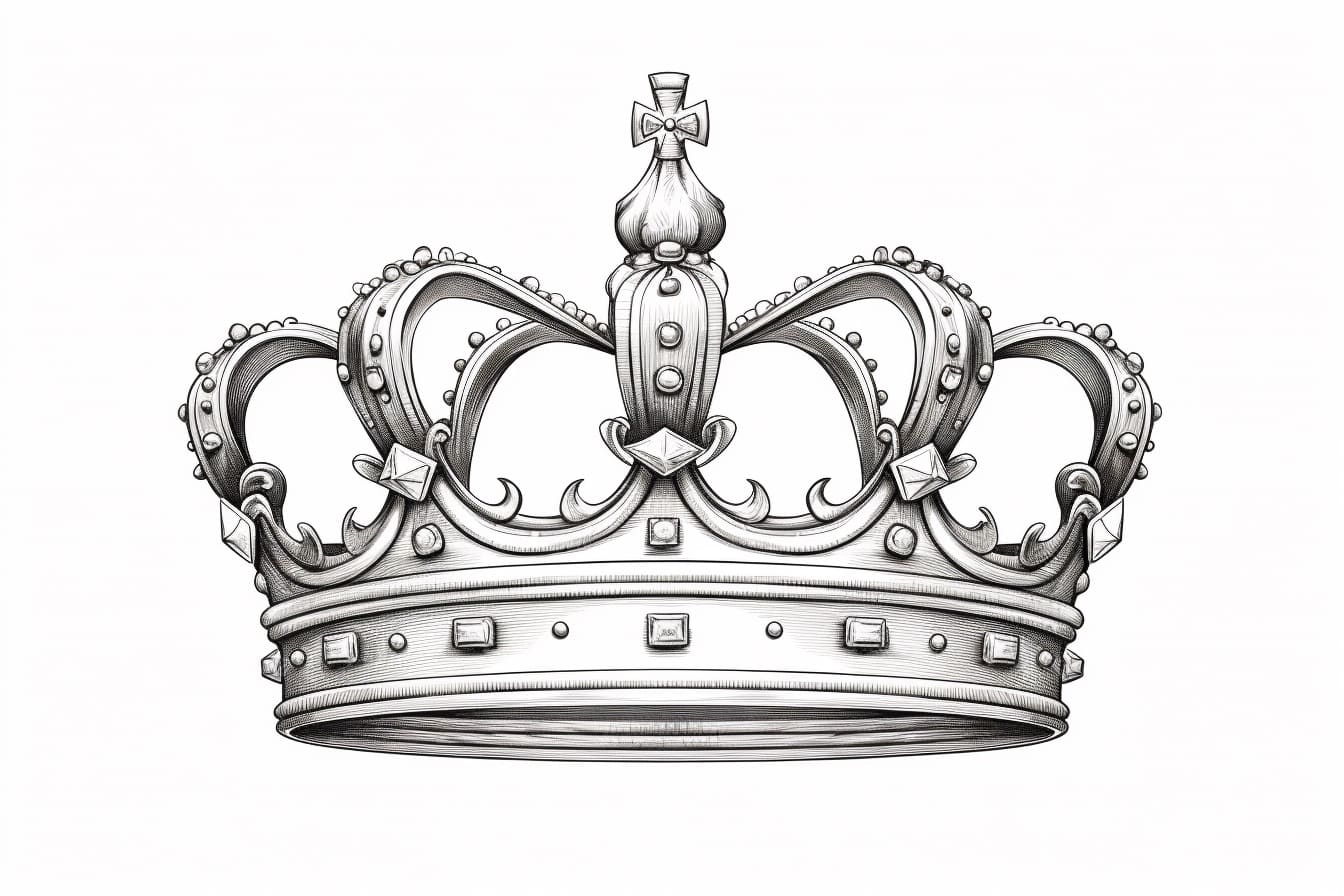
Welcome to this tutorial on how to draw a king’s crown! In this step-by-step guide, I will walk you through the process of creating a regal and majestic crown fit for a king. Whether you’re an aspiring artist or just looking for a fun and creative project, this tutorial will help you achieve impressive results. So let’s grab our drawing supplies and get started!
Materials Required
Before we begin, make sure you have the following materials handy:
- A pencil
- An eraser
- Drawing paper
- Colored pencils (optional)
Now that we have everything we need, let’s dive into the steps for creating a king’s crown.
Step 1: Draw the Base Shape
Start by drawing a horizontal line across the middle of your paper. This will serve as the base of the crown. Next, we’re going to add some height to the crown by drawing two upward curves from each end of the base line. These curves should meet at a point at the top center. This forms the basic shape of the crown.
Step 2: Add the Points
To give the crown its signature regal look, we’re going to add some pointed peaks along the top edge. Starting from the left side of the crown, draw a small triangle-shaped point that extends slightly above the top line. Repeat this process, evenly spacing out the points along the top edge until you reach the right side of the crown.
Step 3: Create the Spikes
Now that we have the pointed peaks, let’s add some spikes to the crown. Begin by drawing a small triangle below each point, connecting it to the base line. Continue this pattern for each point along the top edge. These spikes will give your crown a more intricate and detailed appearance.
Step 4: Design the Band
To make the crown look more realistic, let’s add a band around the base. Draw a curved line parallel to the base line, slightly below it. It should follow the same shape as the base line, but with a smaller curve radius. This band will serve as the foundation for any additional embellishments you may want to add later.
Step 5: Add Details
Now it’s time to add some decorative elements to your crown. Begin by drawing a series of small circles or diamonds along the band. These will act as jewels or beads, adding a touch of elegance to your crown. You can also add more spikes or points to the band, or any other intricate designs that you fancy. Let your imagination run wild!
Step 6: Refine and Erase
Take a moment to review your drawing and make any necessary adjustments or refinements. If there are any lines or shapes that are not quite right, now is the time to correct them. Once you’re happy with the overall look, carefully erase any unnecessary guidelines or construction lines. This will give your crown a cleaner and more polished appearance.
Step 7: Optional Coloring
If you want to take your drawing to the next level, you can add some color to your crown. Use colored pencils or any other coloring tools of your choice to bring your crown to life. Get creative with your color choices and experiment with different combinations to achieve a truly majestic look.
Conclusion
Congratulations, you’ve successfully learned how to draw a king’s crown! By following these step-by-step instructions and using your creativity, you can create a beautiful and regal crown fit for royalty. Remember to practice regularly to improve your skills and explore different variations of crown designs. Have fun, and let your imagination soar!

