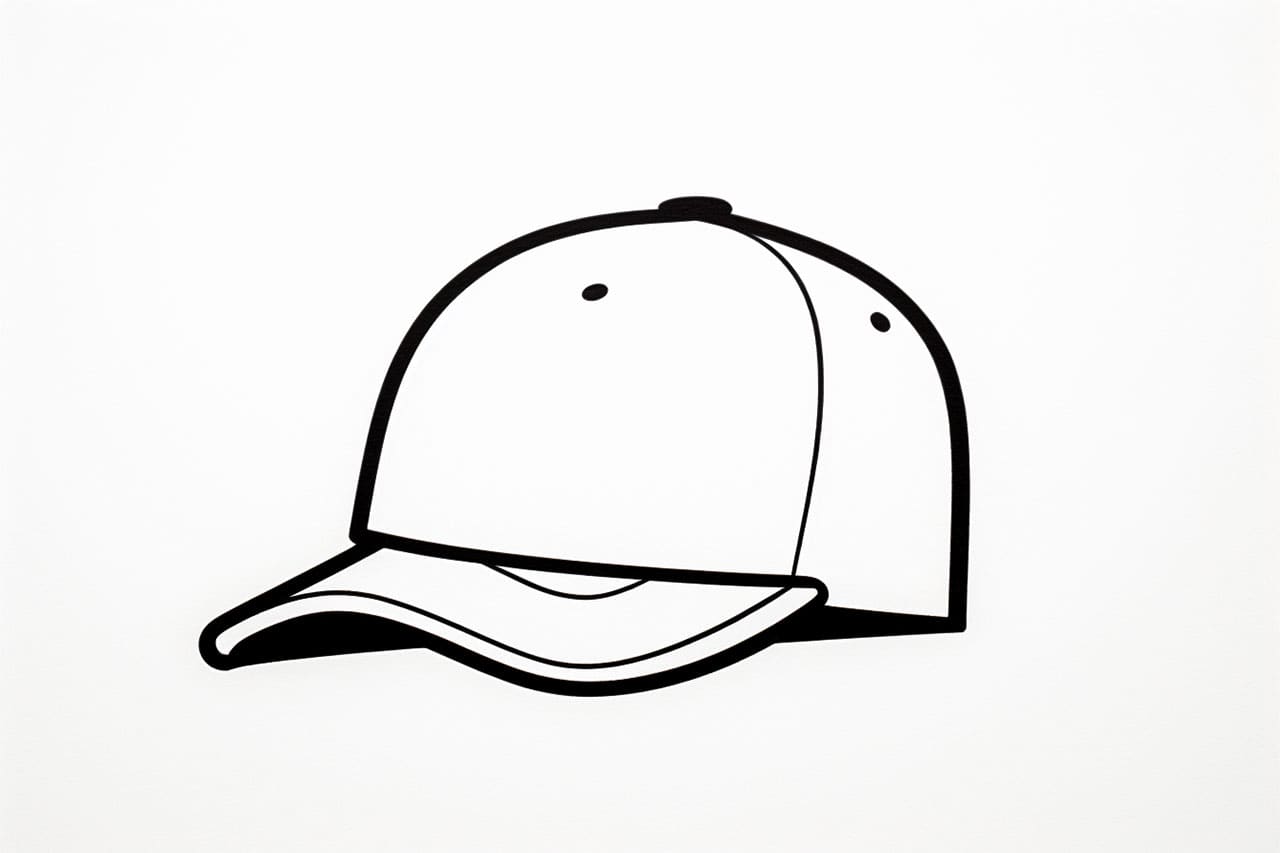
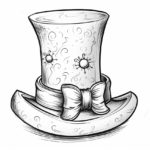
Whether you want to draw a cap for a fashion design, an art project, or just for the fun of it, this step-by-step guide will help you create a realistic and impressive cap drawing. In this tutorial, we will go through each stage of the drawing process, from sketching the initial outline to adding the final details. So grab your drawing materials and let’s get started!
Materials Required
To draw a cap, you will need:
- A pencil
- Eraser
- Drawing paper
- Fine-tip pens or markers
- Colored pencils or markers (optional)
Now that you have your materials ready, let’s begin!
Step 1: Start with Basic Shapes
To create a solid foundation for your cap drawing, start by sketching the basic shapes. Begin with an oval shape for the crown of the cap and a horizontal line across the middle to indicate the brim.
Step 2: Add Details to the Crown
Now, let’s add some details to the crown of the cap. Divide the oval shape into two parts by drawing a vertical line down the center. This will help us create a symmetrical cap. Next, draw curved lines on each side to represent the panels of the cap.
Step 3: Define the Brim
The brim of the cap helps give it structure and shape. Start by drawing lines that connect the bottom of the crown to the horizontal line representing the brim. These lines should curve slightly to follow the shape of the oval. Once you have these lines in place, draw another line on top to create the top edge of the brim.
Step 4: Refine the Shape
Now that we have the basic structure of the cap, let’s refine the shape and add some dimension. Use curved lines to smooth out any rough edges and make the cap look more rounded. Pay attention to the direction of the curves to create a three-dimensional effect. You can also erase any unnecessary lines from the initial sketch.
Step 5: Add Eyelets
Many caps have eyelets on the panels for ventilation. To draw these, simply add small circles or ovals along the panels of the cap. Place them evenly and make sure they align with each other.
Step 6: Draw the Details of the Brim
To make the brim of the cap look more realistic, we need to add some details. Start by drawing a curved line near the bottom edge of the brim to create a lip. Then, add stitching lines along the edge of the brim to simulate the sewing.
Step 7: Add Design Elements
Now it’s time to let your creativity shine! You can add any design elements you like to personalize your cap drawing. This can include logos, patterns, or even words. Sketch these elements lightly with your pencil before finalizing them with pens or markers.
Step 8: Ink the Drawing
Once you are satisfied with your cap drawing, it’s time to trace over the final lines with pens or markers. Start with the outline of the cap, using a fine-tip pen to give it a clean and bold look. Then, fill in the details, such as the eyelets, stitching lines, and design elements.
Step 9: Erase the Guidelines
Now that the ink has dried, use your eraser to carefully remove any remaining pencil guidelines. Be gentle to avoid smudging the ink. This step will give your cap drawing a polished and professional appearance.
Step 10: Add Color (Optional)
If you want to take your cap drawing to the next level, you can add color using colored pencils or markers. Consider the type of cap you are drawing and choose appropriate colors. Have fun experimenting with shading and blending techniques to make your cap look more realistic.
Congratulations! You have successfully drawn a cap from start to finish. Remember, practice makes perfect, so feel free to try different styles and designs to improve your drawing skills.
Conclusion
Drawing a cap may seem challenging at first, but with the right guidance, anyone can create a fantastic cap drawing. This step-by-step tutorial has provided you with a clear and concise approach to drawing a cap. Start with the basic shapes, add details, refine the shape, and finalize it with ink and colors if desired. Remember to take your time and enjoy the process. Soon enough, you’ll be drawing caps with confidence and creativity.

