Welcome to this step-by-step guide on how to draw a light bulb! Whether you’re an aspiring artist, a student, or simply looking to express your creativity, this tutorial will provide you with easy-to-follow instructions to create a realistic light bulb drawing. Get your pencils and paper ready, and let’s get started!
Materials Required
Before we begin, make sure you have the following materials:
- Drawing paper
- Pencils (HB, 2B, and 4B)
- Eraser
- Ruler
- Blending stump (optional)
- Reference image of a light bulb
Having these materials at hand will help you achieve the best results in your drawing.
Step 1: Basic Outline
Begin by drawing a vertical line slightly tilted to the right. This line will serve as the base for the light bulb. Then, draw a horizontal line across the top of the vertical line, creating a curved shape at the top. This represents the rounded glass part of the bulb.
Step 2: Bulb Shape
Next, connect the bottom of the vertical line to the horizontal line with a curved line, completing the outline of the bulb. Make sure the shape is smooth and slightly tapered towards the bottom.
Step 3: Screw Cap
Now, draw a small rectangle at the top of the bulb, slightly tilted to the left. This rectangle represents the screw cap of the light bulb.
Step 4: Filament Support
Inside the bulb, draw a curved line from the top of the screw cap to the bottom of the bulb. This line represents the support for the filament. It should be thin and slightly curved.
Step 5: Filament
Within the filament support, draw a zigzag line to create the filament itself. The filament should be irregularly shaped with small curves and bends. Take your time to carefully draw this part, as it adds realism to your light bulb.
Step 6: Glass Details
To give the light bulb a more realistic look, draw some curved lines on the rounded glass part. These lines represent the reflections and highlights. Add them sparingly and make sure they follow the shape of the bulb.
Step 7: Screw Cap Details
Add some details to the screw cap by drawing a few vertical lines at the top of the rectangle. These lines represent the threads on the cap and give it a three-dimensional appearance.
Step 8: Shading
Now, it’s time to add shading to your light bulb drawing. Start by determining the light source. Imagine the light coming from a specific direction and shade the opposite side of the bulb accordingly. Use a darker pencil, such as a 4B, to create the shading.
Step 9: Gradual Shading
To add depth and volume to your light bulb, create a gradual shading effect. Begin with light shading and gradually apply more pressure to the pencil as you move towards the darker areas. Use a blending stump to blend the shades smoothly if desired.
Step 10: Highlights
To make your light bulb drawing more realistic, add highlights to create the illusion of the glass reflecting light. Using an eraser, carefully remove small sections of shading on the glass where the light would hit. This will make those areas appear brighter.
Step 11: Final Touches
Take a step back and evaluate your drawing. Make any necessary adjustments to the shading, highlights, or proportions of the light bulb. Don’t be afraid to erase and redraw certain areas if needed. Take your time to ensure your drawing meets your expectations.
Conclusion
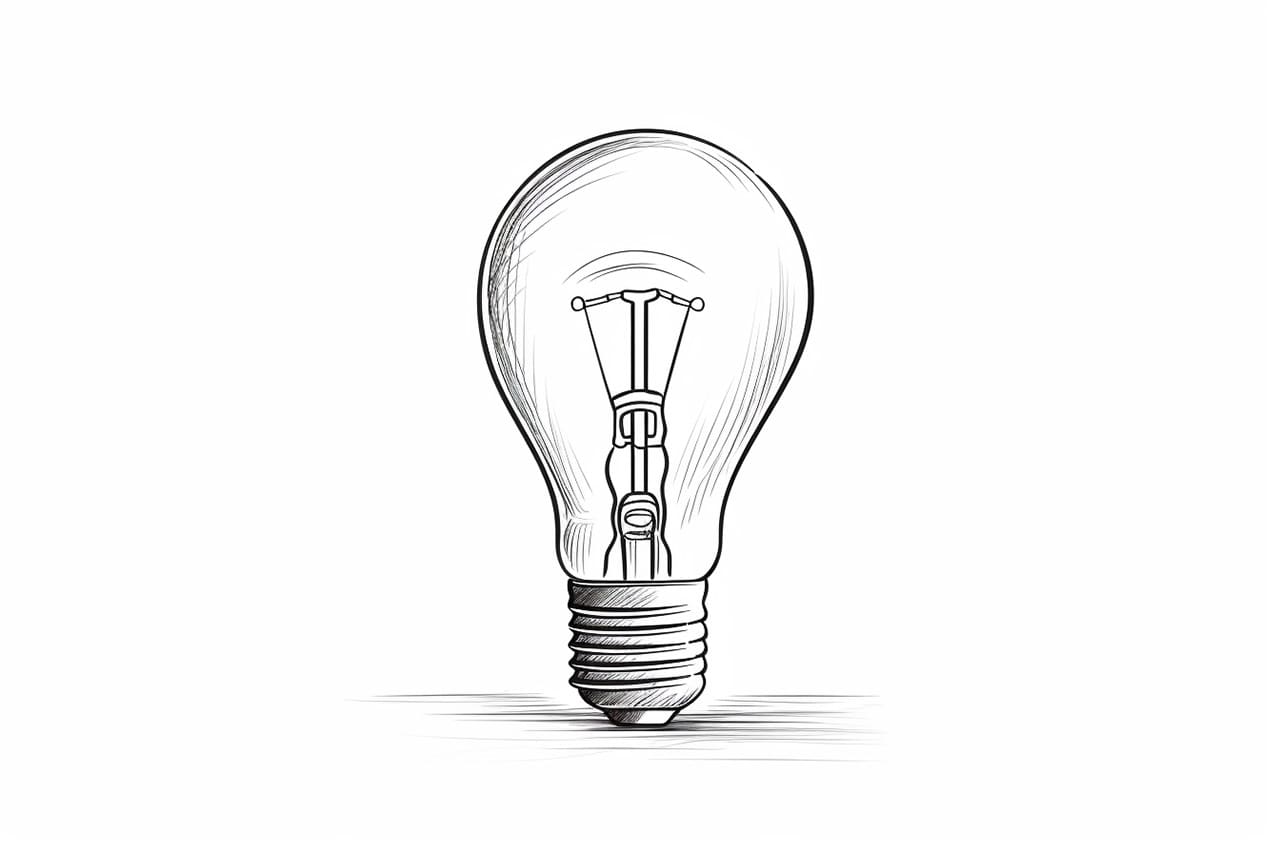
Congratulations! You have successfully learned how to draw a light bulb. By following these step-by-step instructions, you have created a realistic representation of a light bulb with shading and details. Remember to be patient with yourself and practice regularly to improve your drawing skills.
Now that you have mastered drawing a light bulb, you can try experimenting with different light sources, positions, and perspectives. This will allow you to create more intricate and captivating drawings. Enjoy the process and keep exploring your artistic abilities!