Welcome to this step-by-step guide on how to draw a sand dollar! Sand dollars are fascinating creatures that can be found on sandy beaches around the world. They have a unique pattern on their exoskeleton, making them a popular subject for artists. Whether you are a beginner or an experienced artist, this tutorial will provide you with easy-to-follow instructions on capturing the beauty and intricacy of a sand dollar. So grab your drawing supplies and let’s get started!
Materials Required
To draw a sand dollar, you will need the following materials:
- Paper: Start with a clean sheet of paper. You can use any type of paper, but a sketchpad or drawing paper works best.
- Pencil: Select a pencil with a medium hardness (HB or 2B) for your initial sketch. You can also use a mechanical pencil if you prefer.
- Eraser: Have a good quality eraser handy to correct any mistakes or make revisions.
- Fine-tip pens: You will need a set of fine-tip pens in different sizes for adding details and shading. Choose pens with archival ink that won’t smudge or fade over time.
- Colored pencils or markers (optional): If you want to add color to your drawing, have a set of colored pencils or markers ready.
Now that you have gathered your materials, let’s dive into the step-by-step instructions!
Step 1: Basic Shapes
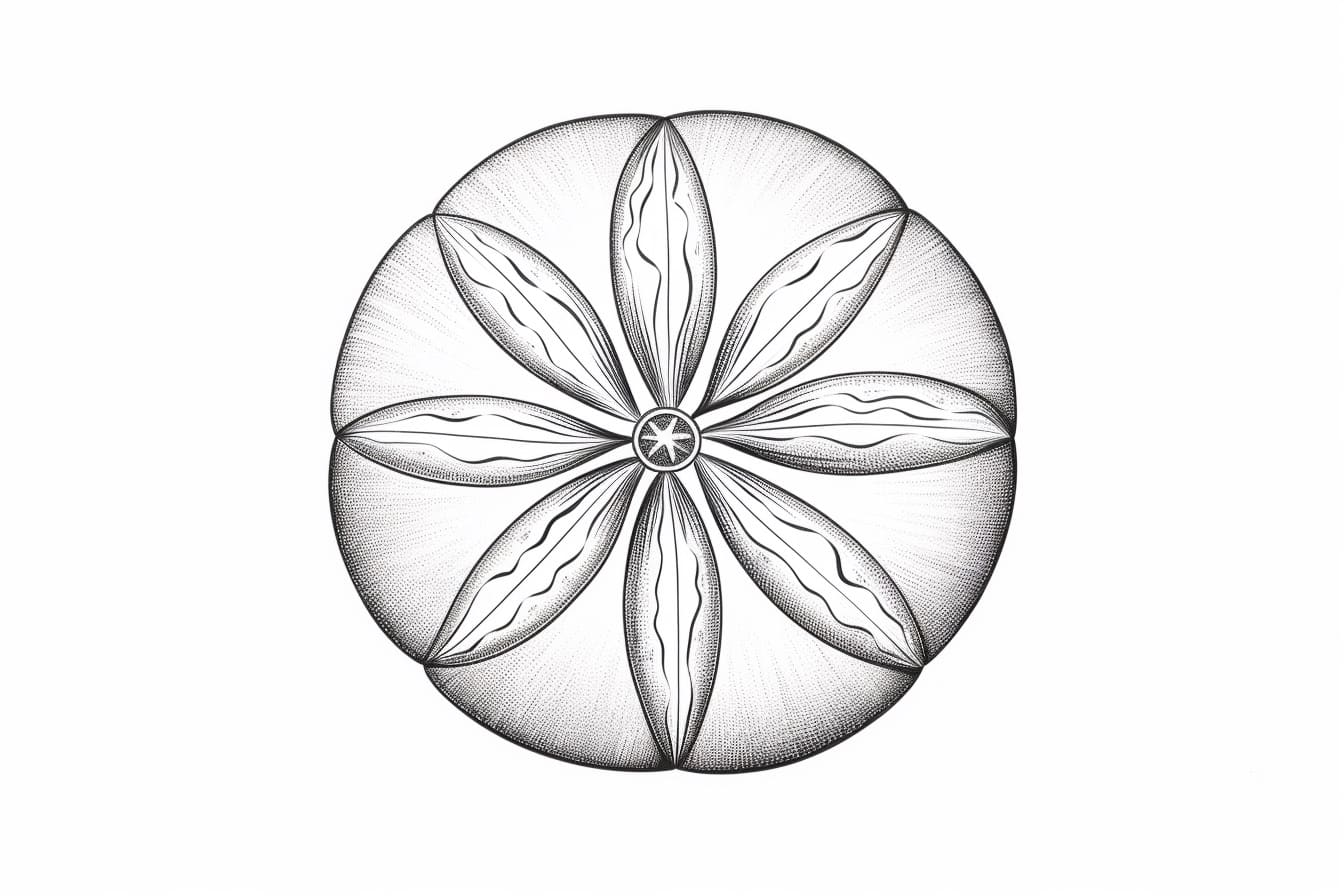
Start by lightly sketching the basic shapes of the sand dollar. Begin with a large oval shape in the center of your paper. This will be the main body of the sand dollar. Next, draw five smaller ovals around the main oval, slightly overlapping each other. These ovals will represent the petal-like features of the sand dollar. Take your time to ensure that the proportions of the shapes are accurate.
Step 2: Outline the Sand Dollar
Using your pencil, carefully outline the shapes you sketched in the previous step. Pay attention to the curves and contours of each shape. The outline should be smooth and clean. Don’t worry if your lines are not perfect; you can always make adjustments later on.
Step 3: Add Surface Details
Now, let’s add some surface details to make the sand dollar look more realistic. Starting from the center of the main oval, draw a series of curved lines radiating outward. These lines resemble the growth rings found on a tree trunk. Continue drawing these lines on each petal-like shape as well. Remember to keep your lines light and subtle.
Step 4: Create Texture
To create the texture of the sand dollar, add small dots or short lines within each petal-like shape. These dots and lines represent the pores and texture found on the surface of a real sand dollar. Vary the size and density of the dots to add depth and dimension. Take your time with this step, as it can greatly enhance the overall realism of your drawing.
Step 5: Refine the Outline
Go over the initial outline of your sand dollar drawing, refining any uneven or shaky lines. Use your eraser to make any necessary corrections. Pay close attention to the curves and shapes of the sand dollar to ensure accuracy. This step is crucial in achieving a polished and professional-looking drawing.
Step 6: Add Fine Details
Now it’s time to add fine details to bring your sand dollar drawing to life. Use a fine-tip pen to carefully trace over the refined outline, making it bold and distinct. Add intricate patterns and textures to each petal-like shape, mimicking the delicate and unique design of a real sand dollar. Take your time and be patient, as this step requires precision and attention to detail.
Step 7: Shading and Depth
To add depth and dimension to your drawing, use your fine-tip pens to create subtle shading. Identify the areas where shadows would naturally fall, such as between the petal-like shapes or along the outer edges. Add hatching or cross-hatching to these areas, gradually building up the darkness. Be mindful of the direction of your strokes to maintain a consistent lighting source.
Step 8: Optional Coloring
If you prefer a colored drawing, now is the time to add some vibrant hues to your sand dollar. Use colored pencils or markers to carefully fill in the different sections of the sand dollar. Take inspiration from real sand dollars or be creative with your color choices. Blend colors smoothly, adding highlights and shadows to create a realistic effect.
Conclusion
Congratulations! You have successfully learned how to draw a sand dollar from start to finish. By following these step-by-step instructions, you have created a beautiful and intricate representation of this fascinating marine creature. Remember to practice regularly to improve your drawing skills and experiment with different techniques. So grab your drawing supplies, head to the nearest beach, and let your creativity flow as you capture the essence of a sand dollar on paper!