Welcome to this step-by-step guide on how to draw a Gatorade bottle! Whether you’re interested in improving your drawing skills or simply want to create a cool artwork featuring this iconic sports drink, this tutorial is perfect for you. By following these clear and concise instructions, you’ll be able to create a realistic representation of a Gatorade bottle. So, let’s dive in and get started!
Materials Required
Before we begin, let’s gather the materials you’ll need for this drawing:
- Drawing paper
- Pencil
- Eraser
- Ruler
- Colored pencils or markers (optional)
Ensure that you have all these materials handy before you begin the drawing process.
Step 1: Outline the Basic Shape
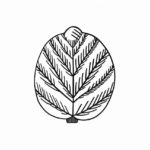
To start, lightly draw an oval shape at the center of your paper. This will form the foundation for the Gatorade bottle. Make sure the oval is slightly tilted to create a dynamic look.
Step 2: Add the Cap
At the top of the oval, draw a smaller oval shape to represent the cap of the Gatorade bottle. Position it slightly offset from the center to give the bottle a more realistic appearance.
Step 3: Refine the Shape
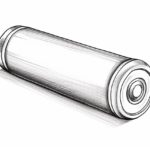
Using your pencil, carefully refine the shape of the bottle by adding curves and adjusting the outline. Pay close attention to the proportions and curves of a Gatorade bottle, which tapers towards the bottom. Use light strokes at this stage to make it easier to make changes later.
Step 4: Add the Label
Now, let’s add the Gatorade label to our bottle. Draw a rectangle shape in the center of the bottle. This will be the main area for the label. Then, add the lettering “Gatorade” within the rectangle using neat and legible lines. You can use a reference image or search online for the Gatorade logo to accurately recreate it.
Step 5: Draw the Details
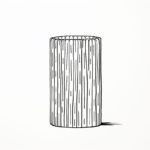
To make your drawing more realistic, start adding details to the bottle. Begin with the ridges and grooves on the cap. Next, draw the ridges running along the body of the bottle, starting from the cap and ending near the bottom.
Step 6: Create a Reflection
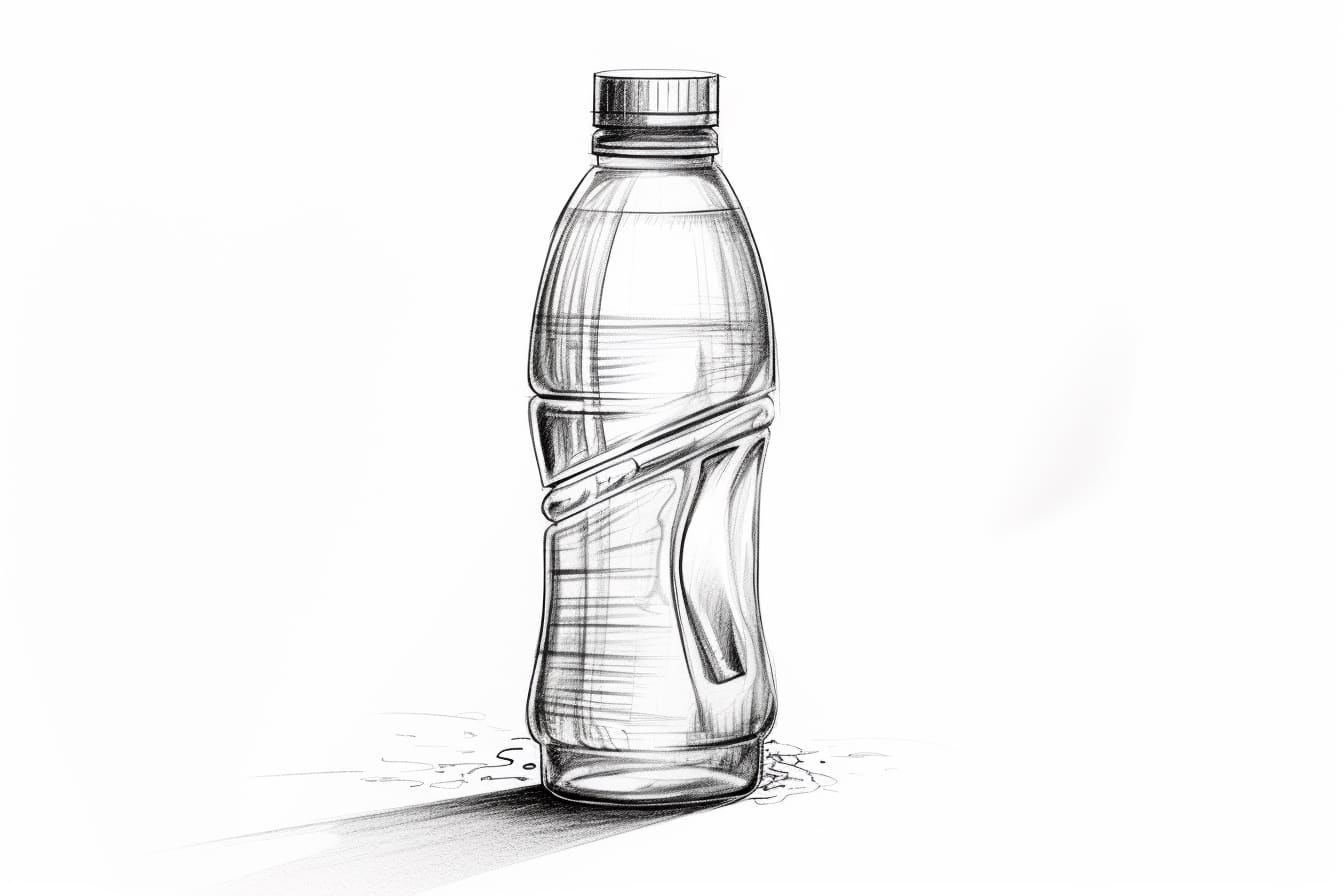
To make the bottle appear more dimensional, we need to add a reflection. On the side of the bottle opposite the light source, draw a curved shape that follows the contour of the bottle. This reflection adds depth and gives the illusion of a shiny surface.
Step 7: Shade the Bottle
Now it’s time to add shading to your drawing. Identify the light source and imagine where the shadows would fall on the bottle. Use your pencil to darken those areas, keeping the shading consistent with the direction of the light. Gradually build up the shading to create a three-dimensional effect.
Step 8: Add Highlights
To create contrast and further enhance the three-dimensional look, add highlights to the bottle using an eraser. Erase small sections on the opposite side of the shadows to simulate areas where the light is hitting the bottle. Be careful not to overdo it; a few subtle highlights will suffice.
Step 9: Color your Drawing (Optional)
If you wish to add color to your drawing, now is the time to do so. Use colored pencils or markers to accurately reproduce the vibrant colors of a Gatorade bottle. Pay close attention to the shade variations and gradients on the label and the bottle itself.
Conclusion
Congratulations! You have successfully learned how to draw a Gatorade bottle. By following these step-by-step instructions, you were able to create a realistic representation of this iconic sports drink. Remember to practice regularly, as it is through practice that you’ll continue to develop your drawing skills.
We hope you enjoyed this tutorial and found it helpful in expanding your artistic abilities. Happy drawing!