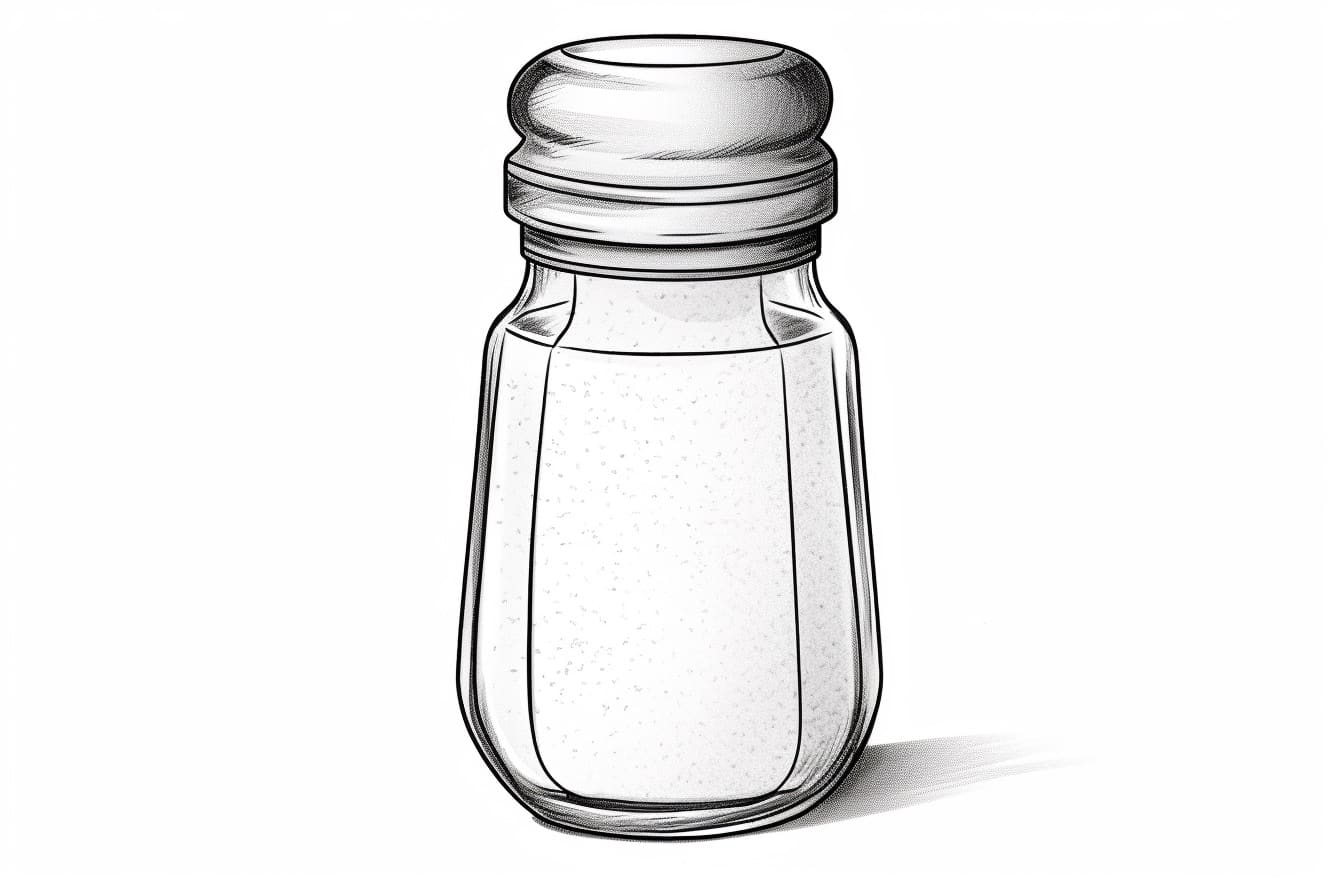
Salt shakers are commonly found in kitchens around the world and can add both functionality and style to your dining table. If you have ever wanted to draw a salt shaker, this step-by-step guide will show you how to do it in a clear and concise manner. Whether you are an experienced artist or just starting out, this tutorial will help you create a realistic depiction of a salt shaker. So, let’s grab our drawing materials and get started!
Materials Required
To draw a salt shaker, you will need the following materials:
- Pencil: A basic mechanical or regular pencil is ideal for sketching and outlining.
- Paper: Use a clean sheet of paper to bring your drawing to life.
- Eraser: It’s always a good idea to have an eraser handy for any mistakes or changes you may want to make along the way.
- Ruler: A ruler can be helpful in creating straight lines and maintaining proportion.
Now that you have gathered all the necessary materials, let’s dive into the step-by-step drawing process.
Step 1: Outline the Basic Shape
Start by drawing an upright rectangular shape on your paper. This will serve as the main body of the salt shaker. Take your time to ensure that all the sides are proportional and the lines are straight. This rectangular shape will determine the size and proportions of your salt shaker.
Step 2: Add the Cap
At the top of the rectangular shape, draw a smaller rectangle that will represent the cap of the salt shaker. Make sure the cap is slightly wider than the body, as it needs to fit securely on top. To give it a more realistic appearance, round off the corners of the cap.
Step 3: Create the Spout
Next, draw a straight vertical line extending from one corner of the main body shape. This will represent the spout of the salt shaker. Ensure that the line is straight and evenly spaced from the sides of the main body. The length of the spout can vary, so you can adjust it to your preference.
Step 4: Detail the Cap and Spout
Add detail to the cap by drawing a small circular knob in the center. This will make the cap look more realistic and functional. Then, at the tip of the spout, draw a small circle to depict the opening where the salt will come out. Make sure the circle is centered and proportionate to the size of the spout.
Step 5: Draw the Base
At the bottom of the main body shape, draw another rectangular shape. This will serve as the base of the salt shaker and give it stability. The base should be slightly wider than the main body, but keep the proportions in mind to maintain balance.
Step 6: Add Details and Texture
To add visual interest and make your salt shaker look more realistic, incorporate some details and texture. Draw horizontal lines across the main body shape to represent the ridges commonly found on salt shakers. You can also add a few vertical lines to make it more visually appealing. On the base, draw a curved line near the bottom to create a subtle shadow effect.
Step 7: Refine and Erase
Take a step back and look at your drawing as a whole. This is the perfect time to make any necessary adjustments and ensure all the proportions are correct. Once you are satisfied with the overall shape and details, carefully erase any unnecessary lines and smudges.
Step 8: Shade and Add Depth
Now that your salt shaker is complete, it’s time to bring it to life by adding shading and depth. Identify your light source and imagine where the shadows would fall on the shaker. Use your pencil to shade the areas where the shadows would appear, gradually building up the darkness. This will create a sense of depth and make your drawing more realistic.
Step 9: Final Touches
To make your salt shaker drawing even more polished, you can darken certain areas to enhance the contrast. Pay attention to the areas where the light hits the shaker and add lighter shades accordingly. Use your eraser to create highlights on the cap and the body, giving it a shiny and reflective appearance.
Congratulations! You have successfully drawn a salt shaker. With practice, you can further refine your drawing skills and create more intricate designs.
Conclusion
Drawing a salt shaker may seem like a simple task, but it requires careful attention to detail and proportion. By following the step-by-step instructions in this guide, you can learn how to create a realistic representation of a salt shaker. Remember to take your time, practice regularly, and experiment with different shading techniques to improve your drawing skills. Whether you are a beginner or an experienced artist, drawing everyday objects like a salt shaker can be a fun and rewarding exercise.
So, grab your pencils, paper, and erasers, and let’s start drawing beautiful salt shakers together!