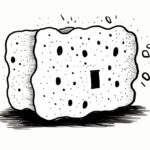
Welcome to this step-by-step guide on how to draw a soybean! Soybeans are a versatile and nutritious crop, and capturing their essence on paper can be a rewarding artistic experience. Whether you’re an experienced artist or just starting out, this tutorial will provide you with the techniques and guidance needed to create a realistic representation of a soybean. So grab your materials and let’s get started!
Materials Required
Before we begin, make sure you have the following materials:
- Drawing paper
- Pencil (preferably an HB or 2B)
- Eraser
- Fine-tip black marker or pen (optional)
- Colored pencils or markers (optional)
Having these materials ready will ensure a smooth and enjoyable drawing experience. Now, let’s dive into the step-by-step process of drawing a soybean!
Step 1: Sketch the Basic Shape
Start by lightly sketching an oval shape in the center of your paper. This oval will serve as the outline for the soybean. Don’t worry about making it perfect just yet, as we’ll be refining the shape in the following steps.
Step 2: Define the Contours
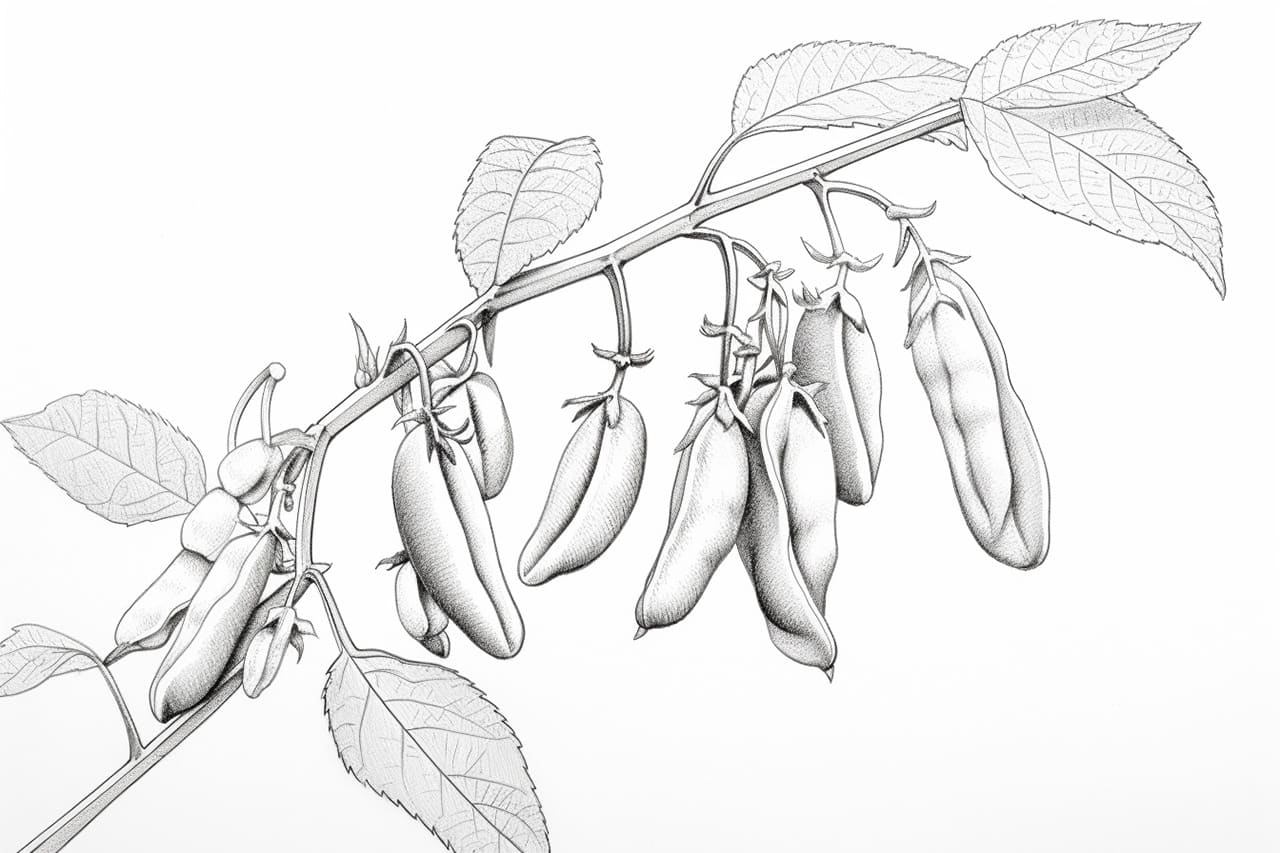
Using the initial oval shape as a guide, begin adding the contours of the soybean. Soybeans typically have a slightly curved and elongated form, resembling a flattened teardrop. Pay attention to how the curves flow and overlap, as this will give your drawing a more realistic look.
Step 3: Add Texture
Soybeans have a unique texture with small bumps covering their surface. To capture this texture, lightly sketch small oval-shaped bumps along the contours of the soybean. Vary the sizes and spacing of the bumps to create a more organic feel. Take your time with this step, as the texture is an important aspect of the final drawing.
Step 4: Refine the Shape
Now that you have the basic outline and texture, it’s time to refine the shape of the soybean. Start by carefully erasing any unnecessary lines and smoothening out the contours. Add any additional details or adjustments to make the shape appear more accurate. The goal is to create a clean and well-defined outline for your soybean.
Step 5: Add Shadows and Highlights
To make your soybean drawing more three-dimensional, add shading to create shadows and highlights. Identify a light source in your drawing (e.g. top left or top right corner) and imagine where the shadows would fall. Use your pencil to gently shade those areas, gradually building up the darkness. For highlights, leave some areas untouched or lightly blend them with an eraser to create a contrast.
Step 6: Finalize the Details
Now it’s time to add the final details to your soybean drawing. Use a fine-tip black marker or pen to outline the main contours of the soybean and emphasize certain areas. You can also use colored pencils or markers to enhance the overall appearance and add some vibrancy. Experiment with different shading techniques and colors until you’re satisfied with the result.
Conclusion
Congratulations! You have successfully learned how to draw a soybean. By following these step-by-step instructions, you have created a realistic representation of this versatile crop. Drawing is a wonderful way to express your creativity and attention to detail. With practice and patience, you can continue honing your skills and exploring the world of art. So keep on drawing, and remember to have fun along the way!