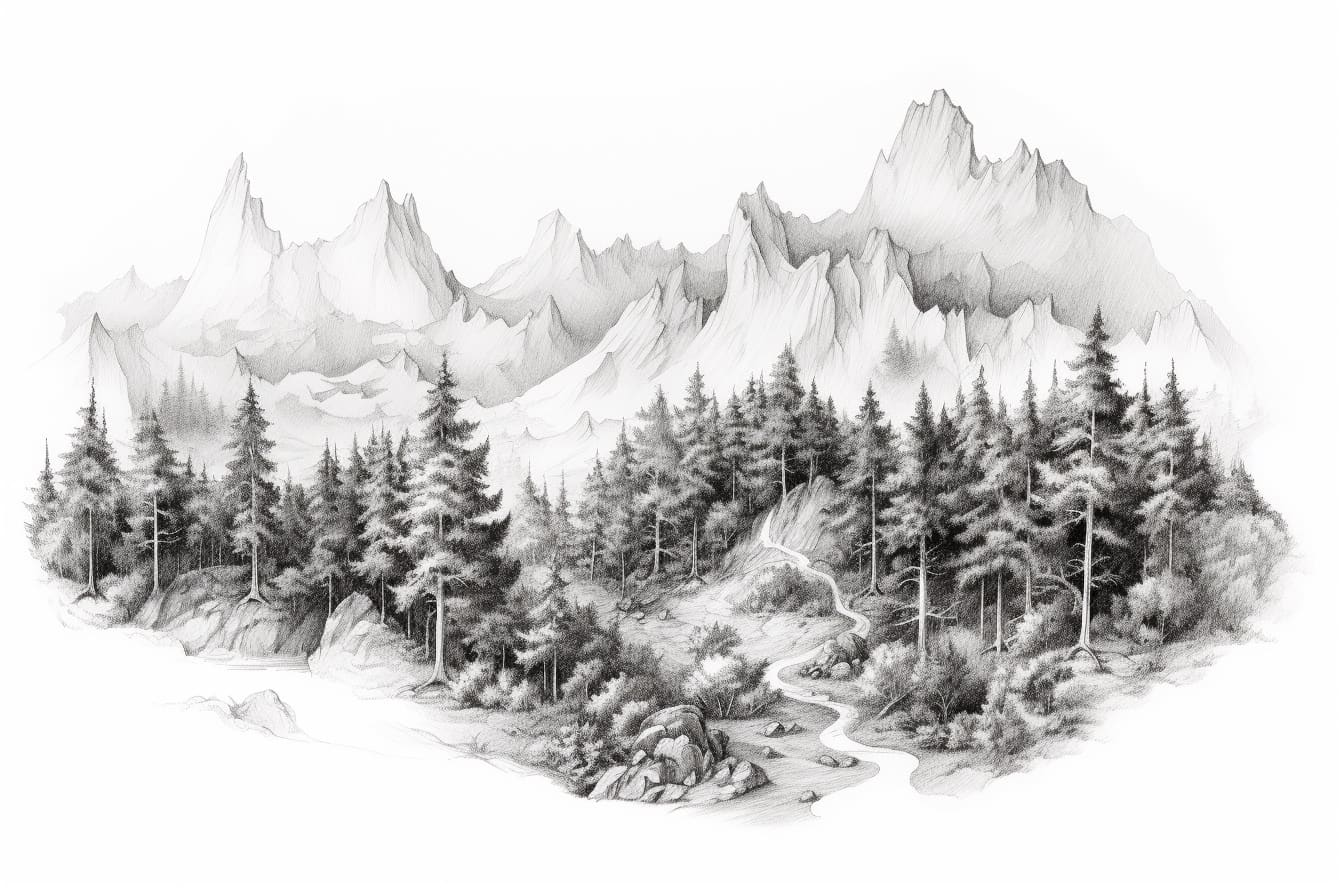
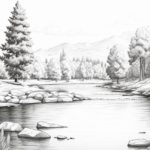
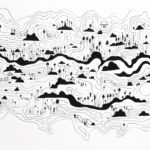
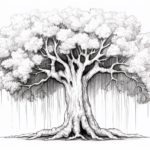
Welcome to this step-by-step guide on how to draw a forest on a map! Whether you’re creating a fantasy world, planning a hiking trail, or simply want to add some natural beauty to your map, drawing a forest can enhance the visual appeal and provide important information to readers. In this article, we will go through the process of drawing a forest in a clear, concise, and easy-to-follow manner.
Materials Required
Before we dive into the steps, let’s gather the materials you’ll need to complete this drawing:
- A map paper or a suitable surface to draw on
- Pencil and eraser
- Fine-tip pens or markers in various shades of green
- Colored pencils or watercolor paints (optional for adding more depth and textures)
- Reference images of real forests (highly recommended for inspiration)
Now that we have our materials ready, let’s get started on creating our forest!
Step 1: Plan and Outline
Begin by visualizing the size and shape of your forest on the map. Determine its location and boundaries. Consider the scale of your map and the purpose of the forest—whether it’s a small grove or an expansive woodland. Use a pencil to lightly outline the area where the forest will be drawn.
Step 2: Establish the Tree Canopy
Start by drawing the canopy of the trees. Using your pencil, lightly sketch the general shape of the treetops. Remember that forests consist of trees of different species and sizes, so vary the height and width of your tree canopies. Avoid making them too uniform, as this can make the forest appear artificial.
Step 3: Add Trunks and Branches
Next, add the tree trunks and branches. These elements will provide structure and depth to your forest. Use your pencil to draw vertical lines to represent the trunks. Branches can be represented by diagonal lines extending from the trunks. Vary the thickness and direction of the lines to mimic the natural irregularities of tree growth.
Step 4: Sketch the Understory
The understory is the layer beneath the tree canopy and consists of smaller trees, shrubs, and vegetation. Use your pencil to lightly sketch these elements within the forest area. Be mindful of the scale and proportion to create a realistic representation. Add some irregular shapes and sizes to mimic the diversity found in a real forest.
Step 5: Define the Forest Floor
The forest floor is the lowest layer of a forest and is typically covered in fallen leaves, rocks, and other debris. Use your pencil to add texture and define the forest floor. Sketch some irregular shapes to represent rocks and fallen leaves scattered throughout the area. This layer helps to create depth and adds visual interest to the drawing.
Step 6: Ink the Forest
Once you are satisfied with the composition, it’s time to ink your forest. Take your fine-tip pens or markers and outline the trees, branches, and other details. You can use different shades of green to add depth and differentiation to the foliage. Use controlled strokes to create smooth lines, paying attention to the contours of the trees and their branches.
Step 7: Add Detail and Texture
To make your forest map even more realistic, add details and textures. Use your fine-tip pens or markers to draw small dots or lines to represent leaves on the tree canopies. This technique adds a sense of depth and variety to the foliage. You can also use colored pencils or watercolor paints to add more dimension to your drawing. Experiment with shading and blending techniques to create a richer and more visually appealing forest.
Conclusion
Congratulations! You have successfully drawn a beautiful forest on a map. By following these step-by-step instructions, you have added a natural element that will enhance the overall aesthetic and readability of your map. Remember to let your creativity flow and be open to experimenting with different techniques and materials. Happy drawing!

