Welcome to this step-by-step guide on how to draw a camp! Whether you are an experienced artist looking to expand your repertoire or a beginner wanting to learn some new drawing techniques, this article will provide you with easy-to-follow instructions to create a detailed and realistic camp scene. So, grab your art supplies and let’s get started!
Materials Required
Before we begin, make sure you have the following materials on hand:
- Pencil
- Eraser
- Paper
- Colored pencils or markers (optional)
Step 1: Sketch the Ground
Start by drawing a horizontal line near the bottom of your paper to represent the ground. This line will serve as a guide for the rest of your drawing. Use light, gentle strokes so that you can easily erase any mistakes later on.
Step 2: Draw the Tents
Now, let’s draw the tents. Begin by sketching two triangular shapes on the ground. These triangles will serve as the main bodies of the tents. Make sure the tops of the triangles are slightly rounded to give them a realistic look.
Step 3: Add Details to the Tents
Next, add some details to the tents to make them more interesting. Draw a vertical line down the middle of each triangle to represent the tent entrance. You can also add small, curved lines along the sides of the tents to indicate folds and wrinkles in the fabric.
Step 4: Draw the Campfire
No camp is complete without a campfire! Draw a circle on the ground between the two tents to represent the fire pit. Then, draw a wavy line around the circle to create the flames. Add some short, curved lines inside the circle to indicate the logs burning in the fire.
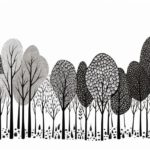
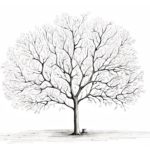
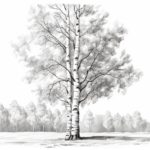
Step 5: Sketch the Trees
To create a serene camp setting, let’s draw some trees. Begin by drawing two vertical lines on each side of the paper to represent the tree trunks. Then, add some diagonal lines coming out from the trunks to create the branches. Vary the length and direction of the branches to make the trees look more realistic.
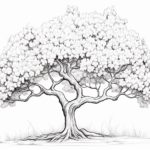
Step 6: Add Leaves to the Trees
Now it’s time to add leaves to the trees. Draw small oval shapes at the ends of the branches to represent the foliage. Fill in the ovals with short, curved lines to simulate the texture of leaves. Repeat this step for each tree, varying the size and shape of the leaves to create depth and variety.
Step 7: Draw the Moon and Stars
A camp drawing wouldn’t be complete without a starry sky! So, let’s add a moon and some stars. Draw a large circle in the upper half of the paper to represent the full moon. Then, using small dots, create a bunch of stars scattered across the sky. Feel free to get creative here and add shooting stars or constellations if you’d like!
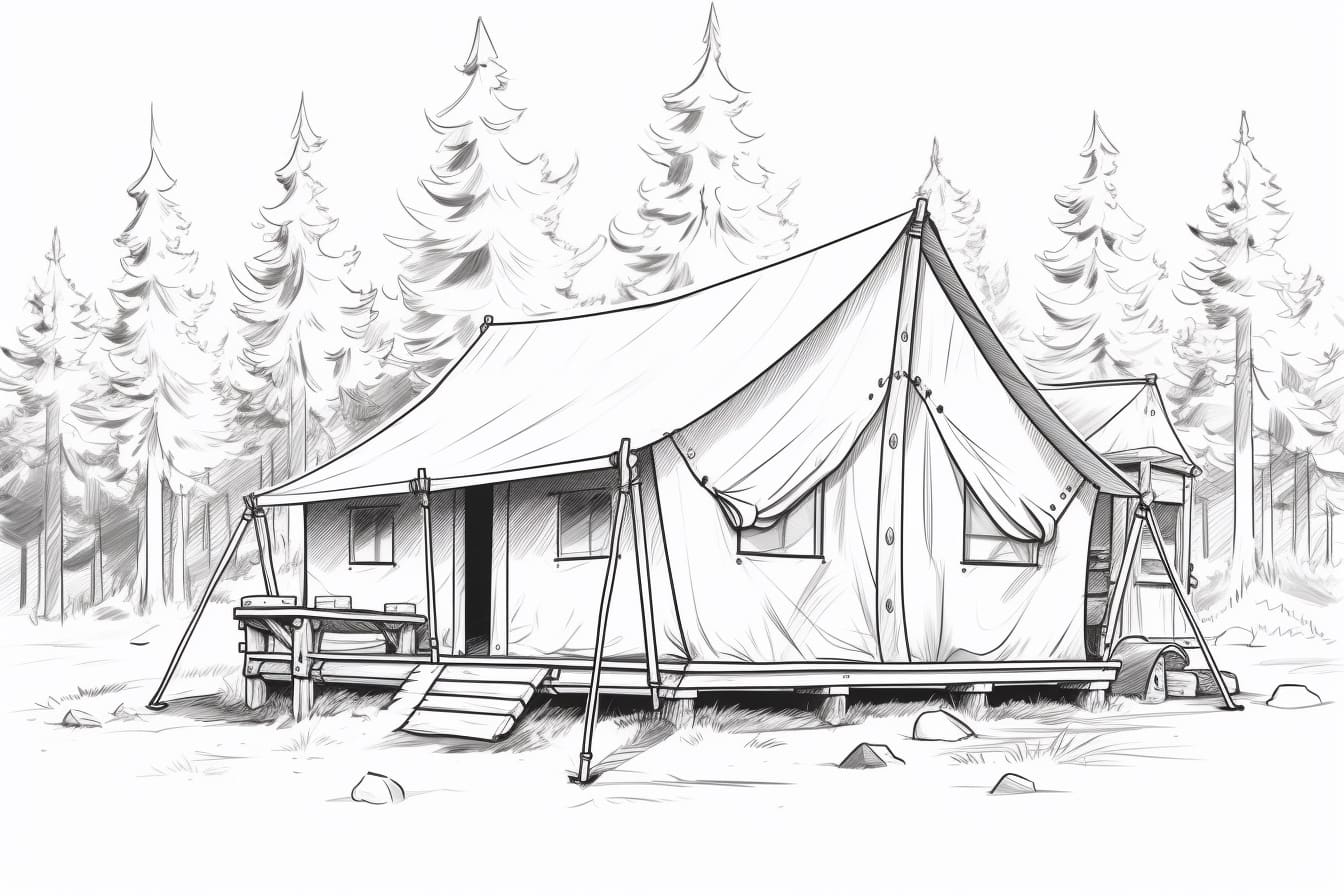
Step 8: Add Final Details
To make your camp drawing come to life, add some final details. You can draw a picnic table and a couple of chairs near the tents to show where the campers gather. Don’t forget to add some details to the fire pit, like burning logs or stones surrounding it. Feel free to add any other elements you think would enhance your camp scene, such as a nearby lake or a mountainside.
Conclusion
Congratulations! You have successfully learned how to draw a camp scene. By following these simple step-by-step instructions, you have created a detailed and realistic drawing that captures the essence of a peaceful campsite. Remember, practice makes perfect, so feel free to experiment and add your own unique touches to your future camp drawings. Happy drawing, and enjoy your artistic journey!