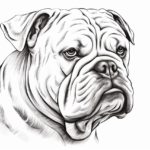
Welcome to this step-by-step guide on how to draw a British Bulldog! In this tutorial, I will be guiding you through the process of creating a detailed and realistic drawing of this iconic and charming breed. Whether you are a beginner or an experienced artist looking to improve your skills, this guide is designed to help you achieve a drawing that captures the unique characteristics of a British Bulldog.
Materials Required
To get started, make sure you have the following materials at hand:
- Drawing paper: Choose a smooth and durable paper that is suitable for pencil work. A size of around 11×14 inches will provide a comfortable drawing space.
- Pencils: You will need a range of graphite pencils with varying degrees of hardness, such as 2B, 4B, and 6B. These will allow you to add depth and shading to your drawing.
- Eraser: Have a soft eraser, like a kneaded eraser, to remove any unwanted lines or mistakes.
- Blending tools: You can use a blending stump or a piece of tissue paper to smudge and blend the graphite for a smooth finish.
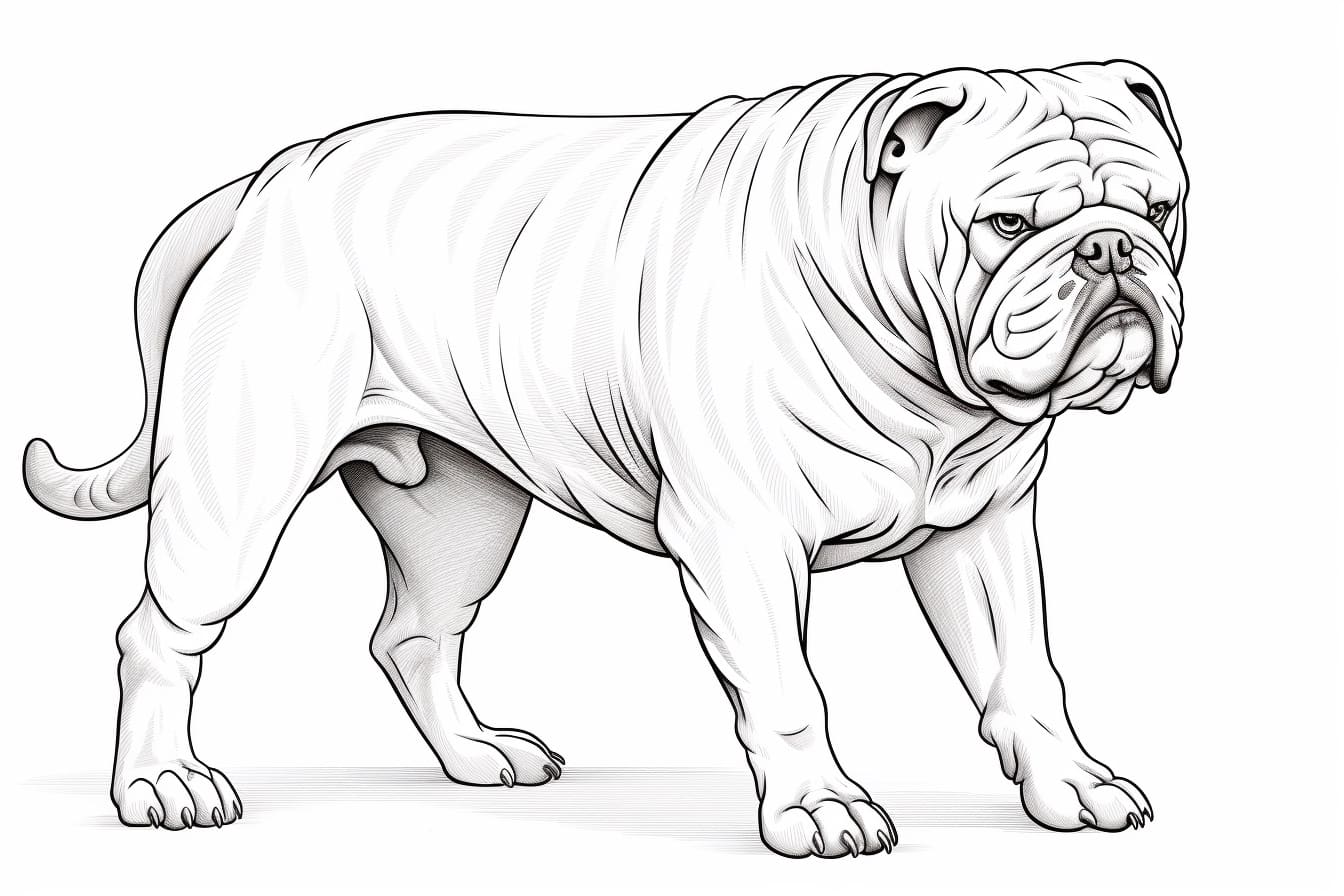
- Reference image: Find a clear and detailed photo of a British Bulldog to use as a reference throughout the drawing process. This will help you accurately capture the unique features and proportions of the breed.
Now that you have all your materials prepared, let’s dive into the drawing process!
Step 1: Outline the Head and Body
Start by lightly sketching an oval shape for the head, followed by a smaller oval shape for the body. Connect these two shapes with a gently curved line to create the neck. Remember to keep your lines light and loose at this stage, as they will be refined later.
Step 2: Draw the Facial Features
Within the head shape, lightly sketch a vertical line to indicate the center of the face. Then, draw a horizontal line slightly below the center to mark the placement of the eyes. Use the photo reference to carefully observe the shape and size of the eyes. Draw two circular shapes that slightly overlap the horizontal line to create the eyes. Add small curved lines above each eye to represent the eyebrows.
Next, draw a short horizontal line for the nose, positioning it below the eyes and in the center of the head shape. Extend two curved lines downward from the nose to create the mouth. Add a small curve at the end of the mouth to signify the Bulldog’s distinctive underbite.
Step 3: Add the Ears and Details
Sketch the Bulldog’s ears on either side of the head. These ears are triangular in shape, with slightly rounded tips. Pay attention to the angle at which the ears sit on the head, as this will add depth and dimension to your drawing.
Now, it’s time to add some more details. Use light, curved lines to create the wrinkles and folds on the Bulldog’s face. Be sure to refer to your reference image for accuracy. Add the Bulldog’s signature strong neck muscles by drawing two curved lines on either side of the neck.
Step 4: Refine the Shape of the Body
Using the initial oval shape as a guide, carefully refine the outline of the body. Add rounded curves to define the chest, stomach, and hindquarters. Observe the musculature and form of the breed as you make these adjustments.
Step 5: Develop the Eyes and Nose
With a sharper pencil, begin to add more definition to the eyes. Darken the pupils and add shading around the eyes to create depth. Use short, light strokes to mimic the texture of fur on the eyebrows.
Next, focus on the nose. Draw curved lines to indicate the folds and contours of the Bulldog’s nose. Shade the tip of the nose slightly darker to add dimension. You can also add some subtle shading around the mouth and under the lower jaw to enhance the underbite appearance.
Step 6: Add Fur and Texture
Start adding texture and shading to the Bulldog’s fur. Use short, quick strokes in the direction of the fur to create a realistic effect. Pay attention to areas where the fur appears thicker or darker, such as around the neck and the top of the head.
Continue to build up the layers of shading, gradually adding more depth and contrast to your drawing. Use a blending tool or your fingers to smudge and blend the graphite for a smooth and cohesive look.
Step 7: Finalize the Details
Take the time to refine and add any remaining details to your Bulldog drawing. Add more definition to the wrinkles and folds on the face, paying attention to their placement and shape. Use an eraser to lighten or remove any unwanted lines.
Conclusion
Congratulations on completing your British Bulldog drawing! By following this step-by-step guide and using a reference image, you have created a detailed and realistic representation of this beloved breed. Remember, practice is key, so keep honing your skills and experimenting with different techniques.
I hope you found this tutorial helpful and enjoyable. Now, go ahead and showcase your newfound artistic talent by drawing more British Bulldogs or exploring other dog subjects. Happy drawing!