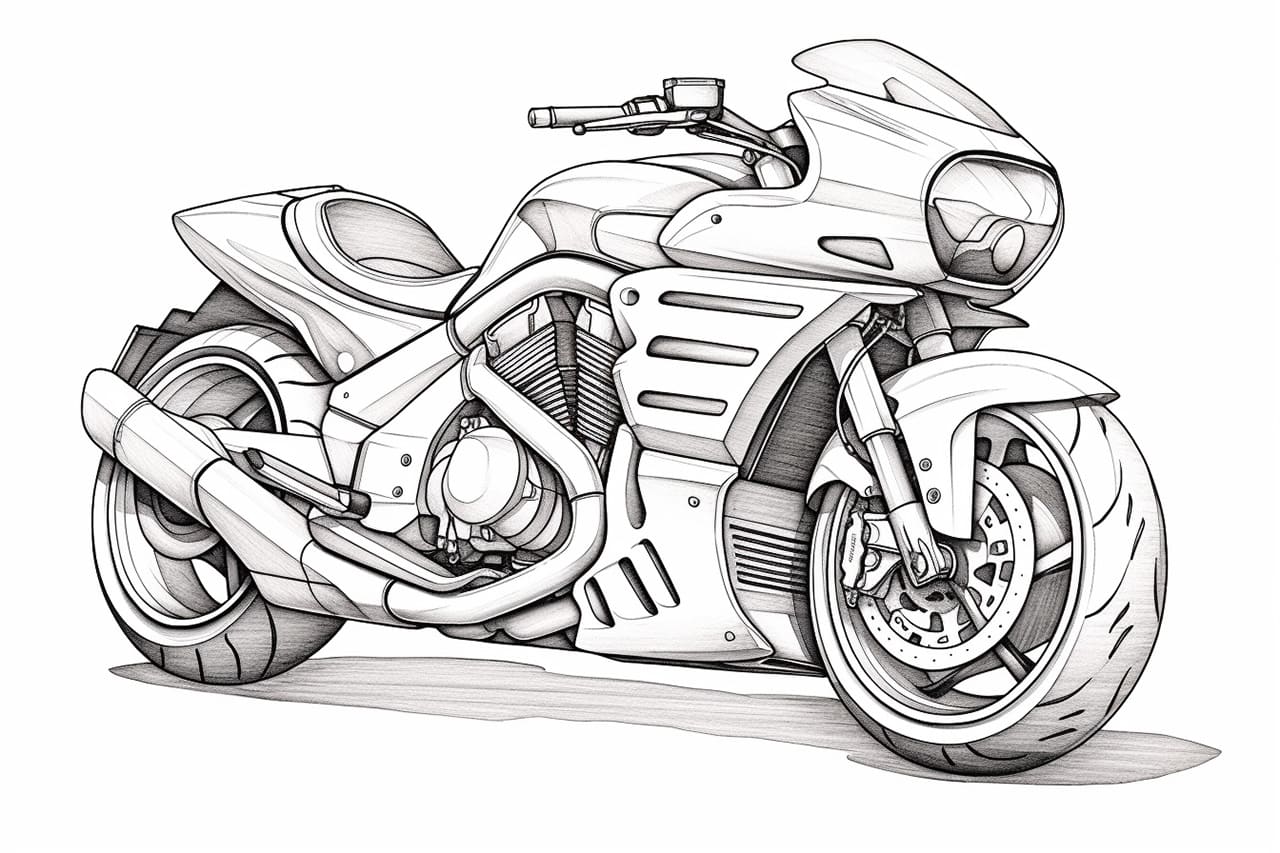
Welcome to this step-by-step guide on how to draw a motorcycle. Whether you’re a beginner or an experienced artist, this tutorial will help you create a realistic and detailed motorcycle drawing. By following these instructions and using some basic drawing materials, you can create your own masterpiece. So grab your pencils and let’s get started!
Materials Required
Before we begin, make sure you have the following materials on hand:
- A pencil (preferably an HB or 2B)
- An eraser
- Paper (preferably drawing paper or sketchbook)
- A ruler
- Optional: Colored pencils or markers (for adding color to your drawing)
Now that you have your materials ready, let’s dive into the step-by-step process of drawing a motorcycle.
Step 1: Draw the Basic Shapes
Start by lightly sketching a horizontal line across your paper to serve as the ground. This will help you maintain the proportions of your motorcycle. Then, draw a medium-sized rectangle for the main body of the motorcycle. This rectangle will be slightly tilted towards the front.
Step 2: Outline the Wheels
Next, draw two circles on either side of the main body. These circles will represent the wheels of the motorcycle. Make sure they are evenly spaced and aligned with each other. Use your ruler to measure the distance between the circles if needed.
Step 3: Add the Front Wheel Fork
Draw two diagonal lines extending from the bottom corners of the rectangle towards the front of the motorcycle. These lines will serve as the fork for the front wheel. Make sure they are parallel to each other and slightly wider than the width of the front wheel.
Step 4: Sketch the Seat and Handlebars
Add a small rectangle shape above the rear part of the main body to represent the seat of the motorcycle. Then, draw a curved line extending from the top of the fork towards the rear of the motorcycle to create the handlebars. Make sure to position the handlebars slightly higher than the seat.
Step 5: Create the Fuel Tank and Headlight
Draw a curved shape on top of the main body to represent the fuel tank. This shape can vary depending on the style of motorcycle you want to draw. Above the fuel tank, add a small circle for the headlight of the motorcycle.
Step 6: Outline the Rear Wheel and Tail
Similar to the front wheel, draw a circle on the opposite side of the main body to represent the rear wheel. Make sure it is aligned with the front wheel and has the same size. Then, add a curved line extending from the rear of the main body to create the tail of the motorcycle.
Step 7: Refine the Details
Now that you have the basic structure of the motorcycle, it’s time to add more details. Use your pencil to darken the outlines of the various components, such as the wheels, fuel tank, seat, handlebars, and tail. Pay close attention to the curves and angles to ensure accuracy.
Step 8: Add Shading and Texture
To give your motorcycle drawing depth and dimension, add shading and texture. Use your pencil to lightly shade areas that would be in shadow, such as the underside of the main body, wheels, and the space between components. You can also add texture to the seat, handlebars, and other parts by drawing small lines or patterns.
Step 9: Add Color (Optional)
If you prefer to add color to your drawing, now is the time to do so. Use colored pencils or markers to bring your motorcycle to life. Consider the colors commonly associated with motorcycles, such as black, silver, red, or any other color that suits your preference.
Conclusion
Congratulations! You have successfully learned how to draw a motorcycle. By following the step-by-step instructions and using your creativity, you can create stunning motorcycle drawings. Remember to practice regularly and experiment with different styles and details to improve your skills as an artist. Now, grab your pencils and start drawing your own two-wheeled masterpieces!