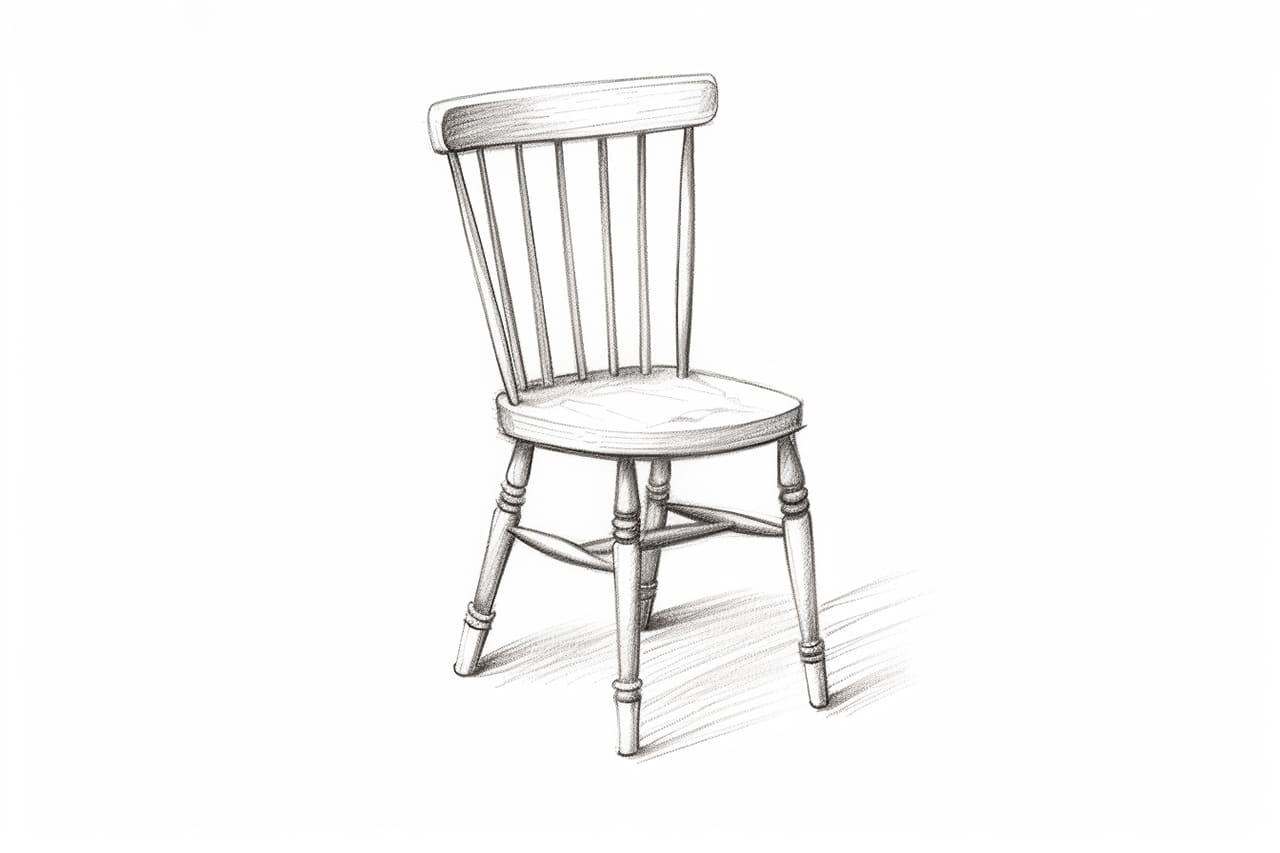
Welcome to this step-by-step guide on how to draw a chair! In this tutorial, you will learn how to create a realistic representation of a chair using simple shapes and techniques. Whether you are a beginner or an experienced artist, this tutorial will give you the necessary instructions on how to draw a chair quickly. So grab your drawing materials, and let’s get started!
Materials Required
Before we dive into the drawing process, let’s gather the materials you will need:
- Drawing paper
- Pencil (HB or 2B)
- Eraser
- Ruler
- Compass (optional)
Now that you have your materials ready, let’s move on to the step-by-step instructions.
Step 1: Start with Basic Shapes
Begin by lightly sketching a rectangle on your drawing paper. This will serve as the seat of the chair. Make sure the lines are straight and well-proportioned.
Step 2: Add the Backrest
Next, draw a vertical line extending from the back of the seat. This line will represent the backrest of the chair. The length of the line will depend on the height of the chair you want to draw. Remember to keep the lines light and easily erasable.
Step 3: Define the Legs
To create the chair legs, draw two vertical lines starting from the front corners of the seat. These lines should be parallel and extend downwards to the desired length of the chair legs. Then, connect the bottom ends of the lines with a horizontal line to close the shape.
Step 4: Refine the Shape
Now that you have the basic outline of the chair, it’s time to refine the shape. Go over the rough lines with a darker pencil or pen, emphasizing the main contours of the chair. Pay attention to the curves and angles to achieve a more realistic representation.
Step 5: Add Details
To make your chair drawing more realistic, add some details. Draw lines on the seat to indicate the planks or cushions. You can also add decorative elements such as carvings or patterns on the backrest and legs. Take your time and be mindful of proportions to maintain a balanced composition.
Step 6: Shade and Texture
Before we conclude, let’s add some shading and texture to make the chair drawing more lifelike. Determine the direction of the light source and shade the areas accordingly. Use hatching or cross-hatching techniques to create depth and volume. Additionally, you can add texture to the wood or upholstery by adding subtle lines or variations in shade.
Step 7: Erase and Refine
Finally, erase any unnecessary guidelines and smudges. Take a step back and evaluate your drawing. Are the proportions correct? Is the chair well-balanced? Make any necessary adjustments to refine your drawing further.
Congratulations! You have successfully drawn a chair from scratch. With practice, you will become more confident in your drawing skills and be able to tackle more complex subjects.
Conclusion
Drawing a chair may seem daunting at first, but with the right guidance, anyone can create a beautiful and realistic representation. By following these step-by-step instructions, you have learned the fundamentals of drawing a chair. Remember to start with simple shapes, refine the details, and add shading to bring your artwork to life. Happy drawing!