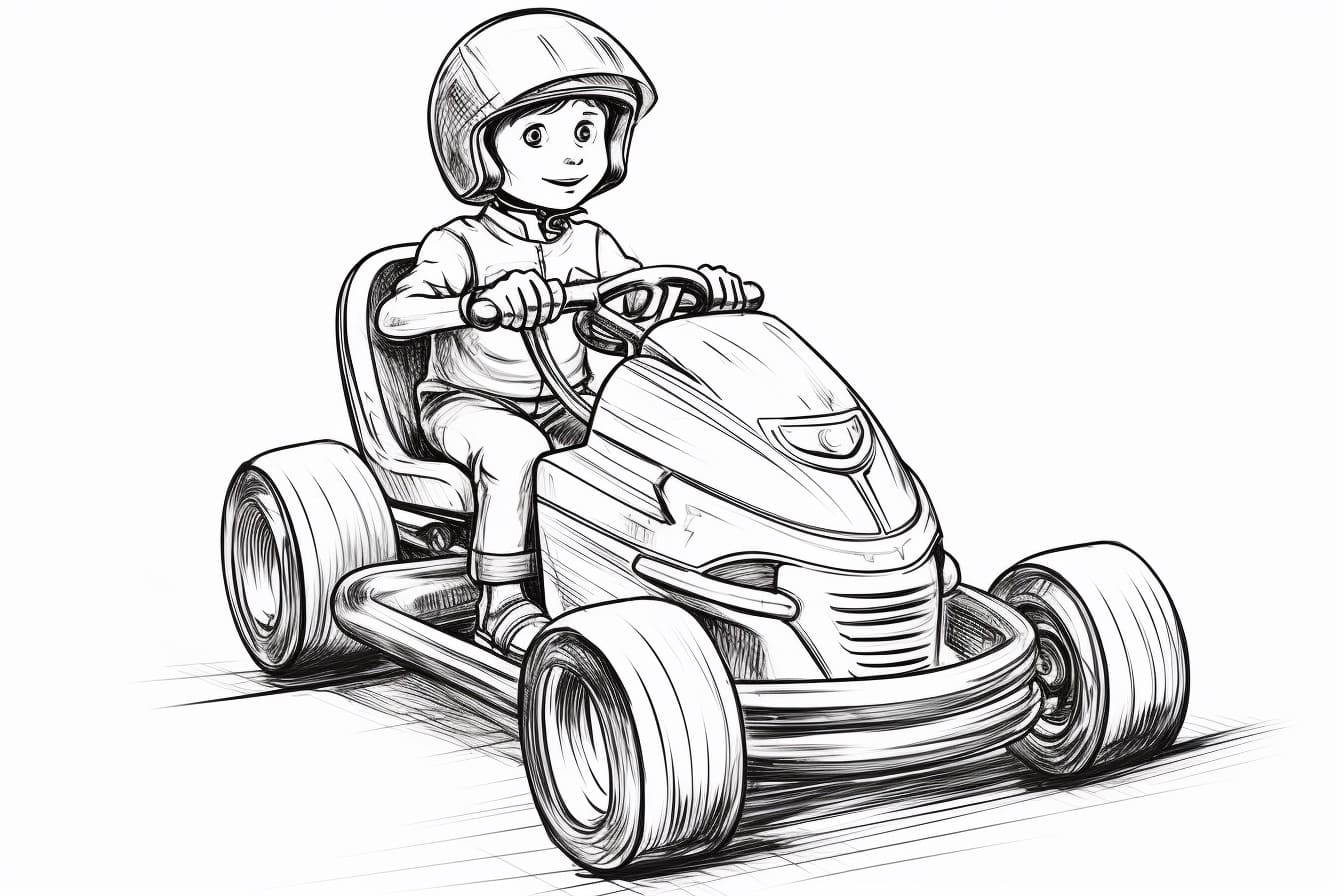
Would you like to learn how to draw a go kart? Go karts are fun and exciting vehicles, and drawing one can be a great way to express your creativity and love for racing. In this step-by-step guide, I will show you how to draw a go kart from start to finish. So grab your pencils and let’s get started!
Materials Required
Before we begin, let’s gather the materials you will need to draw a go kart:
- A pencil
- Eraser
- Paper
- Colored pencils or markers (optional)
Now that you have everything you need, let’s dive into the step-by-step process of drawing a go kart.
Step 1: Outline the Body
Start by drawing a horizontal line slightly curved upwards for the ground. This will serve as the baseline for our go kart. Above the line, draw a rectangle shape for the body of the go kart. This rectangle should be wider at the front and narrower at the back. Leave a small gap in the middle of the rectangle for the driver’s seat.
Step 2: Add the Wheels
Next, draw two large circles on each side of the body to represent the wheels. Position the front wheel slightly lower and closer to the front of the go kart. Make sure the circles overlap the body slightly to create a sense of depth.
Step 3: Sketch the Front End
Now, it’s time to add some details to the front end of the go kart. Draw a smaller rectangle at the front of the body to create the bumper. Add a curved line above the bumper to form the front grille. Then, draw two small circles on each side of the grille to indicate the headlights.
Step 4: Design the Steering Wheel
In this step, we will focus on the driver’s area. Draw a small circle inside the body, just above the seat gap. This will be the steering wheel. Add two curved lines on each side of the steering wheel to represent the driver’s hands gripping it.
Step 5: Outline the Seat and Engine
Let’s work on the details of the go kart. Draw a trapezoid shape inside the seat gap to create the driver’s seat. Then, draw a small rectangle at the back of the body to represent the engine. You can add some additional details, such as ventilation holes or exhaust pipes, to make it more realistic.
Step 6: Draw the Side Panels
To give the go kart a sleek and sporty look, add side panels to the body. Draw two diagonal lines connecting the front and back of the body. Then, connect these lines with another set of lines to form a triangular shape on each side. These side panels will make the go kart look aerodynamic.
Step 7: Add the Details
Now it’s time to add some final touches to your go kart drawing. Add details like racing stripes, numbers, or sponsor logos to make it look more authentic. You can also add shading and texture to give your drawing a three-dimensional feel.
Congratulations! You have successfully drawn a go kart from scratch. You can now color your drawing using colored pencils or markers to bring it to life.
Conclusion
Drawing a go kart can be a fun and rewarding experience, allowing you to express your creativity and passion for racing. By following these step-by-step instructions, you have learned how to draw a go kart from start to finish. Remember to practice and experiment with different styles and designs to make your go kart drawing truly unique. So, grab your pencils and start creating your very own go kart masterpiece!