Welcome to this step-by-step tutorial on how to draw a volcano. Drawing a volcano can be an exciting and adventurous experience. Whether you want to create a volcanic landscape for an art project or simply explore your artistic skills, this guide will help you create a stunning and realistic volcano drawing. So, grab your pencil and let’s embark on a journey to capture the fiery beauty of a volcano on paper!
Materials Required
- Pencil
- Eraser
- Drawing paper
- Reference picture of a volcano
Step 1: Draw the Base Shape
To begin, draw the base shape of the volcano. Start by drawing a large oval in the center of your paper. This will be the main body of the volcano. Next, draw a curved line extending from the top of the oval to represent the rim of the volcano.
Step 2: Add the Crater
Now, let’s add the crater to the volcano. Draw a smaller oval at the top of the volcano, slightly overlapping the rim. This oval will be the opening of the volcano where the lava flows from.
Step 3: Sketch the Slopes
Next, sketch the slopes of the volcano. Draw curved lines on both sides of the volcano, extending from the rim to the base. These lines will represent the sides of the volcano. Make the slopes steep and uneven to give the volcano a more realistic look.
Step 4: Add Texture to the Volcano
Now it’s time to add texture to the volcano. Draw irregular lines and shapes on the slopes of the volcano to represent rocks and debris. Add some cracks and crevices to give the volcano a rugged appearance.
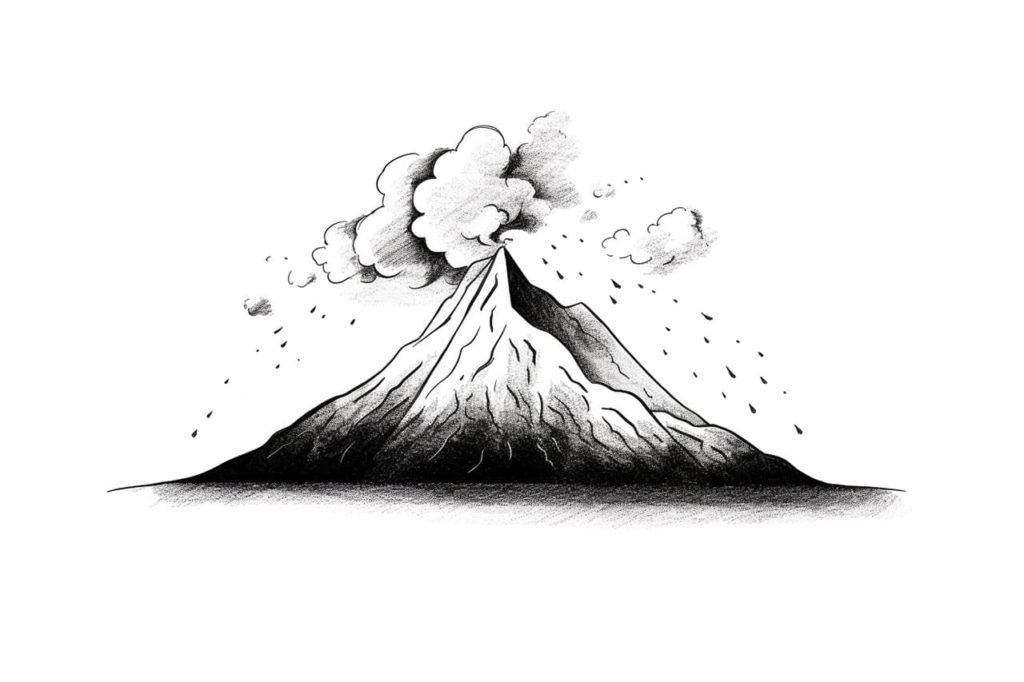
Step 5: Draw the Lava
To make your volcano come to life, draw the flowing lava. Sketch wavy lines extending from the crater and cascading down the slopes of the volcano. Make the lines thicker and darker near the crater to show the intensity of the lava flow.
Step 6: Add Details
Now, let’s add some extra details to the volcano drawing. Draw some smoke and ash coming out of the crater. Add some flying debris and rocks around the volcano to show the volcanic activity.
Step 7: Add Shading and Highlights
To give your volcano drawing depth and dimension, add shading and highlights. Shade in the areas where shadows would naturally fall, such as the bottom of the crater and the sides of the volcano away from the light source. Add some highlights on the top of the volcano and the lava flow to show the areas that catch the light.
Step 8: Final Touches
Take a step back and look at your drawing as a whole. Make any necessary adjustments and add any final touches that you feel are necessary to make your volcano drawing come to life.
Conclusion
Congratulations! You have successfully drawn a volcanic masterpiece with this step-by-step tutorial on “How to Draw a Volcano.” Drawing a volcano allows you to explore your creativity and imagination while capturing the raw power and beauty of nature. With practice and attention to detail, you can create stunning volcanic landscapes that leave a lasting impression. So, keep exploring your artistic skills and continue to create awe-inspiring artworks!
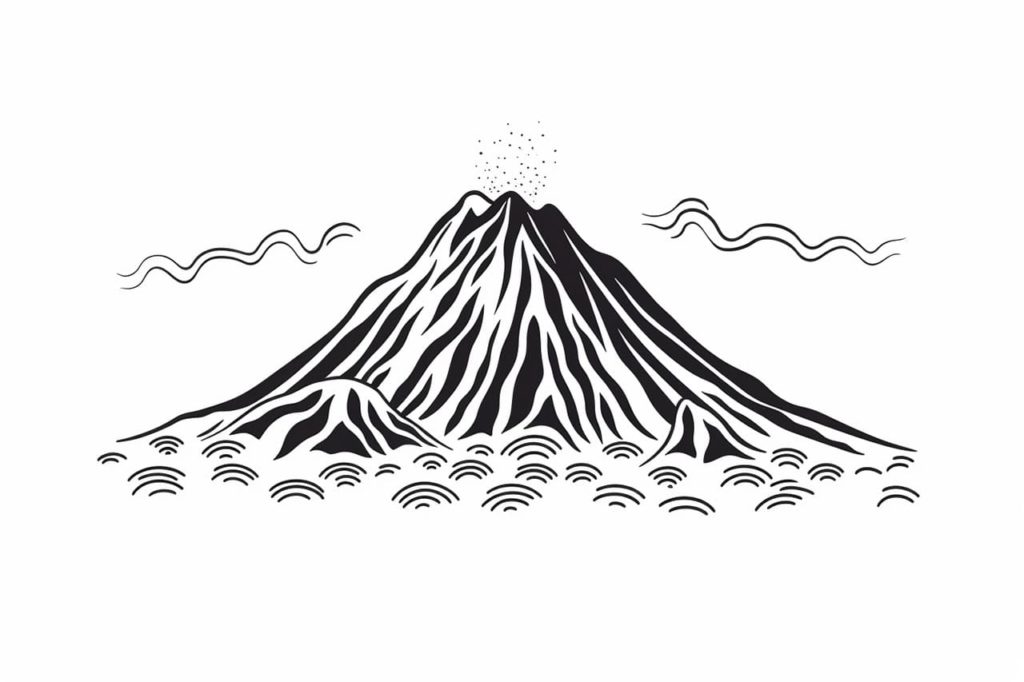
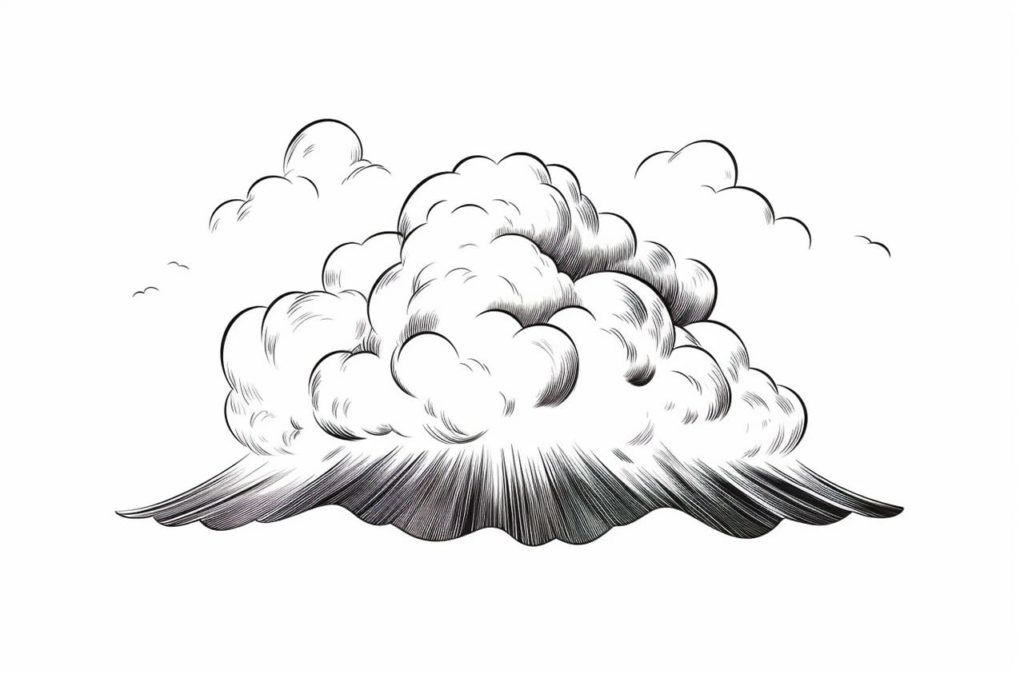
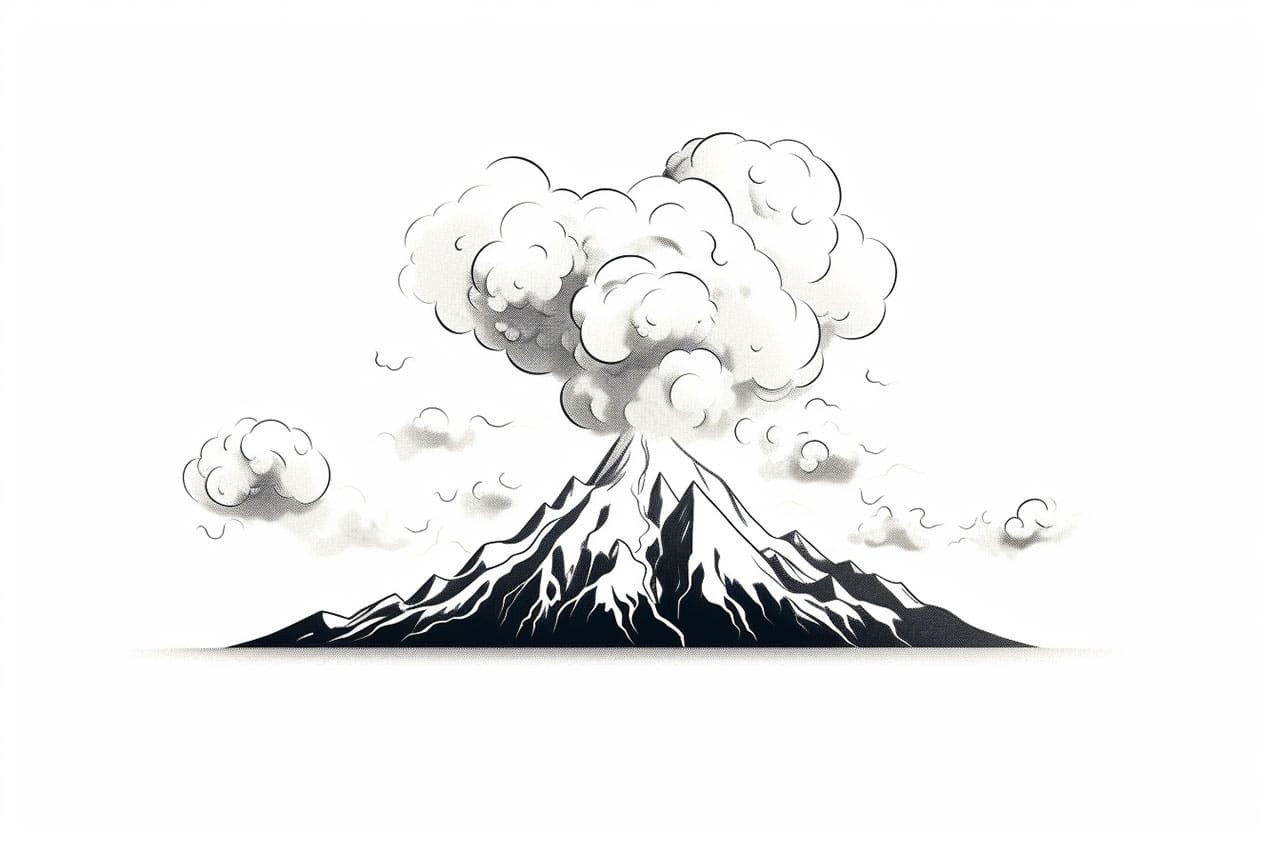
Gallery of Volcano Drawings