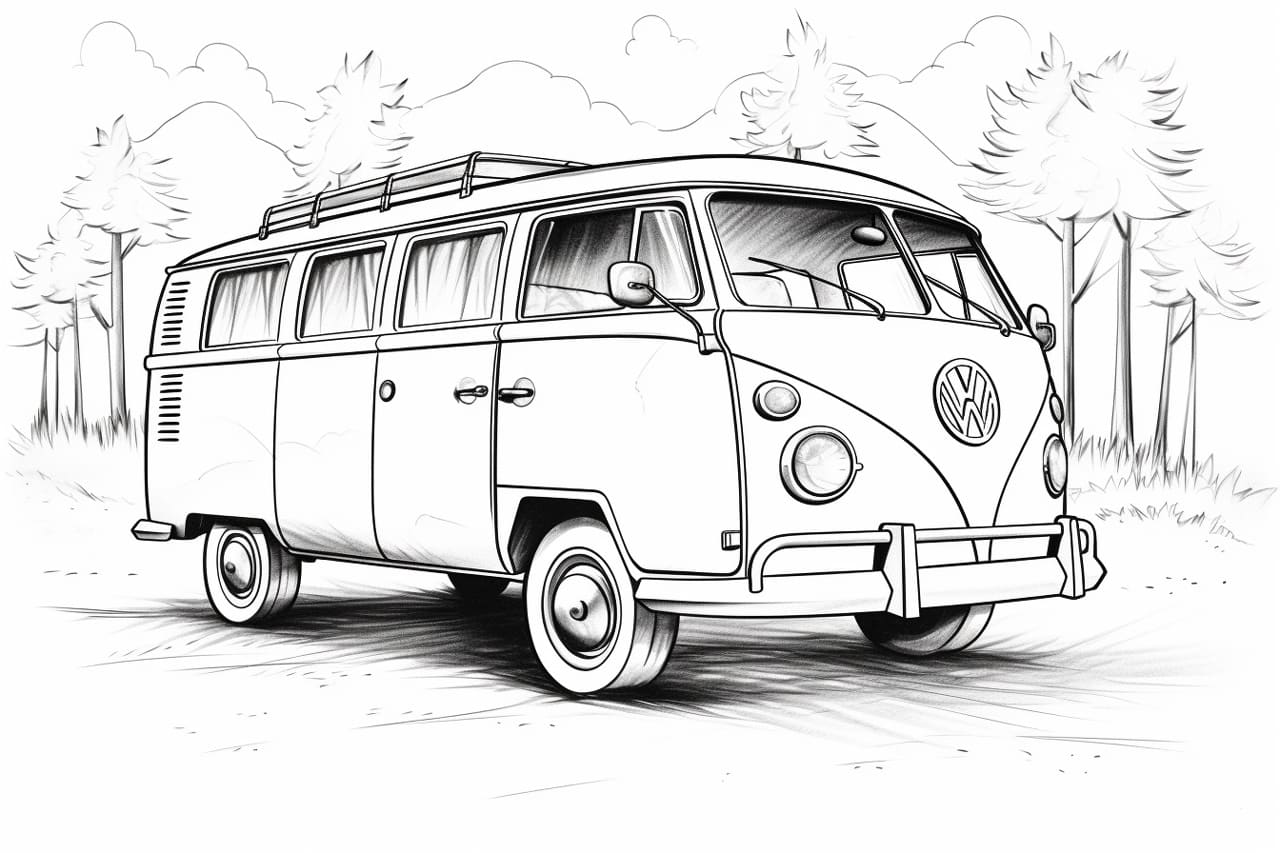
Are you ready to embark on an artistic adventure and learn how to draw a camper? Camper vans are a popular subject in art, and drawing one can be a fun and rewarding experience. In this step-by-step tutorial, I will guide you through the process of creating a camper drawing from start to finish. So grab your sketchbook, sharpen your pencils, and let’s get started!
Materials Required
Before we dive into the drawing process, let’s gather the materials you’ll need to create your camper masterpiece. Here’s a list of what you’ll need:
- Sketchbook or drawing paper
- Pencils (HB, 2B, 4B)
- Eraser
- Ruler
- Fine-tip black pen or marker (optional for outlining)
Now that we have everything we need, it’s time to begin our artistic journey.
Step 1: Basic Outline
Start by lightly sketching a rectangular shape for the body of the camper. This will serve as the basic foundation for our drawing. Next, add a smaller rectangle on top of the first one to represent the roof. Make sure to leave enough space for the windows and doors.
Step 2: Wheels and Axles
Now let’s add the wheels to our camper. Draw two circles on the bottom corners of the rectangular shape to represent the back wheels. Then, draw two smaller circles towards the front to represent the front wheels. Connect the front and back wheels with two lines to create the axles.
Step 3: Windows and Doors
It’s time to add some details to our camper. Draw two rectangles for the windows on each side of the camper. Then, add a smaller rectangle for the door towards the front of the camper. You can also add a handle to the door if you like.
Step 4: Adding the Roof Details
To add some depth and dimension to the roof, draw two diagonal lines from the top corners of the rectangular shape towards the center. This will create a triangular shape on top of the roof. You can also add some additional lines to represent the texture of the roof.
Step 5: Adding the Camper Features
Now let’s add some features to our camper. Draw a small rectangle towards the front of the camper for the windshield. Then, add two lines on each side of the windshield to create the side windows. Next, draw a curved line on the roof to represent the air conditioner. You can also add some details like a ladder or a bike rack to make your camper drawing more realistic.
Step 6: Adding the Finishing Touches
To complete our camper drawing, it’s time to add some final details. Use your pencil to darken the lines of the camper and erase any unnecessary guidelines. You can also add shading to create depth and dimension. For shading, use a darker pencil (2B or 4B) and lightly shade the areas where shadows would naturally fall, such as the underside of the camper and the wheel wells.
Conclusion
Congratulations! You have successfully learned how to draw a camper. I hope you enjoyed this step-by-step tutorial and found it helpful in improving your drawing skills. Remember, practice makes perfect, so keep exploring different styles and techniques to enhance your artistic abilities. Whether you’re a beginner or an experienced artist, drawing a camper can be a rewarding challenge that allows you to express your creativity. So grab your drawing supplies and start creating your own camper masterpiece today!


