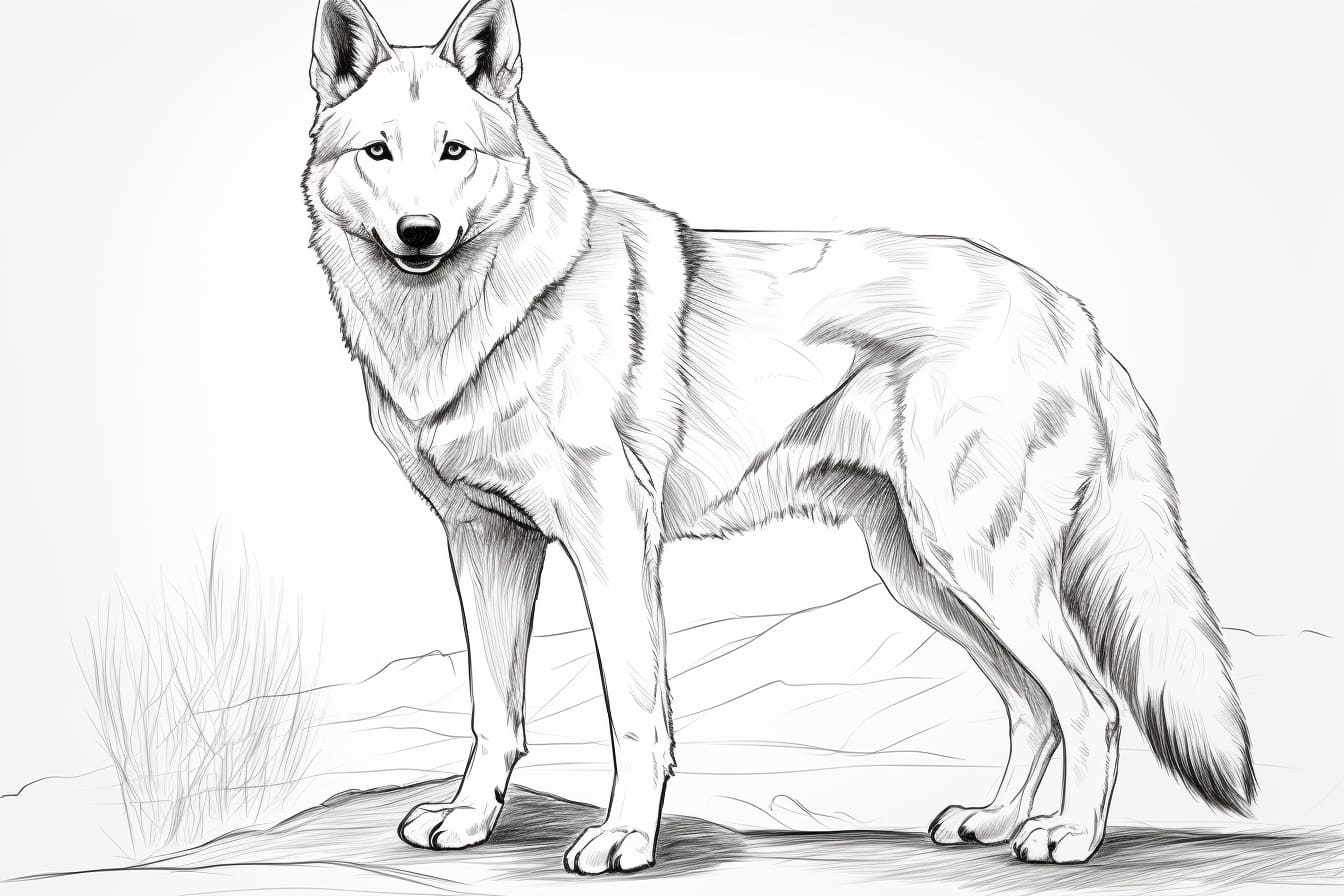
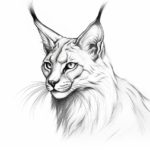
Welcome to this step-by-step guide on drawing a dingo! In this article, we will walk you through the process of drawing a dingo in a clear and concise manner. By following this tutorial, you will be able to create a lifelike representation of this beautiful Australian animal. So, let’s get started!
Materials Required
Before we begin, make sure you have the following materials ready:
- Drawing paper
- Pencils of varying hardness (2H, HB, 2B, 4B)
- Eraser
- Pencil sharpener
- Blending stump (optional for shading)
Now that you have your materials ready, let’s jump into the step-by-step process of drawing a dingo.
Step 1: Shape and Outline
Start by sketching a circle at the center of your drawing paper. This will serve as the dingo’s head. Next, draw a smaller circle connected to the first one, slightly overlapping. This smaller circle represents the body of the dingo. Then, add two lines extending from the body circle to form the basic shape of the dingo’s limbs.
Step 2: Facial Features
In this step, we will focus on the dingo’s facial features. Begin by drawing two vertical lines inside the head circle, slightly tilted toward each other. These lines will help you position the eyes later. Next, sketch a small triangular shape for the nose just below the center of the head circle. Add a curved line above the nose to represent the dingo’s snout. Then, draw two small circles for the eyes, positioning them on the vertical lines you previously sketched. Finally, add pointy ears on top of the head circle.
Step 3: Refine the Face
Now it’s time to refine the dingo’s face. Start by adding details to the eyes. Draw small circles inside the eye circles, leaving a small amount of white space to create a reflective effect. Then, add a curved line above each eye to indicate the eyelids. Use short, curved lines to sketch the eyebrows just above the eye circles. Next, refine the shape of the snout by adding more details like a small triangular shape for the nose tip and a horizontal line for the mouth. Don’t forget to draw a small curve inside the mouth to represent the dingo’s tongue.
Step 4: Body and Limbs
Now let’s work on the dingo’s body and limbs. Starting with the body circle, add a curved line on each side to outline the shape of the dingo’s back. Then, draw the front limbs by extending the lines from the body circle and adding small circles at the ends for the paws. Repeat this process for the hind limbs, making them slightly longer than the front limbs. Don’t forget to add small ovals at the ends for the hind paw’s toes.
Step 5: Fur and Tail
To add realism to your drawing, let’s focus on the dingo’s fur and tail. Begin by drawing short, curved lines all over the dingo’s body, following the shape of its back and limbs. These lines will represent the fur. Be mindful of the direction in which the fur flows, and adjust the length and thickness of your lines accordingly. Next, draw the dingo’s tail by extending a curved line from the body circle. Add longer and spiky lines along the tail to indicate the fur.
Step 6: Shading and Detailing
In this step, we will add shading and detailing to bring depth and dimension to our drawing. Start by identifying the areas where shadows would naturally occur. Use a softer pencil (4B or darker) to darken those areas, such as the underside of the body, the eyes, and the creases around the snout. Gradually build up the shading by applying more pressure and making your strokes closer together. To add a smoother effect, blend the shading with a blending stump or gently smudge it with your finger.
Conclusion
Congratulations! You have successfully learned how to draw a dingo. By following the step-by-step instructions in this article, you have created a realistic representation of this fascinating Australian animal. Remember to practice regularly and experiment with different techniques to enhance your drawing skills. With time and dedication, your artistic abilities will continue to grow. Enjoy the process and keep exploring your creativity!

